
This post will show you how to align a scan in two or more parts using CloudCompare. Or there's a video tutorial.
Ideally, when you scan an object with laser scanning or photogrammetry, you want to get the whole thing in one go. With photogrammetry, that might involve what I’ve seen called the ‘void’ method – place your object against a featureless background, so that when you turn it over, the software doesn’t realise and things the camera has moved instead. This is the method my automated photogrammetry set-up relies on – the white turntable and white background mean I take photos with the object in multiple orientations, then throw all the photos in Meshroom in one go.
But that’s not always possible. Maybe you’ve got a large bone or other object that can’t be moved easily. Or something that’s an awkward shape for reliably balancing one way or another.
In those cases, you can scan both sides separately then merge the meshes. Both Agisoft Metashape and AliceVision Meshroom have functions for aligning two sets of photos, but they rely on quite a lot of overlap. When they work, they work really well, but sometimes they can be unreliable.
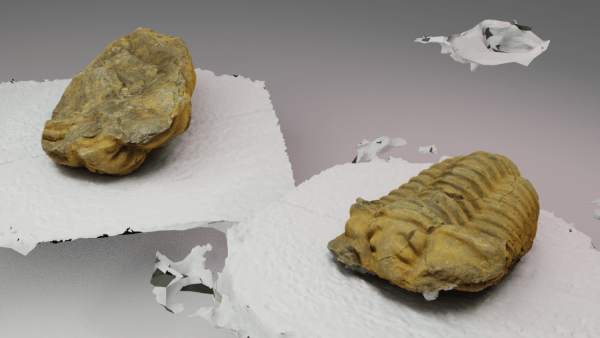
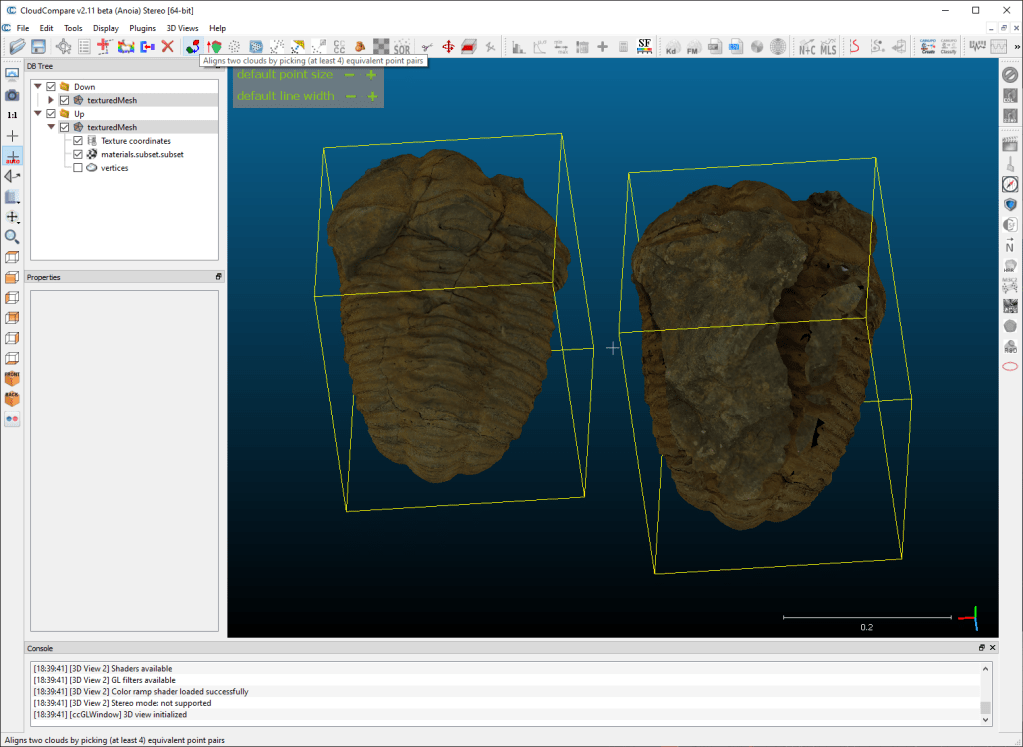
For this demonstration, I’ve got two photogrammetry scans of a fossil Trilobite, one of it lying on it’s lower surface, and one of it resting upside down. Both models were made from 100 photos (50 DSLR, 50 Note 8) from my automated setup. I’ve called the two models ‘up’ and ‘down’, for conveinience.
Here, I’m going to show you how to merge the two seperate scans using CloudCompare.
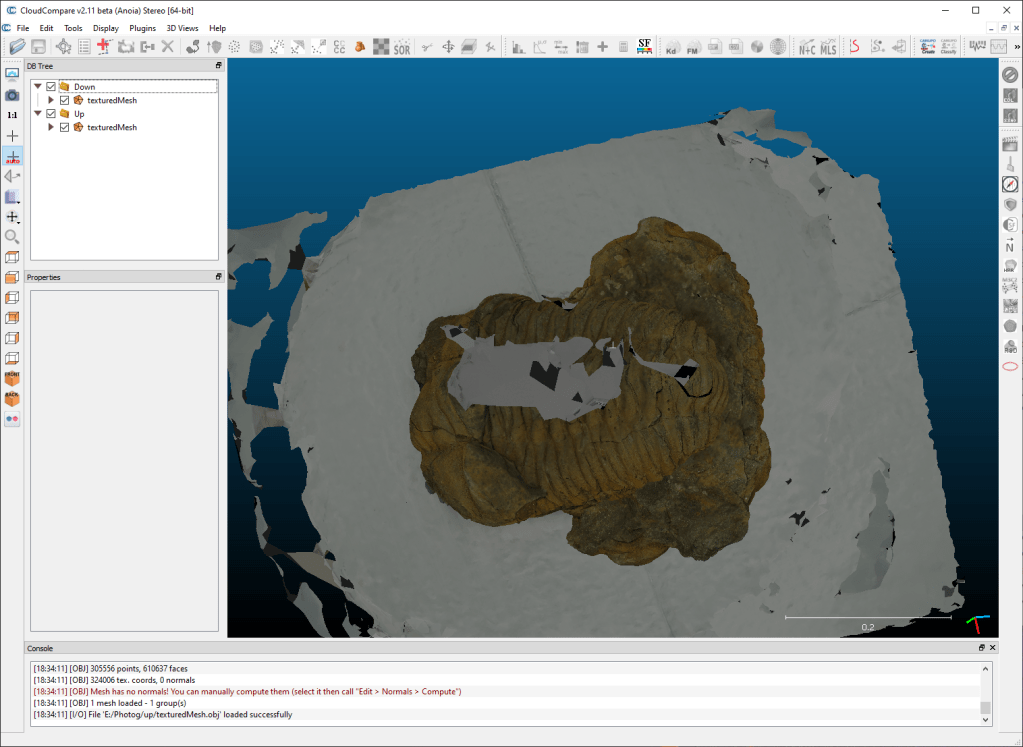
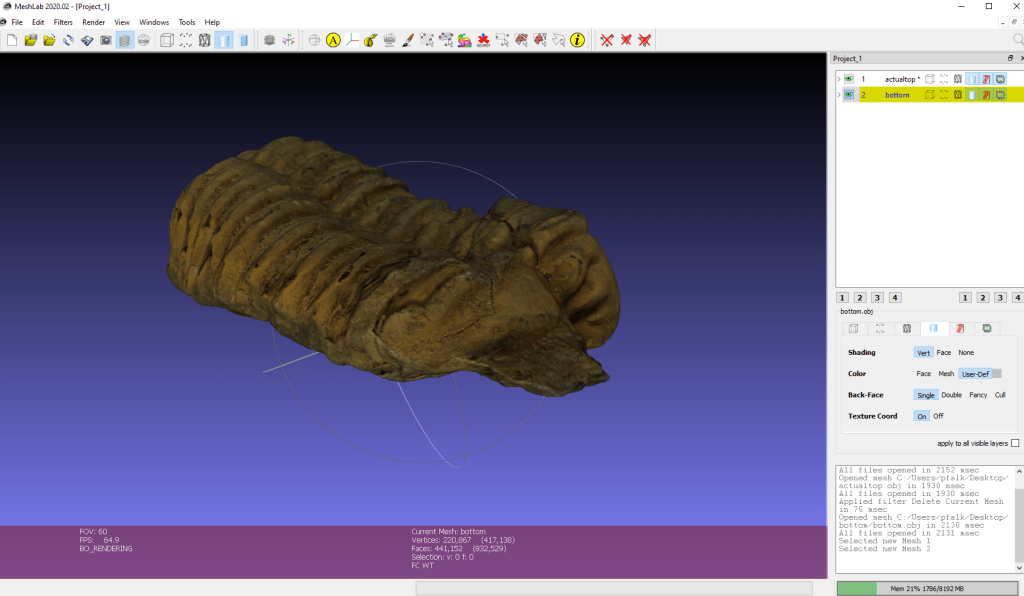
First thing to do is load both models into CloudCompare:
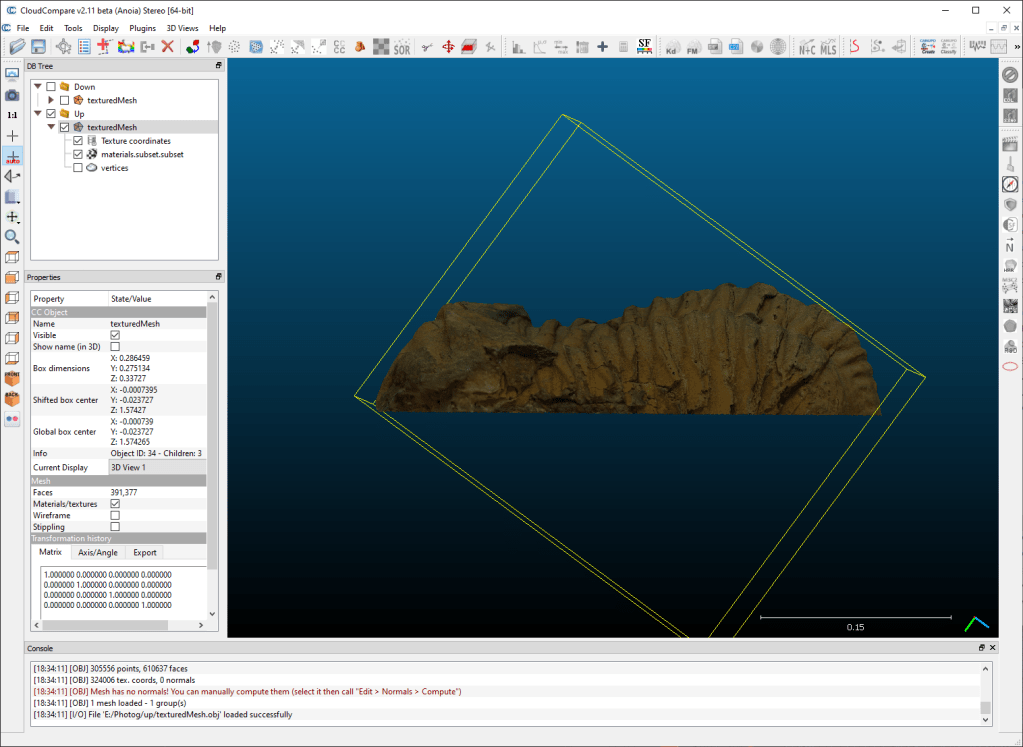
Then we need to cut out the stuff we don’t want in the model – the white turntable, and any floating parts of the mesh. To do this, I hide one mesh, then use the scissors tool to cut out just the part I want to keep:
Before I try to align the meshes, I use the transform and rotate tool to just move them so they are next to each other and I can see them clearly:
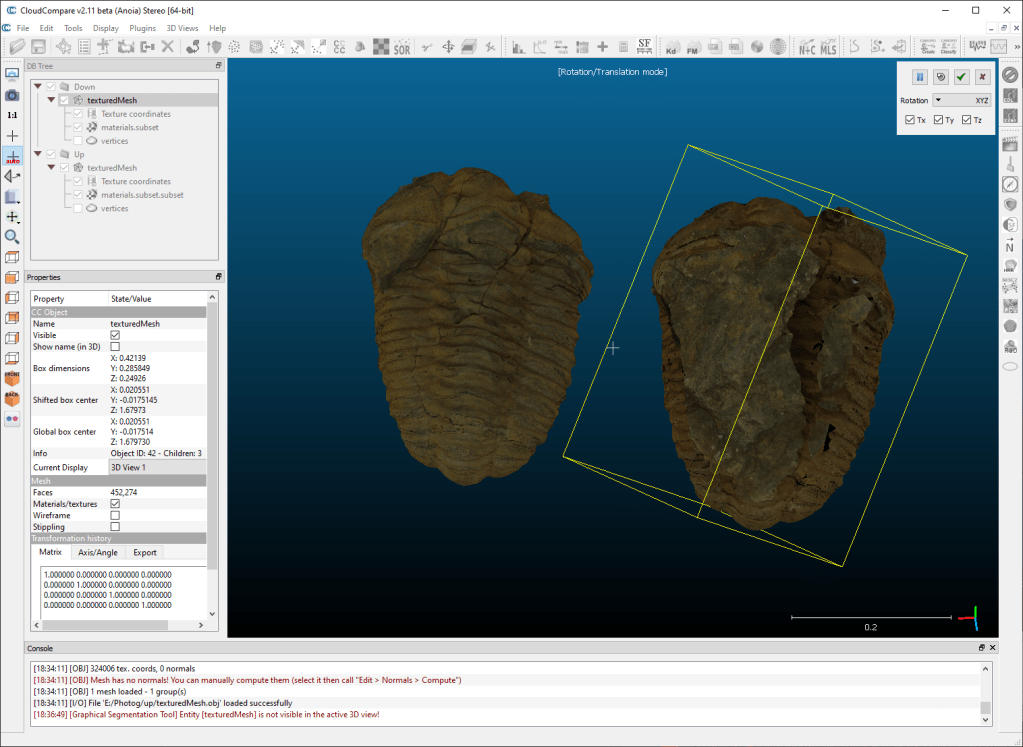
The reason is we’ll be picking analogous points on both meshes, and if they are overlapping it’s hard to see and click on the correct place.
So with both meshes cropped and side-by-side, we shift-select both meshes in the DB tree, then click the ‘roughly align two meshes’ button:

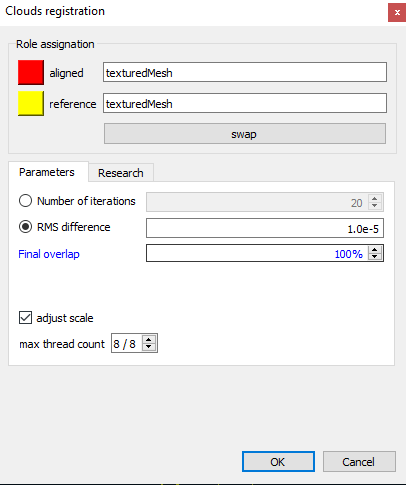
That brings up a window asking which model we want to be the reference:
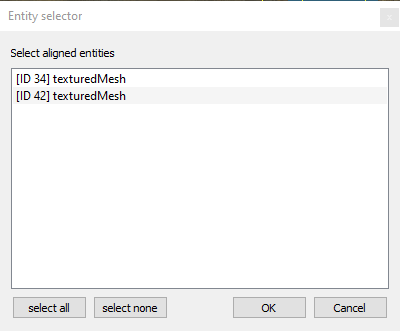
Now, it doesn’t really matter here because neither is in a ‘true’ position. That’s good, because as you can see I didn’t properly rename the meshes in the Tree, only their parents, so I can’t actually tell [easily] which is which. As I say, it doesn’t matter, so I just select the top one and hit ‘ok’.
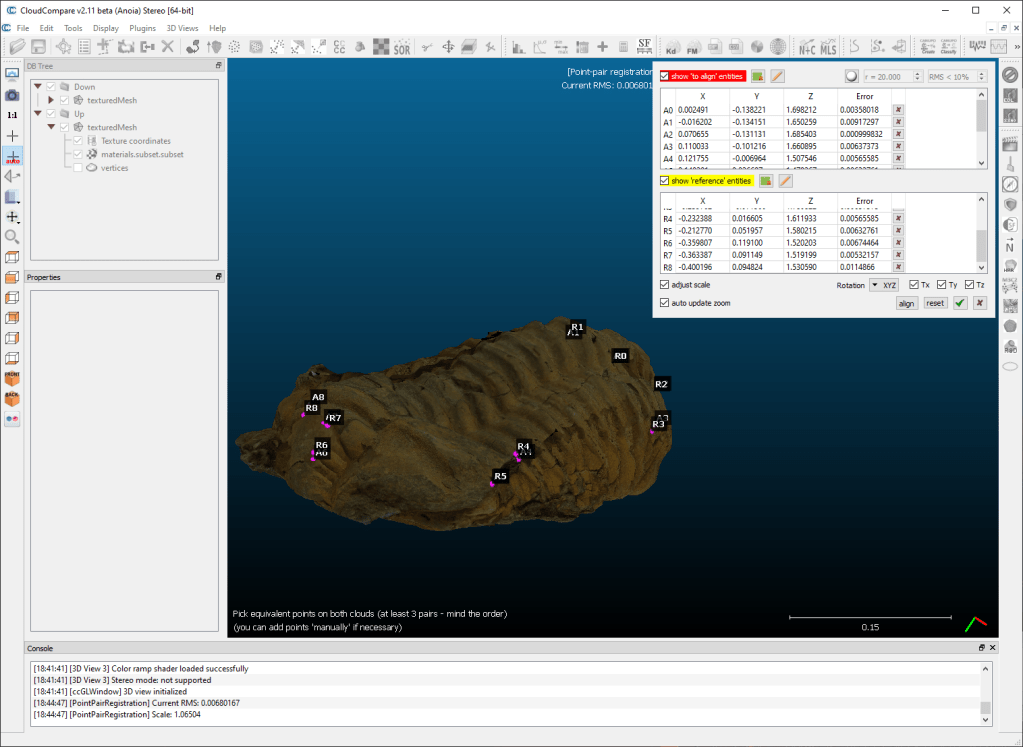
Then you need to click on one model, then click on the same place on the other model. Repeat this a good few times. I think 3 or 4 is the minimum, but you should always aim for a good amount that covers as much of the overlap as possible.

Before you click ‘align’, make sure ‘adjust scale’ is ticked. Because photogrammetry is inherently scale-less, there’s no guarantee the models will be the same scale, so you need to let cloud compare change the size, not just the translation and rotation.
When you click on ‘Align’ the meshes will move so that they minimise the cumulative distances between all the points:
If it’s worked, click the green tick. If it hasn’t, try again.
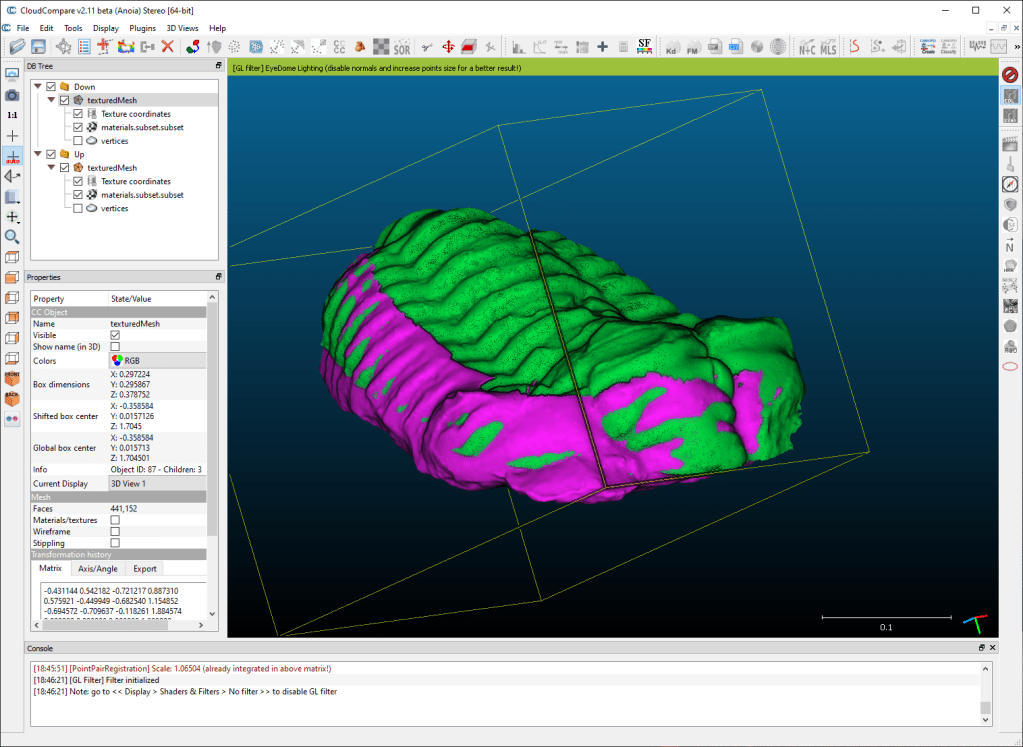
I’ve removed the textures so you can see the meshes more clearly:
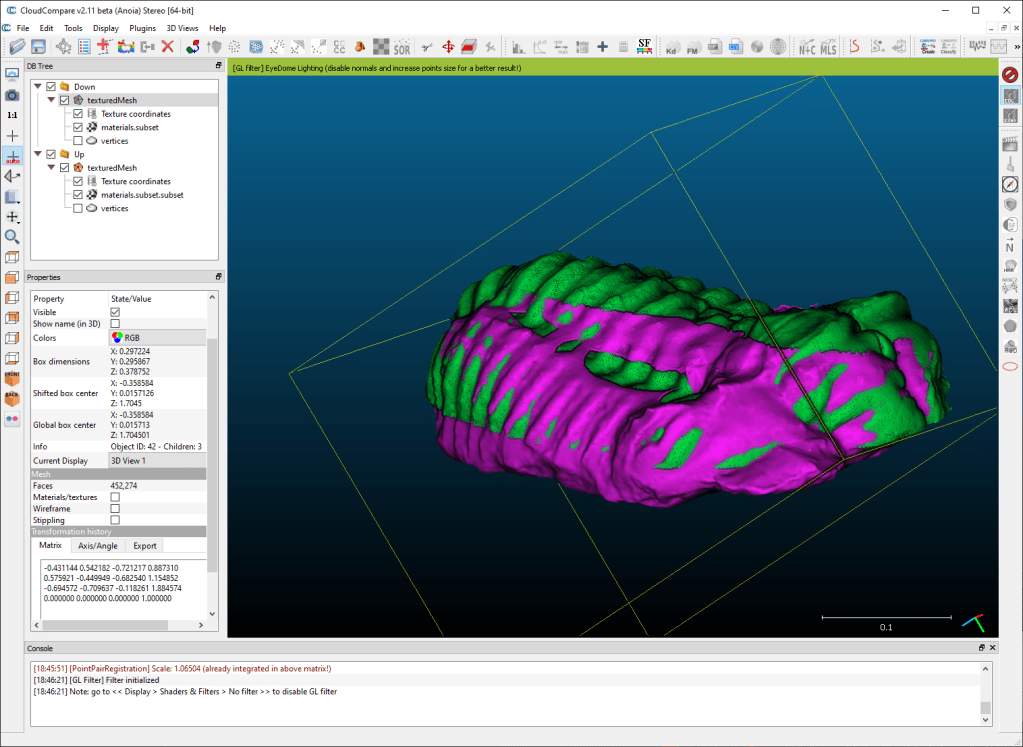
It’s not perfect yet, but that’s ok. Before I move onto the next stage, I’m going to crop off a little more from my models – the ‘down’ mesh (purple in the image above) has a little too much on the top that isn’t well reconstructed:
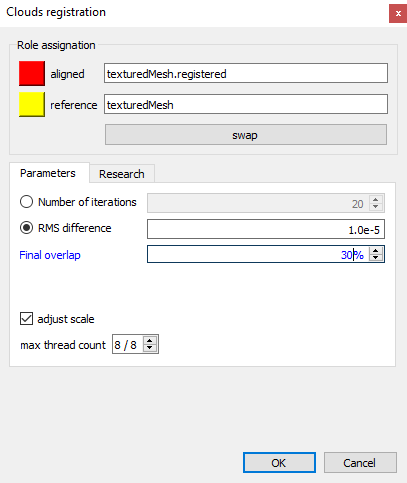
Now shift-select both meshes in the DB Tree again, and this time hit ‘fine alignment’:

Again, select a mesh to act as the reference (again, my poor naming scheme doesn’t help), and make sure adjust scale is ticked. Also important is the ‘final overlap’ box. In this case, there isn’t going to be anywhere near 100% overlap. It’s not even going to be 50%, because both meshes are mostly distinct from each other. I’ve taken a punt with 30%, assuming about a third of each mesh overlaps with the other:
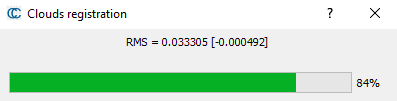
You’ll see a progress bar, and this will take a little longer than the rough alignment:
When that’s finished, hopefully you’ll see a pair of really nicely aligned meshes:

Ok. Before we go any further, I suggest you select each mesh separately and ‘save’ each mesh as a new obj. I’d recommend saving to separate folders, because if they both had the same texture file name, it’ll overwrite the first with the last.
By saving them now, you save all the transforms and you can just import both models into any other software and they’ll be in the correct place:
We’ll use this in my next blog post to create a new texture.
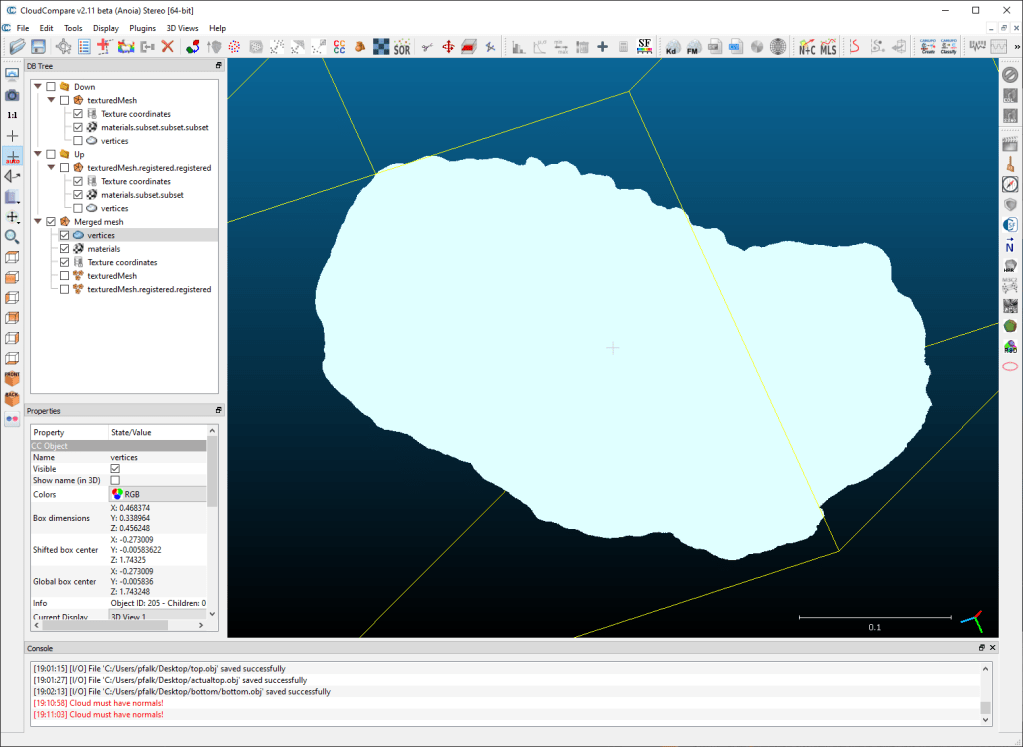
For now though, there’s one more step I want to do in Cloud Compare – I want to make a single mesh of the whole object. To do that, I shift-select both meshes in the tree, and click the merge button:


Merging the meshes creates a new ‘merged mesh’ in the tree. You can see there’s some issues with the edge of the lower model – I could have cropped that a bit better.

To make a new mesh, you need to select the verticies of the merged mesh by clicking on the word ‘verticies’ in the tree on the left, then go to Plugins-> PoissonRecon.
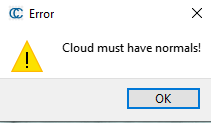
Ah! That’s right, my verticies don’t have normals at the moment. The reason my images above look shaded is because I turned on the Eye Dome Lighting shader. If I turn it off, my meshes look like this:
Eash fix: With the verticies still selected, go to edit-> normals -> Compute
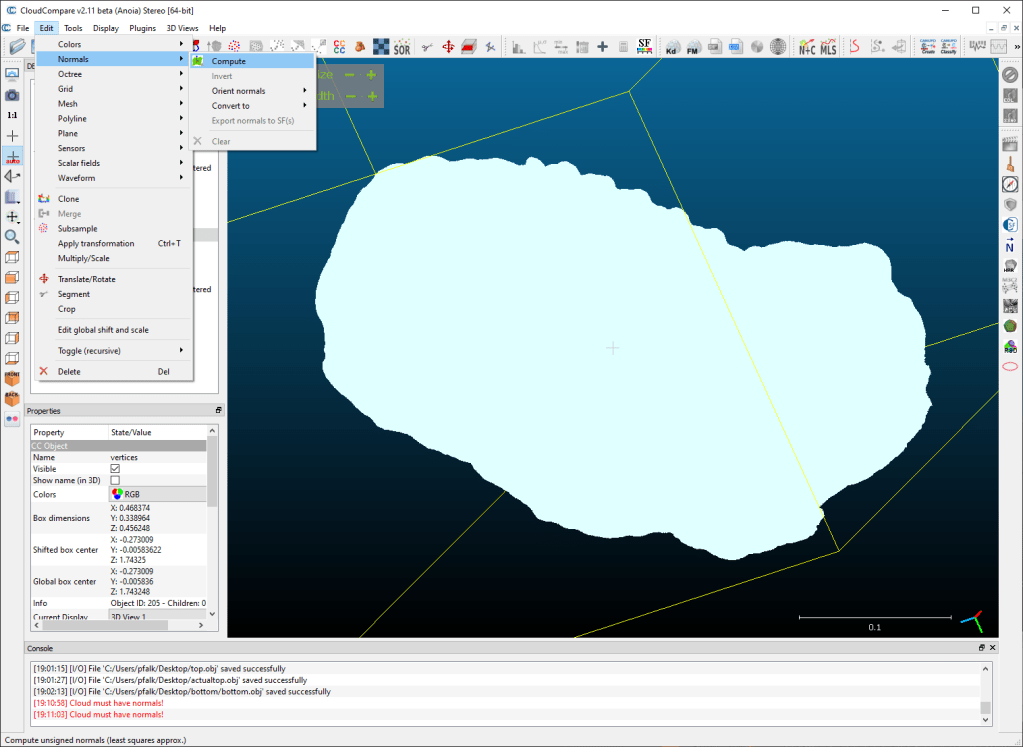
That opens a settings window as follows:
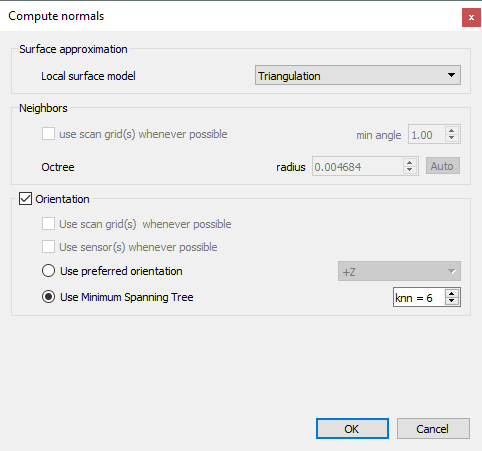
Make sure you set local surface model to something other than ‘plane’, as our object is a 360 degree entity (that’s why we needed to merge two halves in the first place!)

When the normals have been computed, you’ll be able to see some semblance of shading, as above.
So now we’ll make our new, singular mesh. To do so, let’s go back to Plugins -> Poisson Recon. Because we have normals this time, it’ll load the settings window:
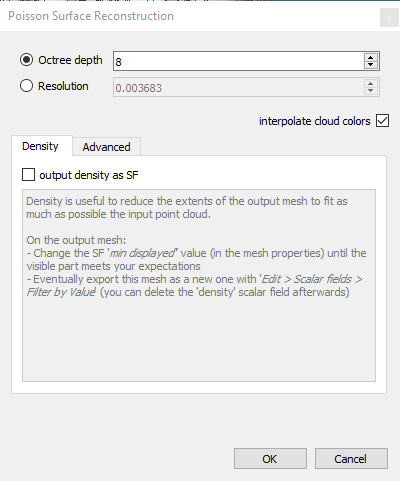
The default 8 is a decent value. You’ll get more detail (and more noise) at higher values, and anything above 12/14 and the returns diminish so much it’s not worth it. I’ve stuck with 8 because I don’t need a super high res mesh right now.
That runs for a little while and then….
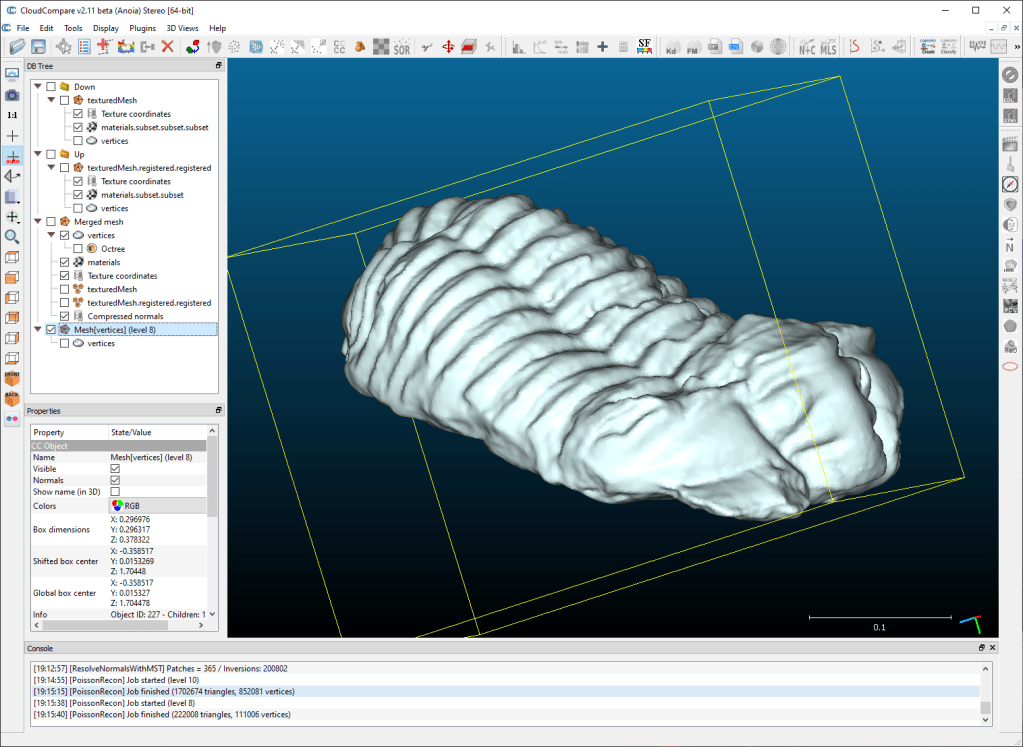
We have a new mesh in the tree, and on inspection you’ll see it’s complete and watertight. I’ve imported that into blender and rendered below. We’re lacking textures though, and I’ll cover how to remake those using the seperate halves in my next tutorial (which you can read here for Blender, and here for Maya).
I put all of the above into a video tutorial, which you can watch here:

Many thanks!
How do i put the files from meshroom into cloud compare?
If you’ve got as far as a full model in Meshroom, get the obj (right click and open folder on the last node). Then you can just drag and drop the objs into cloud compare. You might be better moving/copying them somewhere sensible first, and you might want to rename them. Remember their texture files share the same name, so make sure you don’t overwrite by copying both halves into the same folder.