
In my last post, I showed you how to merge two scans into a single whole, allowing you to use photogrammetry or laser scanning to digitize an object sat on a table or such, but still create a full reconstruction.
Unfortunately, the final model lacks any colour information. There’s probably a way to do this in CloudCompare, but it’s not a workflow I use. Instead, I’ll show you how to do it in Maya and Blender.
Going forward we will need:
- The ‘up’ model exported from CloudCompare after being aligned
- The ‘down’ model exported from CloudCompare after alignment
- The texture files for both.
- The newly made Poisson Mesh.
Let’s start with Blender. ** There’s a video at the end of this post**
First thing to do is import all three models (up, down, Poisson) into your scene:

DO NOT MOVE ANY OF THESE OBJECTS.
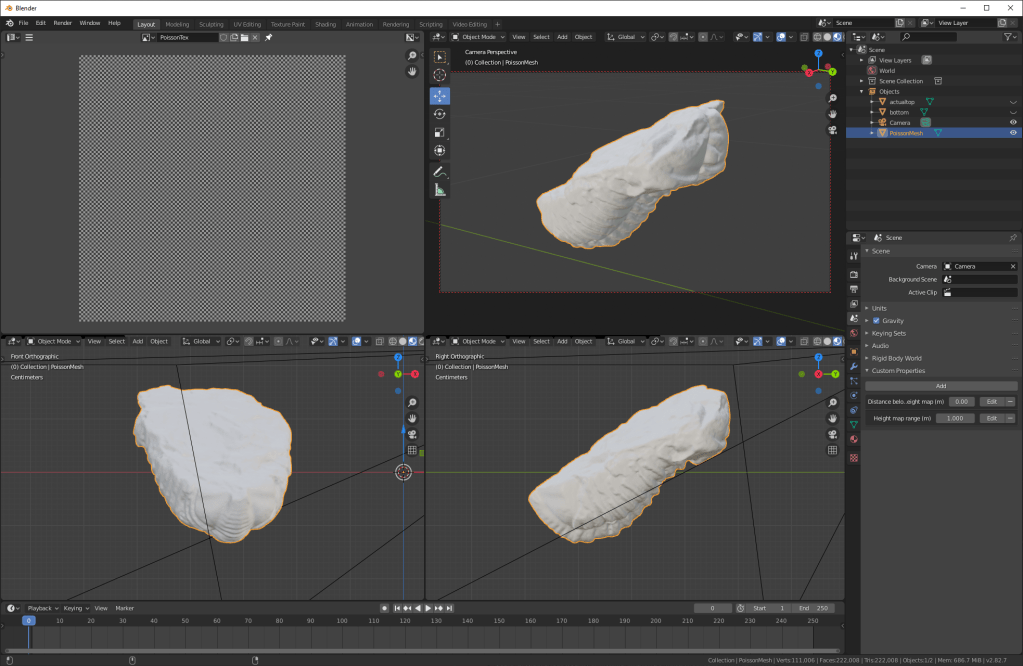
They should all exist in the same world space. You’ll see the two halves with textures, and the new poisson mesh without. I’ve shown you below with the up and down meshes hidden, and with the Poisson mesh hidden:
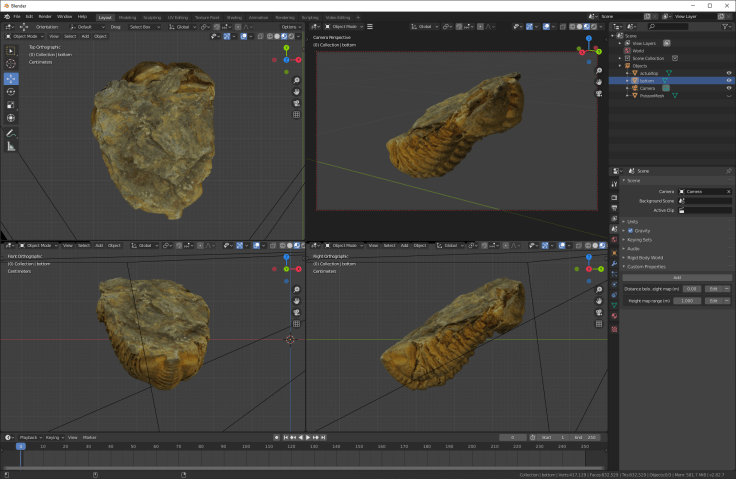
‘Up’ and ‘Down’ 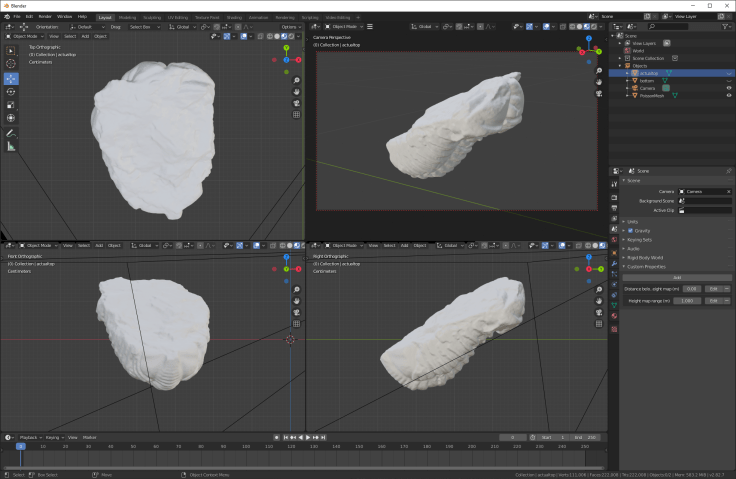
Poisson
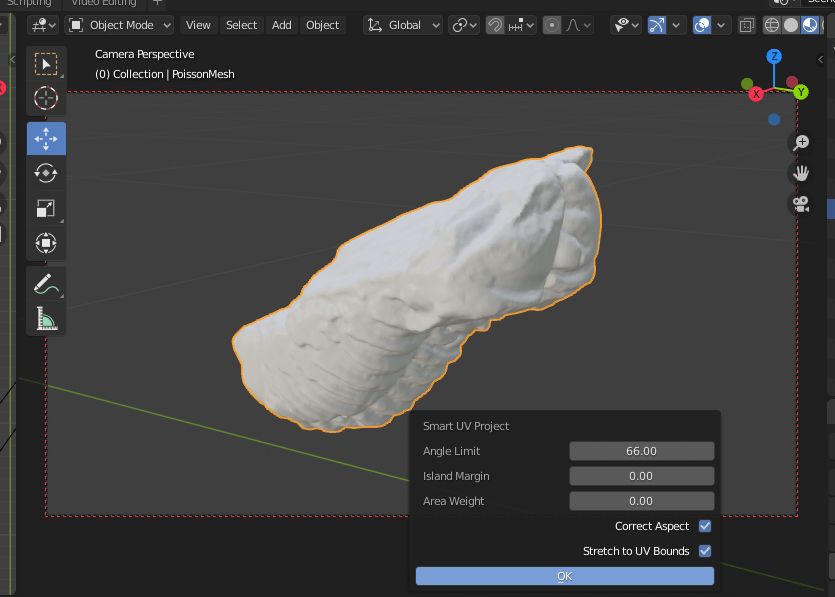
First, we need to assign UVs to our Poisson mesh, to map the future texture. To do this, make sure everything’s visible again, select the Poisson Mesh, then apply ‘Smart UV Project’ (I use the quick menu for this):

Warning, as we discovered in this series of tweets, the algorithm isn’t robust on super complex, badly made meshes. It should be ok on a nice mesh like this though.
It’ll ask for some settings, I usually stick with default:
It does take a little while, and when it’s done it will look like nothing has changed.
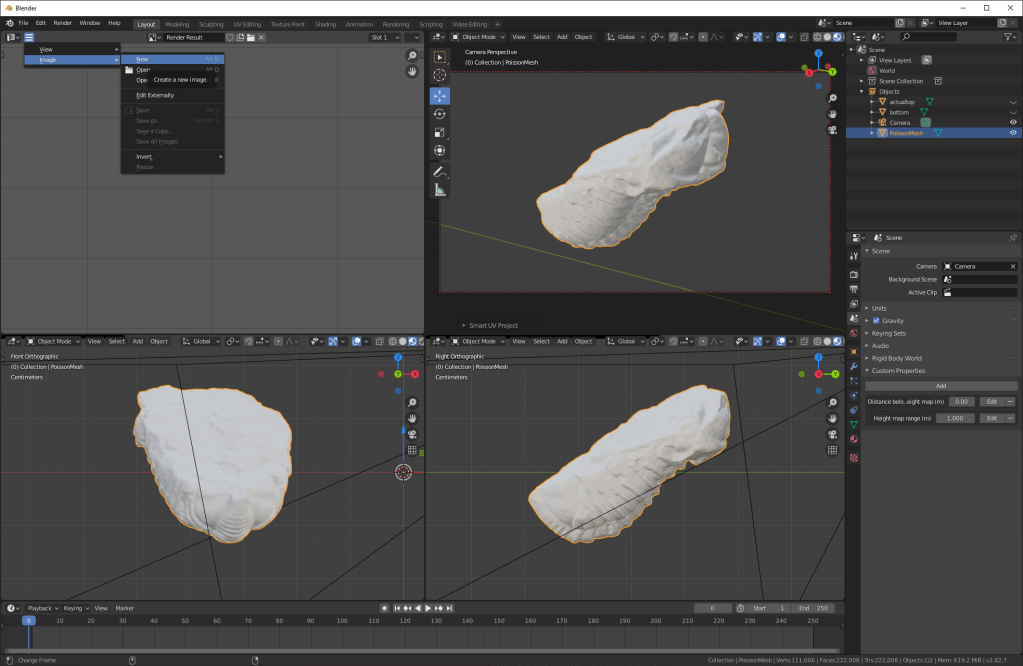
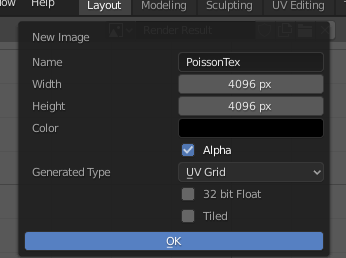
Change one view to UV editor (I’ve used the upper left view on my screen) and create a new image:
I gave it the following settings:
That gives you a checker pattern:
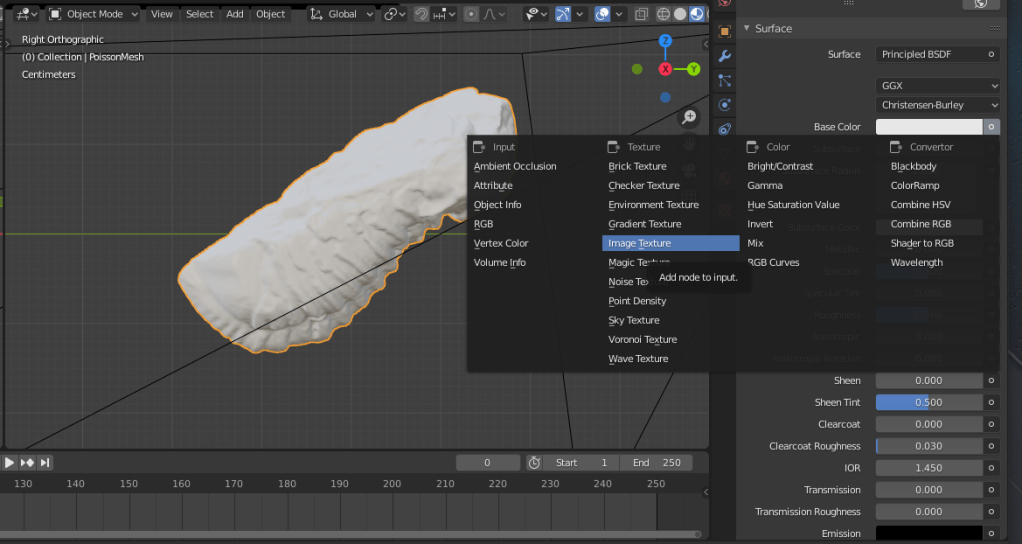
Let’s now go to the material properties of the PoissonMesh, and create a new material. For base colour, choose ‘Image Texture’:
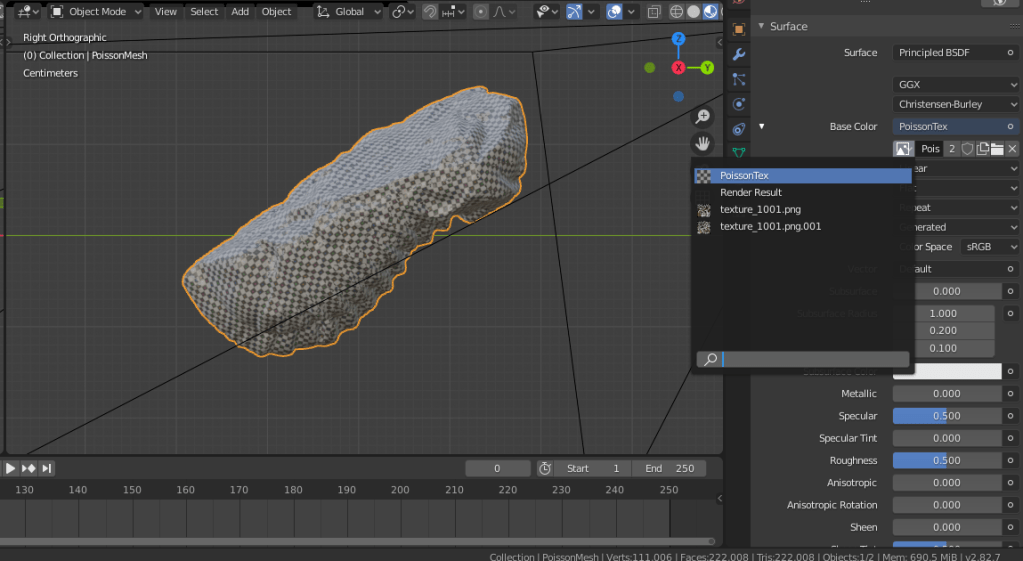
When you’ve done that, change the image to PoissonTex, and if textures are set to show in your viewport, you’ll have a texture-mapped object:
Now we need to bake the textures from the ‘Up’ and ‘Down’ meshes.
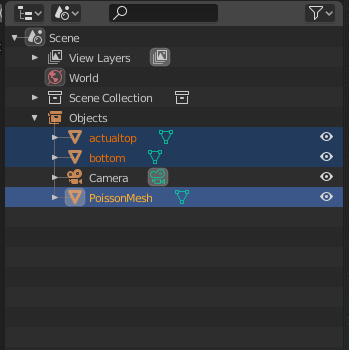
To do this, make sure all three meshes are visible in the viewport. Use ctrl-select to select all 3 meshes such that the PoissonMesh is the active object. Your outliner will look like the below image, with PoissonMesh in yellow, the other two in orange.
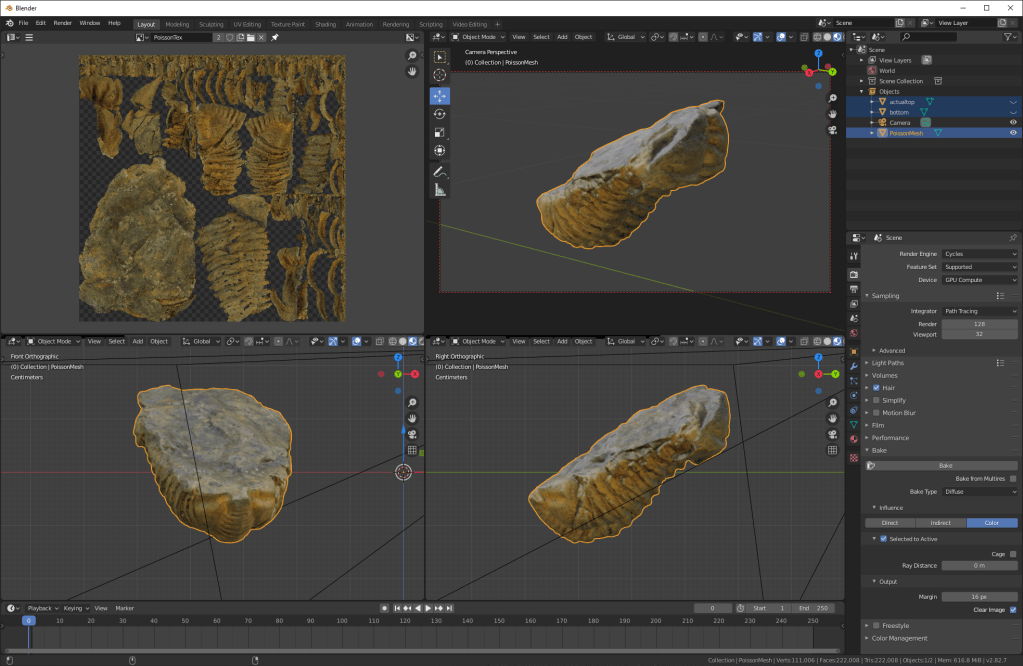
In your render settings, you should see category called ‘bake’ – expand this (as of Blender 2.82, Bake does not appear if you’ve set blender to use Optix to GPU accellerate rendering. If you use Optix, choose CUDA or OpenGL instead)

I’ve set the settings as follows:
- Bake Type: Diffuse (we just want the diffuse colour, no reflections or anything)
- Make sure you turn off Direct and Indirect, or you’ll bake shadows and lights too.
- Selected to Active (that means it’ll bake from the two meshes to the active mesh, in this case from ‘up’ and ‘down’ to ‘Poisson Mesh’
- Increase Ray Distance a little bit. I’ve set it to 0.05 (5cm), and the object as a whole appears about 40cm in Blender (obviously it isn’t scaled yet).
When your settings are set, press the bake button. A progress bar (and possibly an error message about a circular dependency) will show at the bottom:

In my experience, don’t worry about the error message.
When it’s finished, you should see your texture editor showing you your nice new texture map, and with ‘up’ and ‘down’ hidden in the outliner, your PoissonMesh will be beautifully coloured:
You can then save the image, and save the obj file. Feel free to now move it around, and change other parameters of the material.
Here’s the finished thing, fully textured as a single model with a single texture file:
Video version of this post here:

Hi Peter, thanks for this tutorial! I’ve followed the instructions outlined here however after the baking has completed, nothing has changed in my model. I don’t have a combined texture map showing up in the “PoissonTex” texture file on the left of my screen as you have. Nor, for that matter, is the checkered texture of the unbaked PoissonTex file being projected onto my model after selecting “Image Texture” as the base color, despite “Viewport Shading” being selected.
The only problem I can think of having come up is in the “new materials” step. When creating a new material, am I to first add a material slot (+), and then add a new material (+ New)? Or do I just edit the Base color setting directly on the original default material?
I’m not sure if this is actually what is causing my texture baking to fail, but perhaps you can tell me.
-James
Hi James. Just click ‘new material’ then point the base colour of the existing material to an image texture, then make sure the texture is the PoissonTex we created.
If you give me a few hours, I’ll try and whip a video tutorial together this evening.
Check this video for help: https://youtu.be/uc8fPyl0vxs
Thanks so much! I was able to get everything to work thanks to the video!