
In my last post, I showed you how to merge two scans into a single whole, allowing you to use photogrammetry or laser scanning to digitize an object sat on a table or such, but still create a full reconstruction.
Unfortunately, the final model lacks any colour information. There’s probably a way to do this in CloudCompare, but it’s not a workflow I use. Instead, I’ll show you how to do it in Maya and Blender.
Going forward we will need:
- The ‘up’ model exported from CloudCompare after being aligned
- The ‘down’ model exported from CloudCompare after alignment
- The texture files for both.
- The newly made Poisson Mesh.
In this post, we’ll repeat what we did in Blender, but using Maya
Let’s import all three models (up, down, Poisson) into the scene:
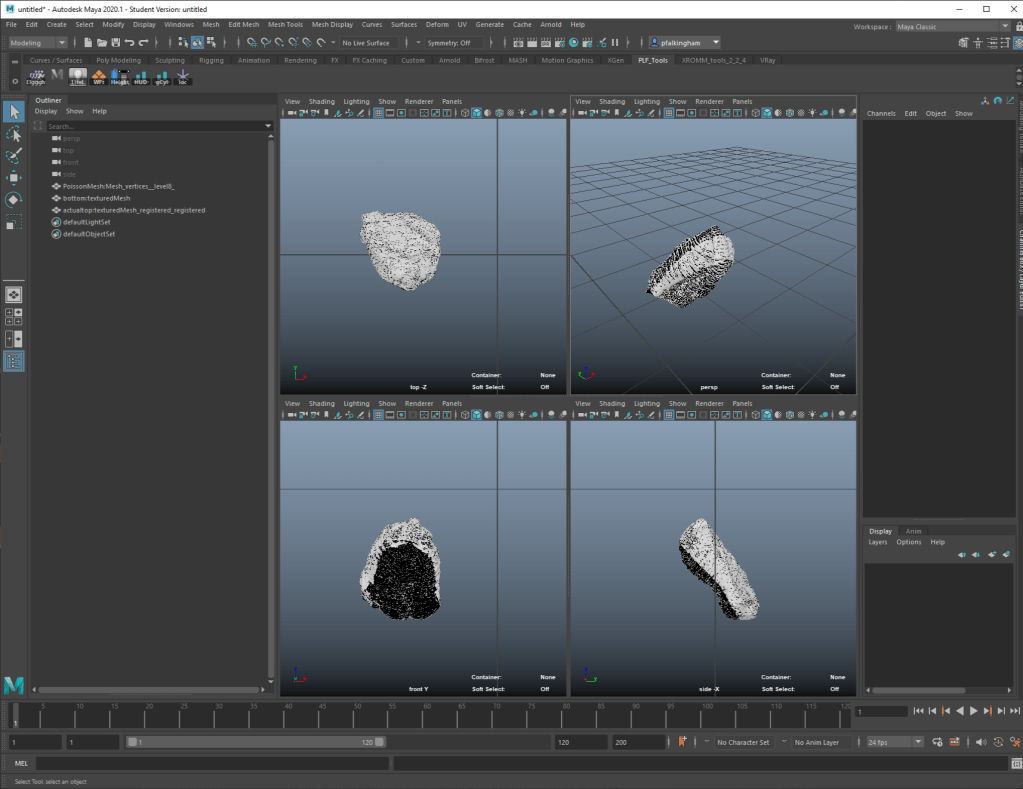
Don’t move anything, as we need them all in the same space to transfer maps properly.
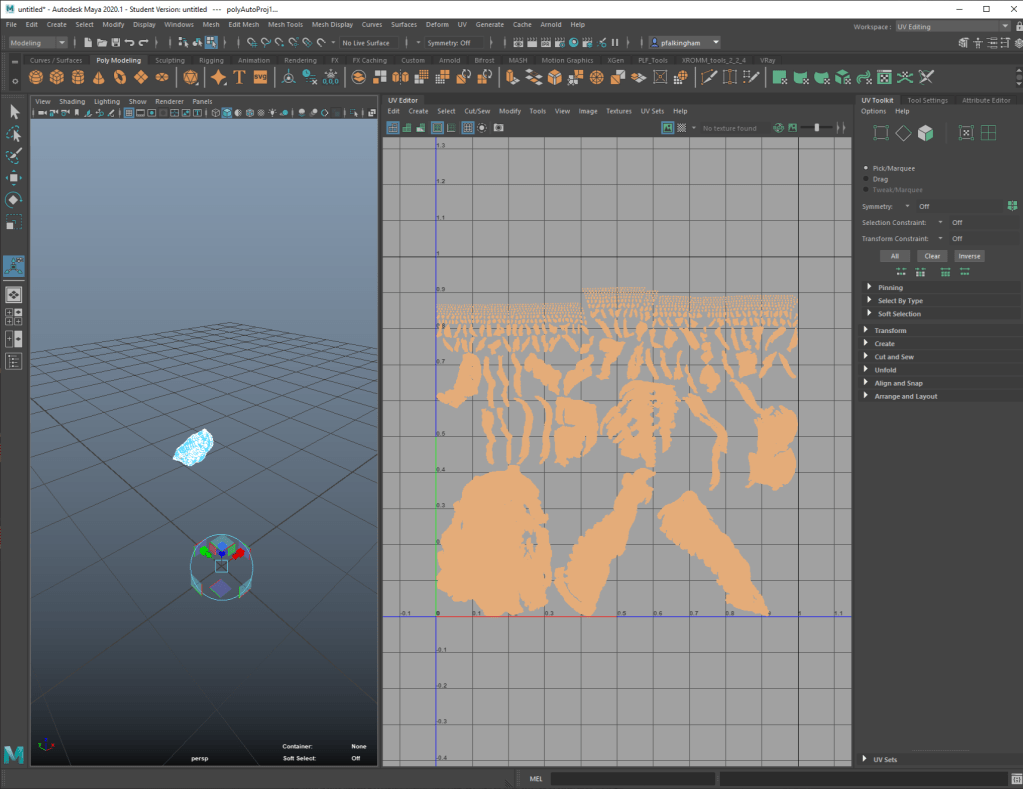
First, we need to UV map the PoissonMesh. To do this, select it in the outliner, then go to UV -> Automatic

This will take a little while, and when it’s done, you’ll temporarily see some planes in the viewport. This works pretty well, but can be slow and crash on larger, more complex meshes.
When that’s done, you can change your view to UV Editing to see what it’s done:
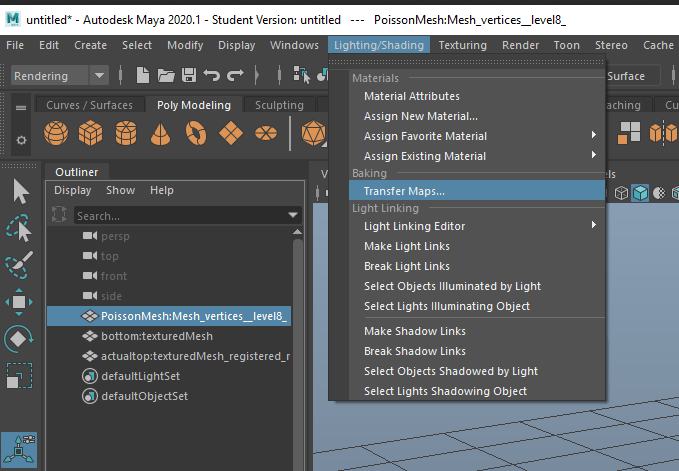
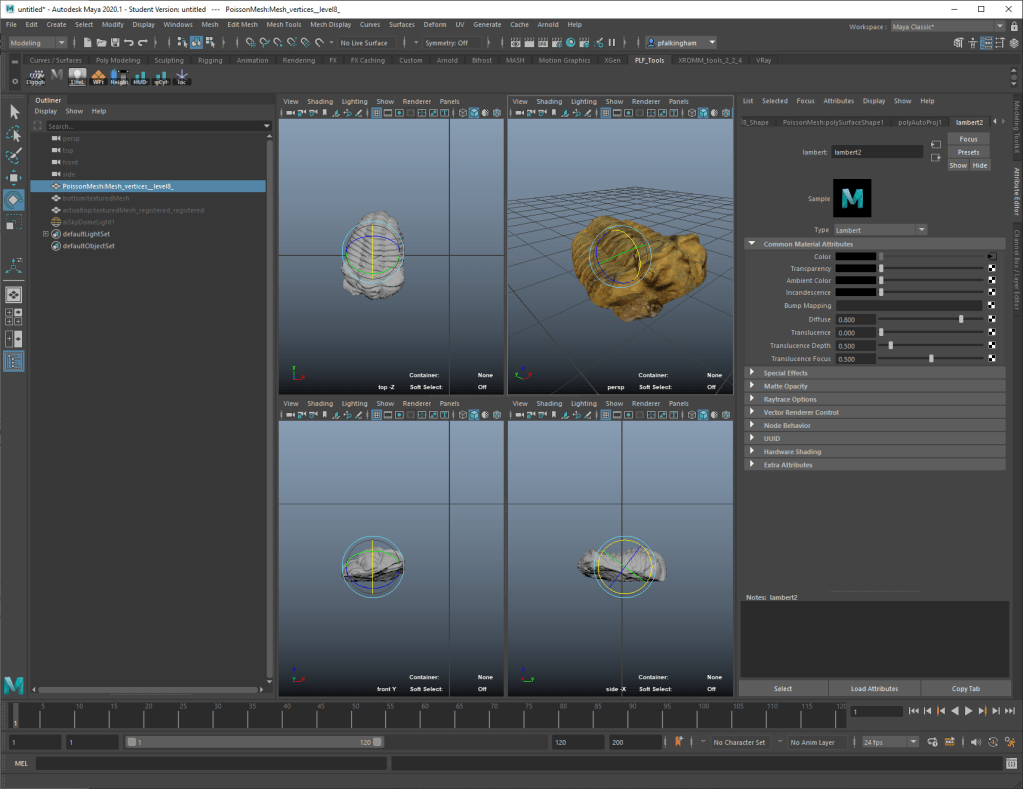
Back to standard view, select the PoissonMesh in the outliner, then go to the rendering set of menus, and select Lighting/Shading -> Transfer Maps:
Make sure Poisson Mesh is selected under ‘Target Meshes’, and ‘up’ and ‘down’ are selected in “Source Meshes.” I’m just going to transfer the diffuse colour map (though this is where you would also create normal and displacement maps), and I’ve set that to save to my desktop as a JPG. I’m going to connect the maps to a new shader, and I’ve set the resolution to 4096 square:
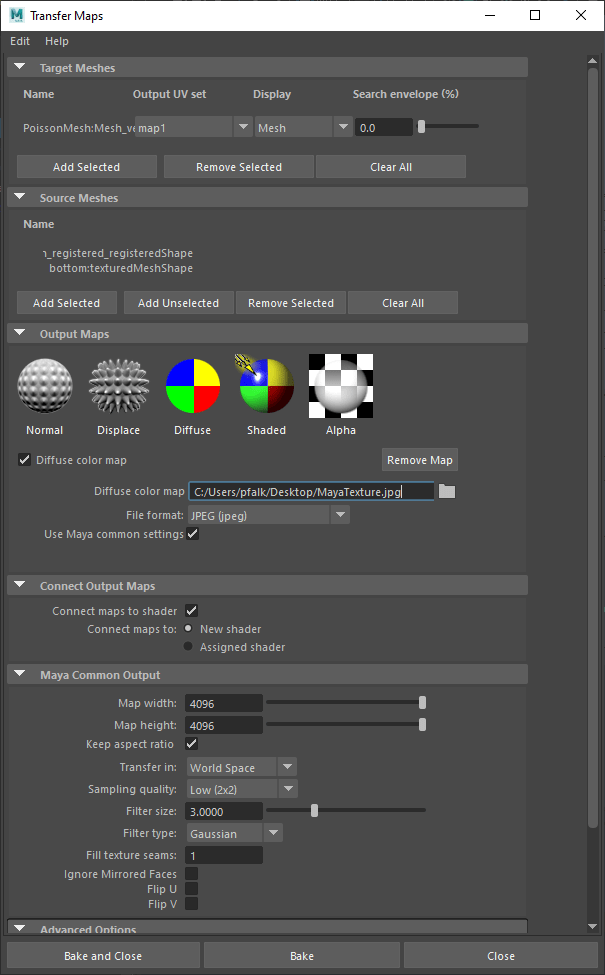
Press bake and close, and it’ll start processing. It does take a little time, but there is a progress bar in the lower right:
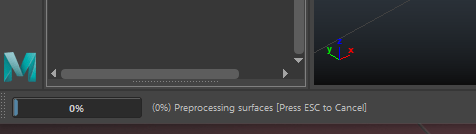
And then there we go, done!
Export the model, keep it with the new texture map, and away you go. Here it is on Sketchfab:
For reference, here’s both Maya and Blender’s textures according to their automatic unwraps:
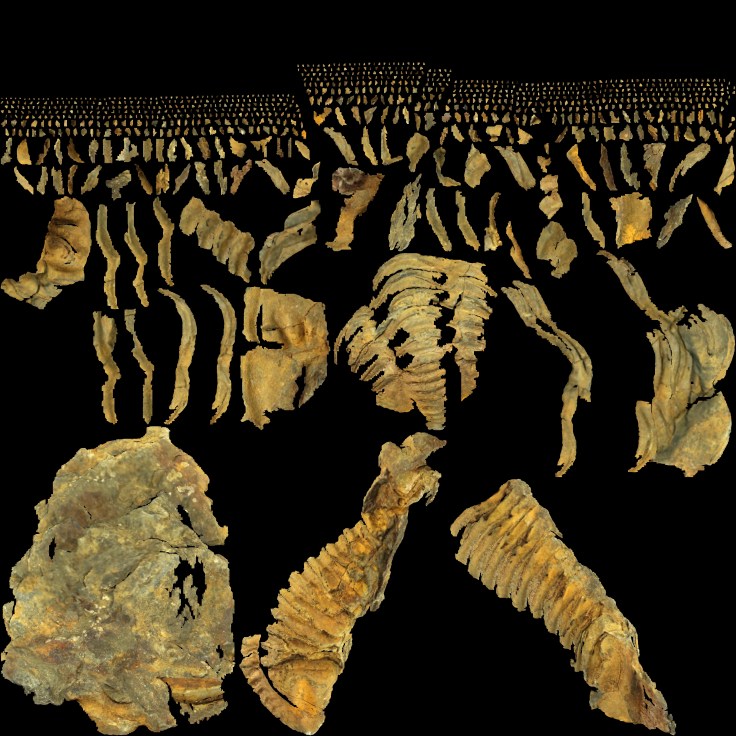
Maya 
Blender

maya is amazing cg software. Mostly artist does not know. Mostly CG software have own tools to transfer map. Thanks for sharing