This is just a basic tutorial that’ll be useful for project students measuring digital specimens, using Blender. If you prefer a video, you can find one here: https://www.youtube.com/watch?v=QNCSQpEVRvs
Get the model in and sort out its origin
The example here is a skull straight out of a photogrammetry export – an OBJ with its MTL and texture. But the priciple works for anything. Either file -> import, or just drag and drop into Blender.
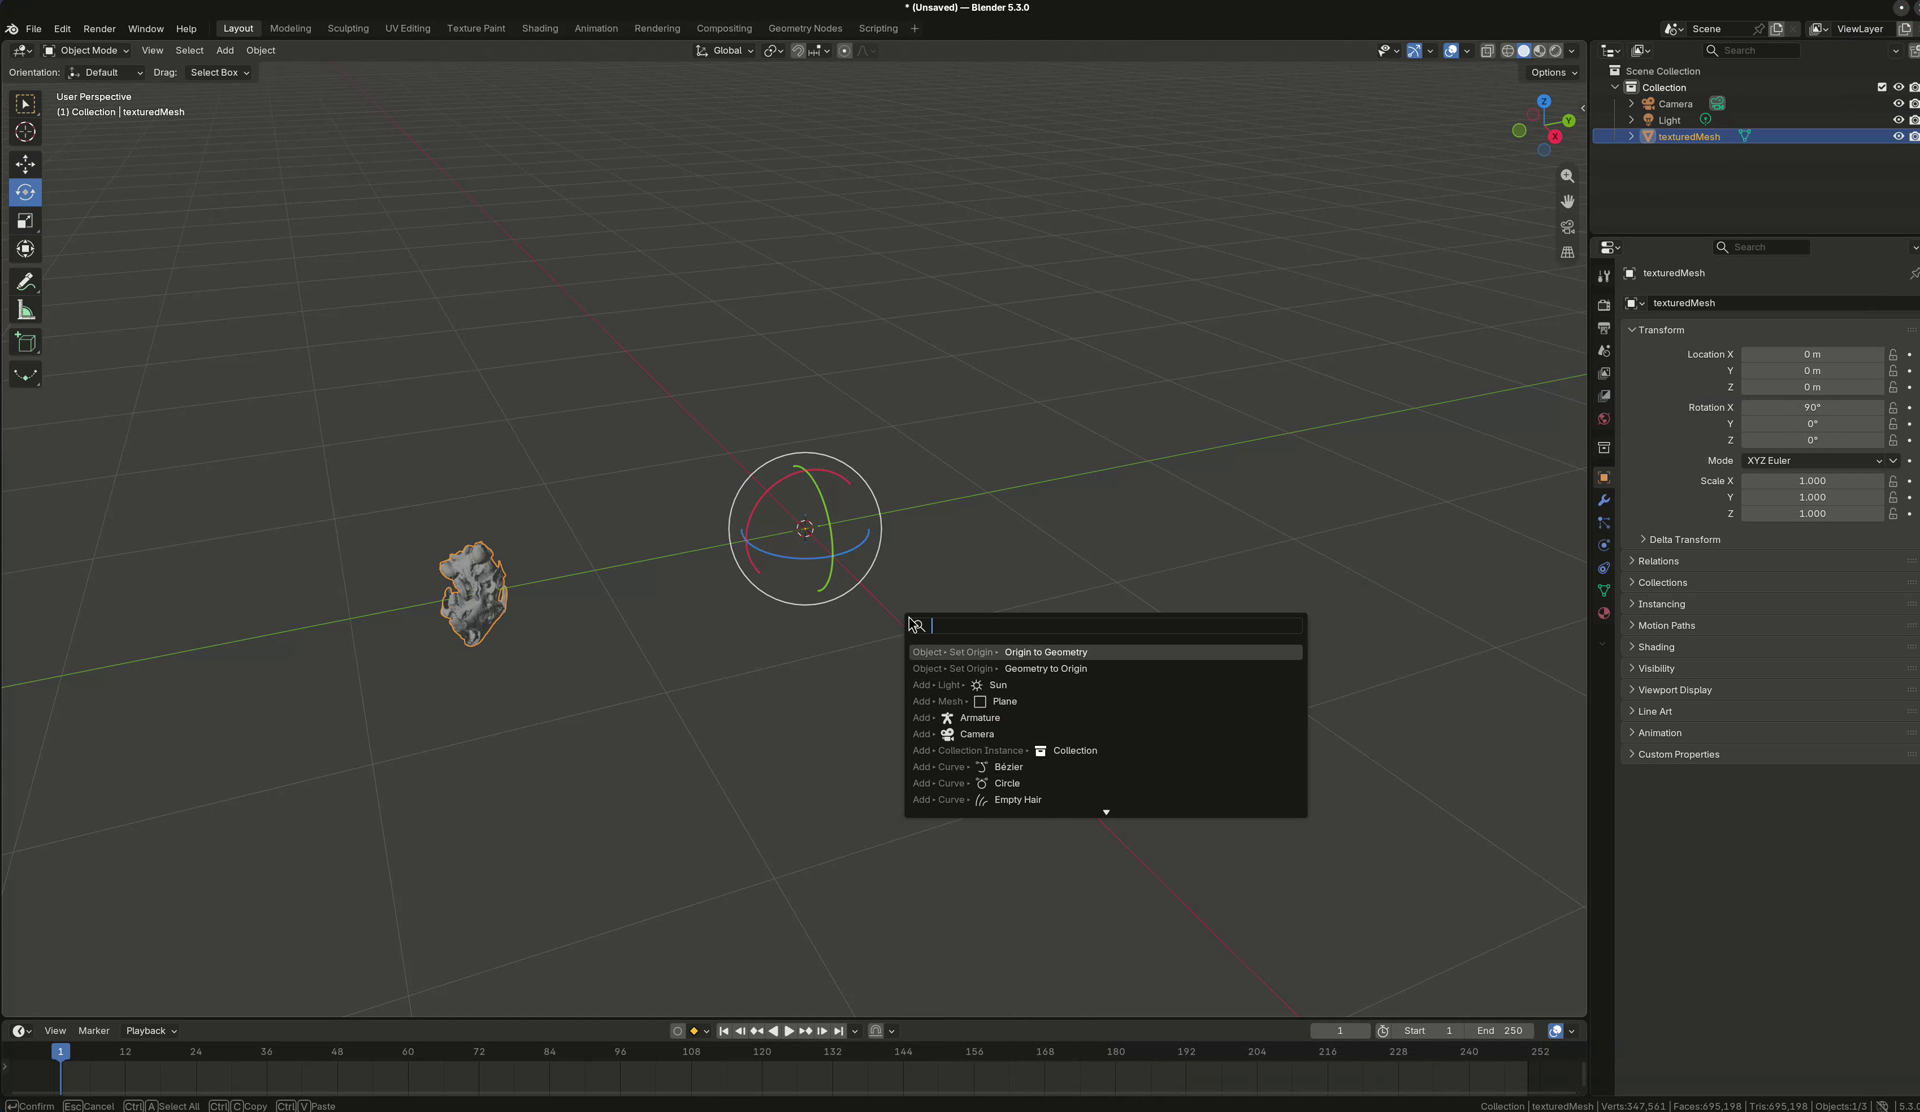
Before doing anything else, fix the origin. A scan usually arrives with its origin nowhere near the model, so Rotate spins it around some distant point instead of around itself. Open the command palette (space with the default keymap, Tab with Industry Compatible, which is what I use), type and pick Origin to Geometry:
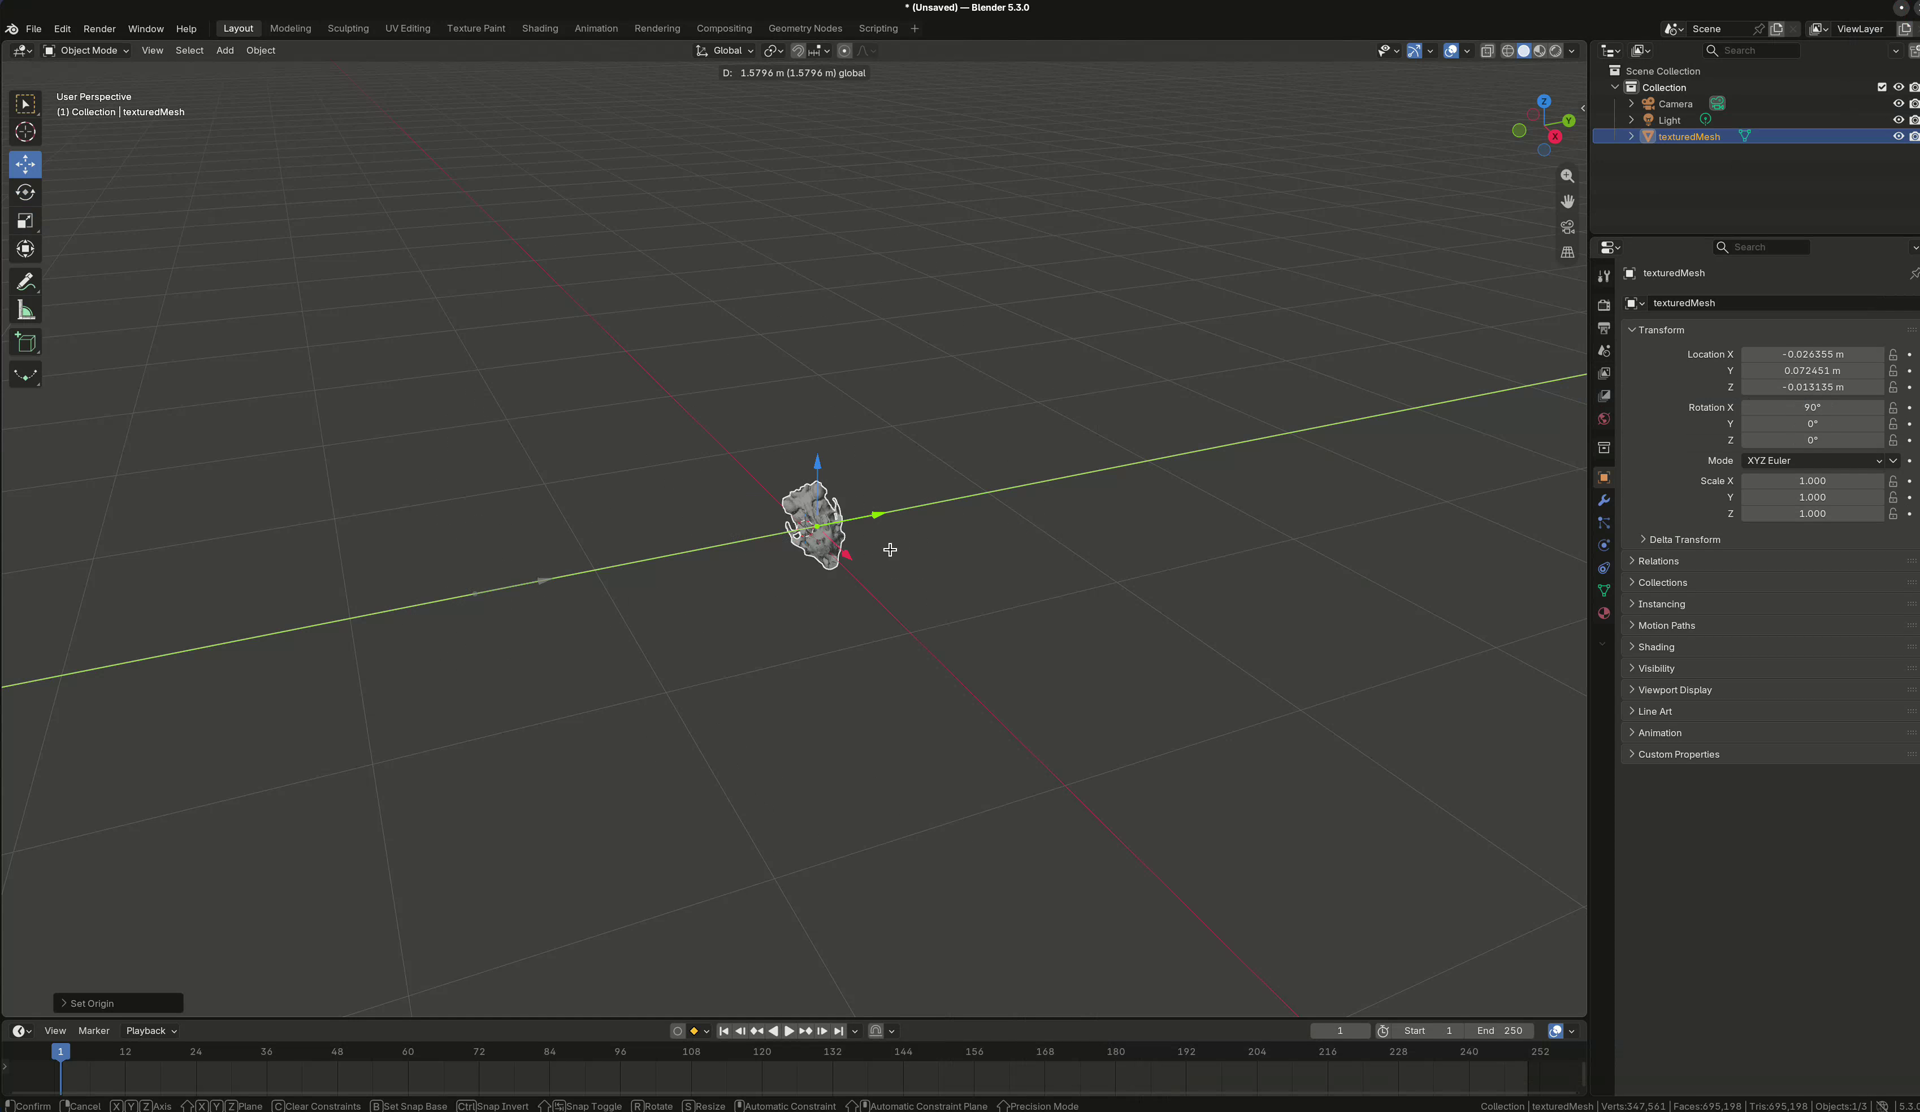
Then just grab the gizmo and pull the model over onto the world origin, because it’s easier to work with there.
Line it up
Now rotate it so the skull is square to the world axes. The rotate gizmo gives you the coloured rings for each axis, with a live rotation readout as you drag:
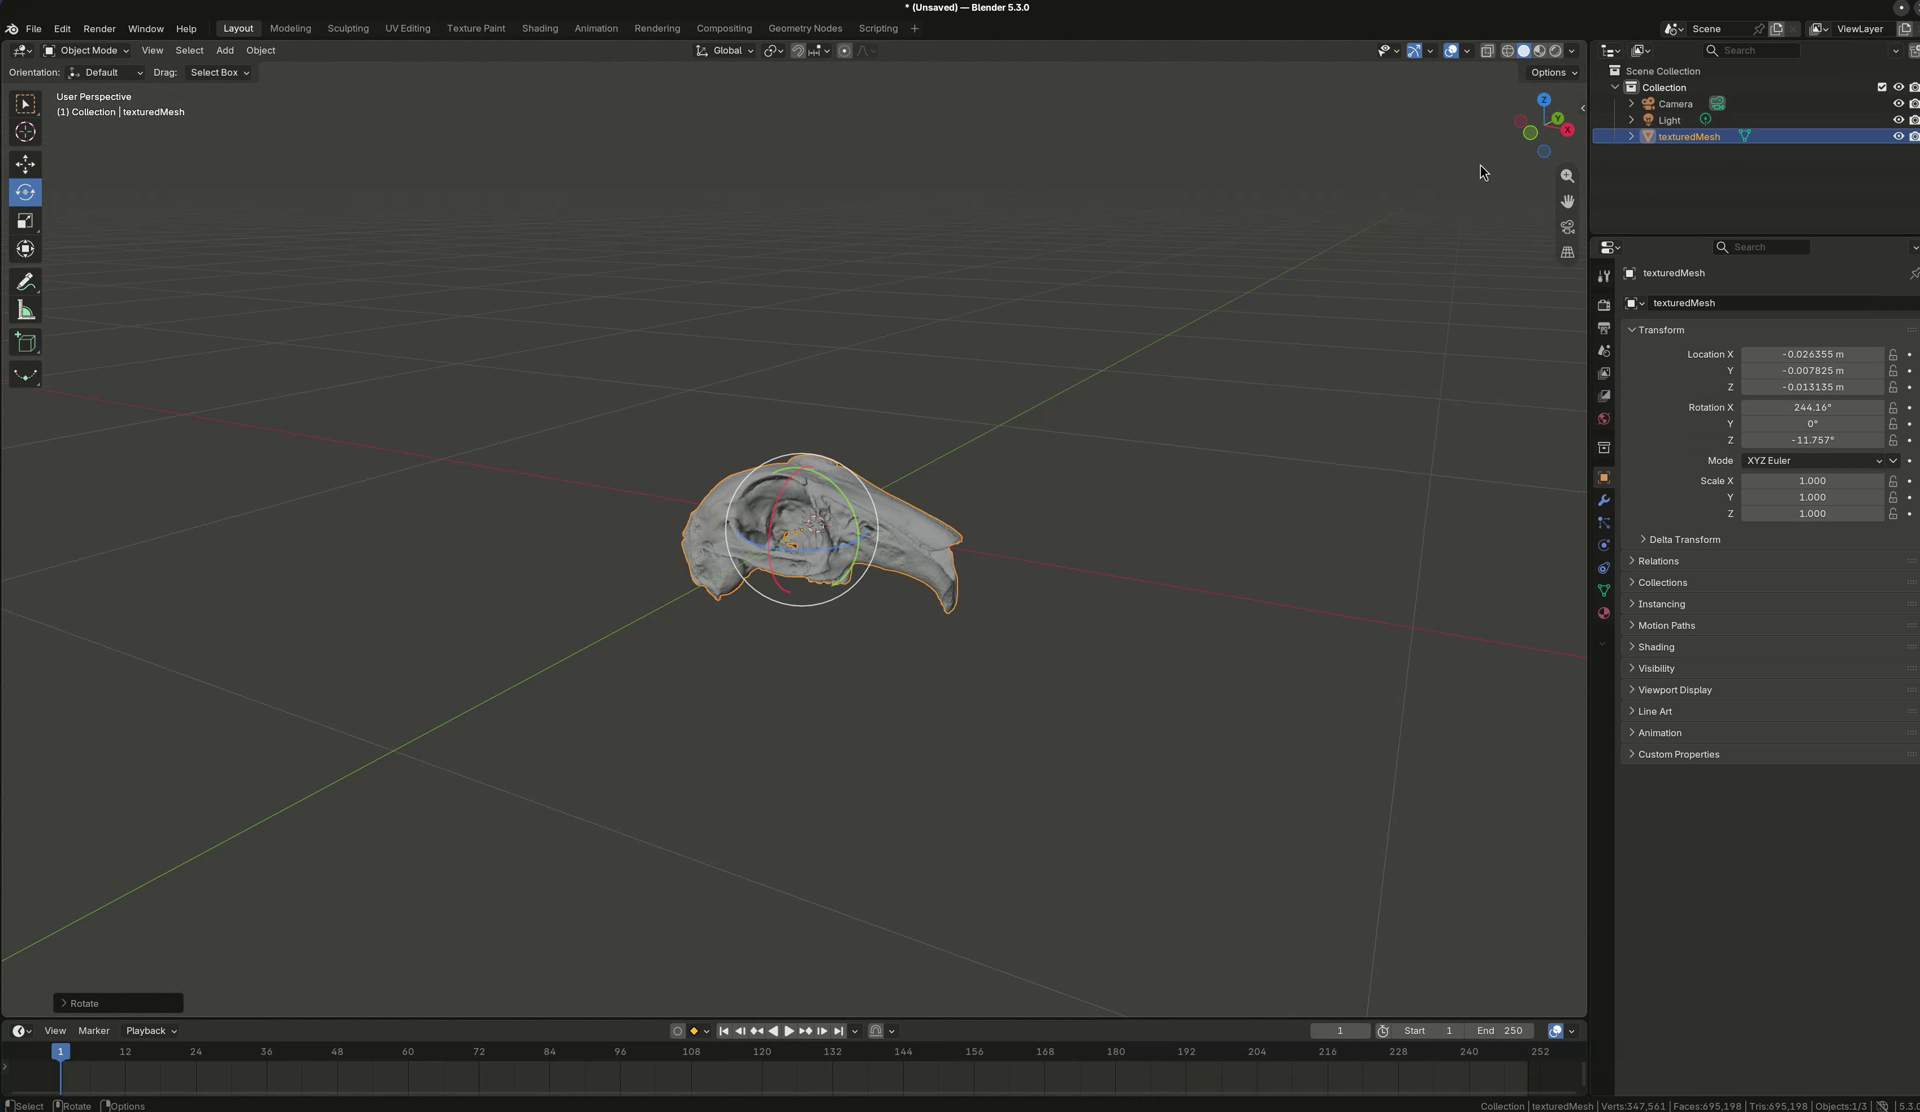
The navigation gizmo in the top right corner of the viewport is the handy bit: click it and you get a proper orthographic view from the front, the side or the top, so you can see whether it’s actually straight. Click the white circle and you rotate within that plane only. Get it square in front and side, and you’re set.
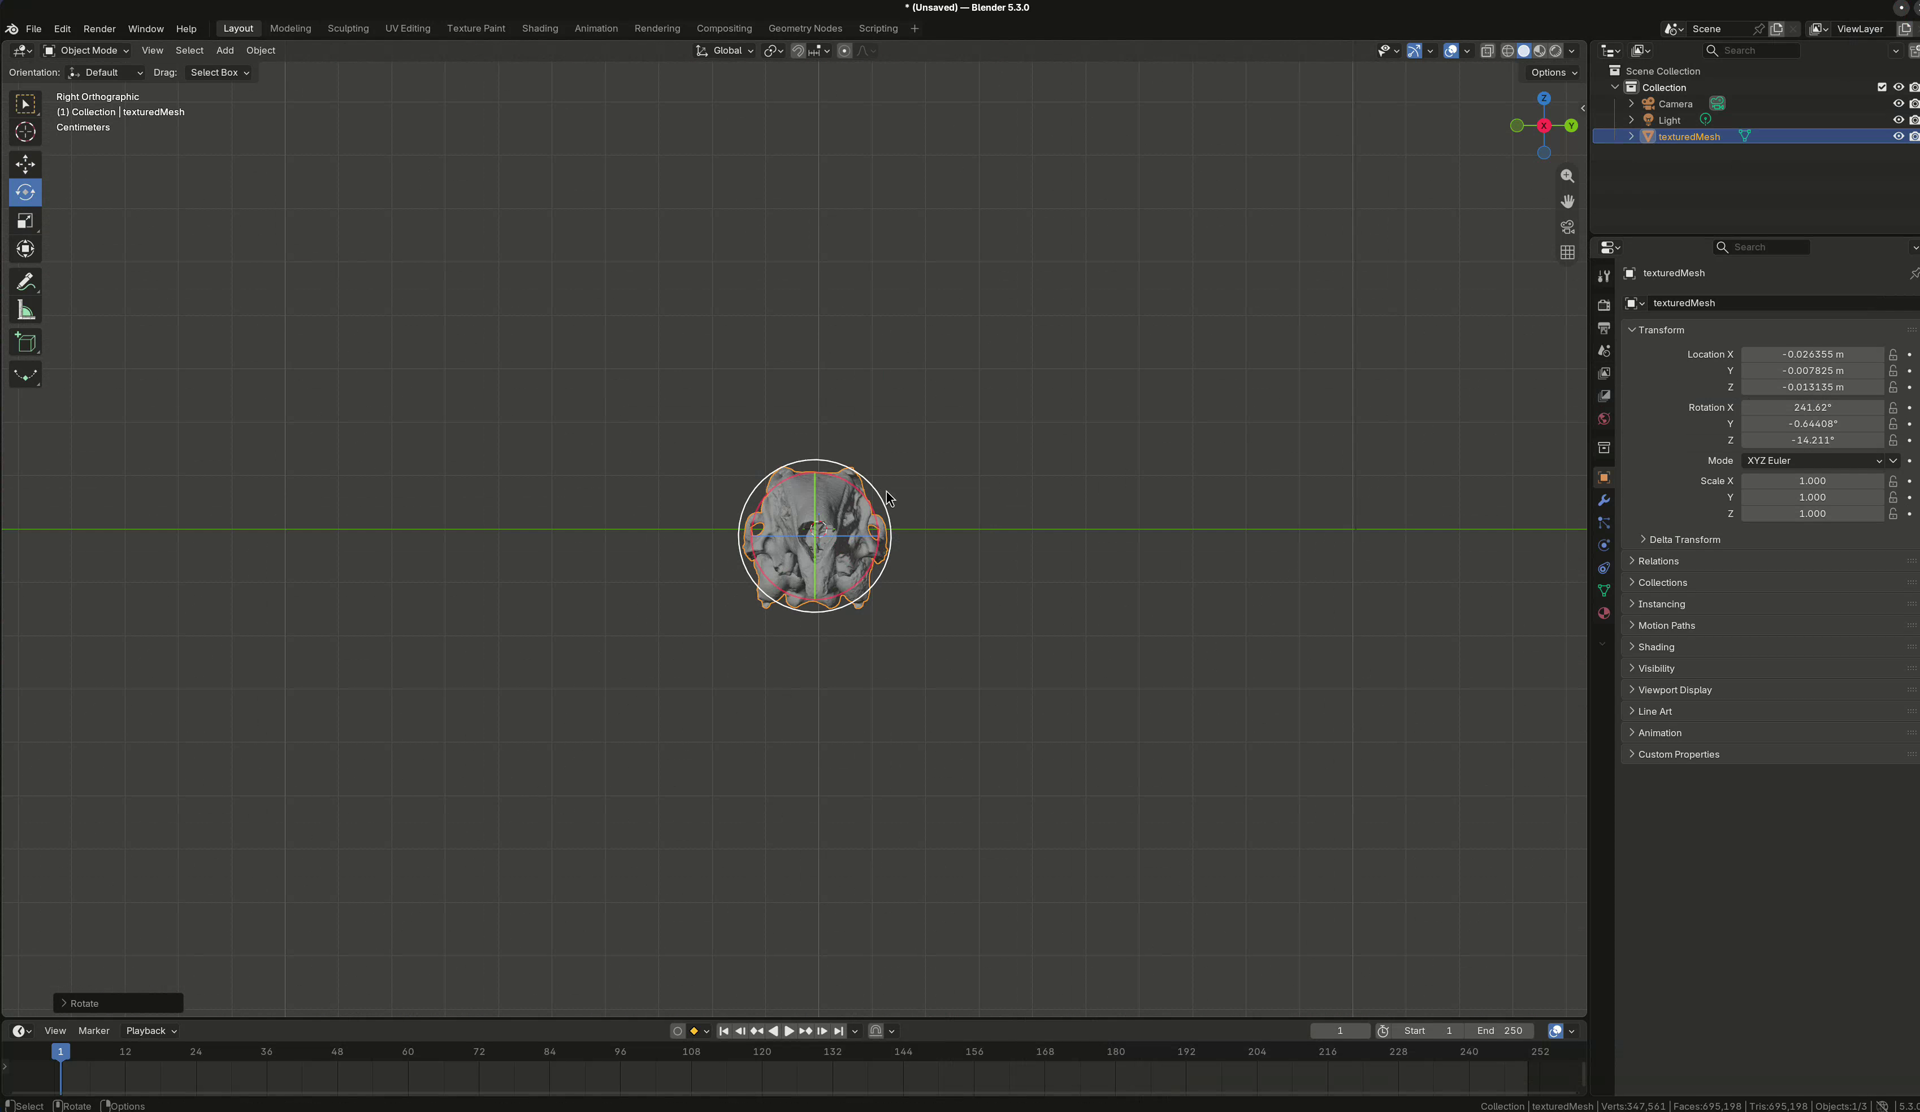
Measure
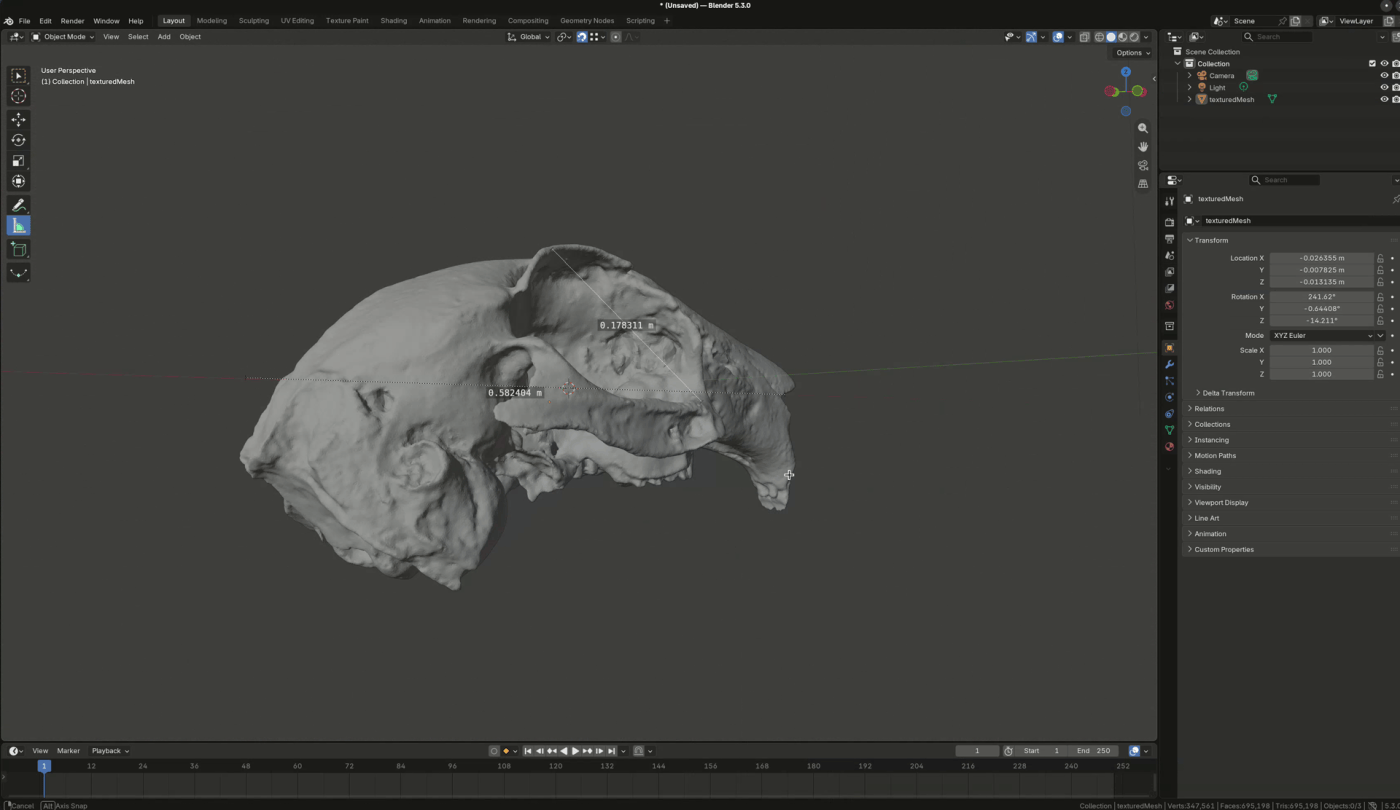
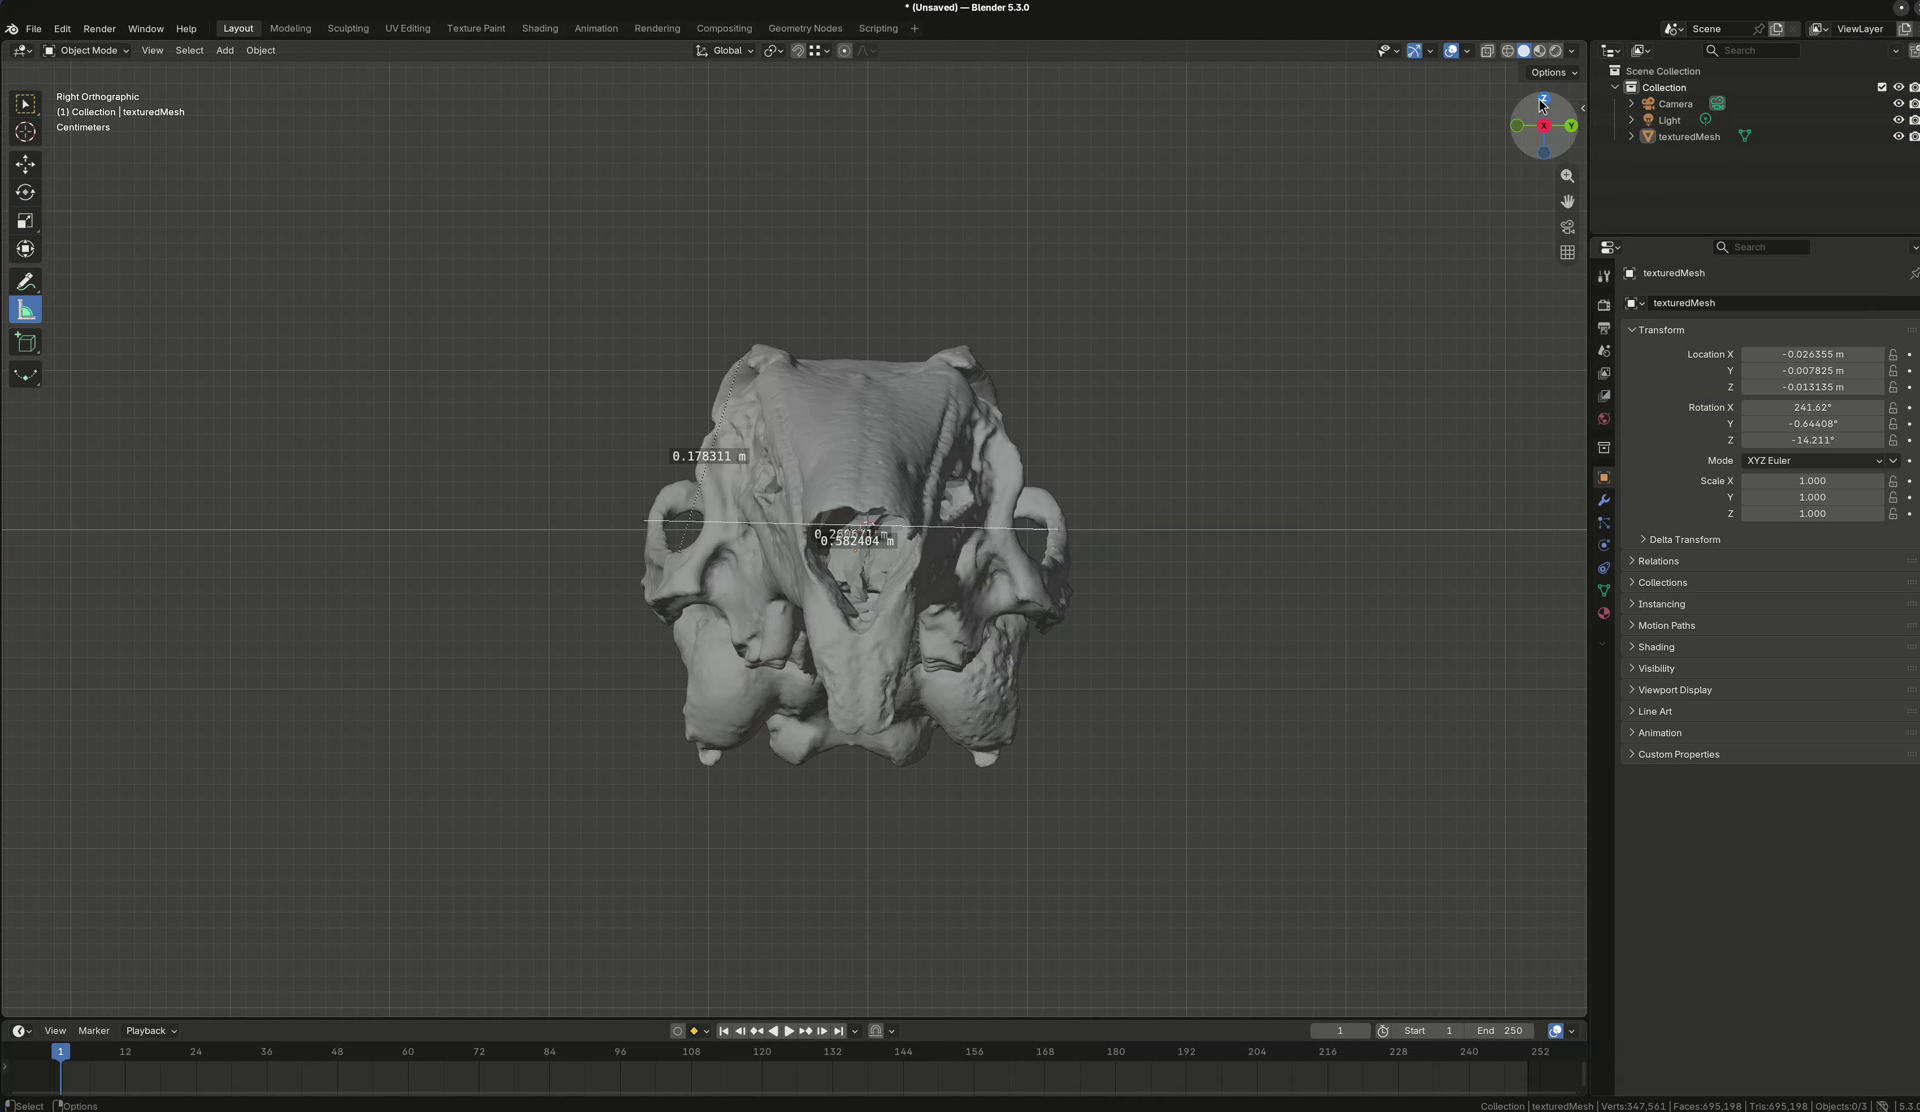
The measure tool lives in the toolbar (the little ruler). Pick it and drag anywhere in the viewport: you get a line with endpoint handles and the distance right there on screen.
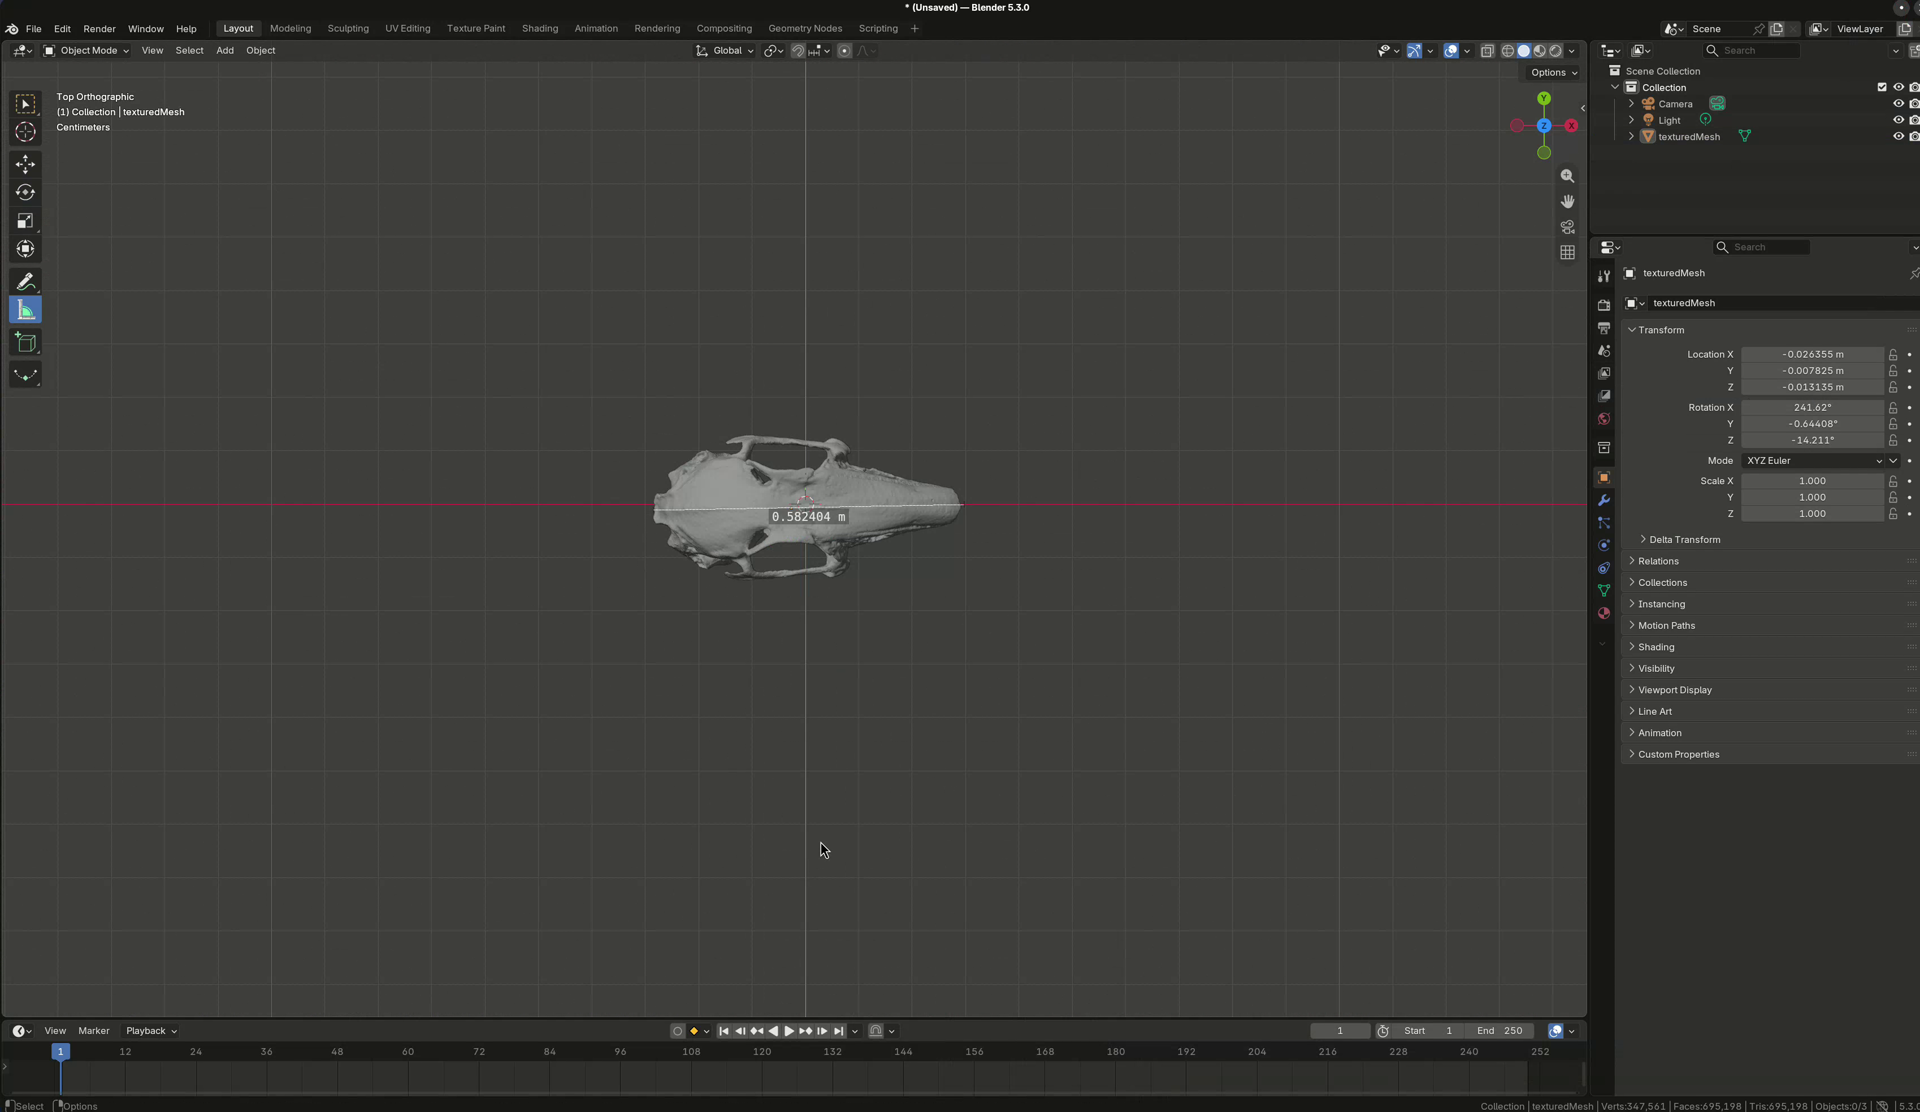
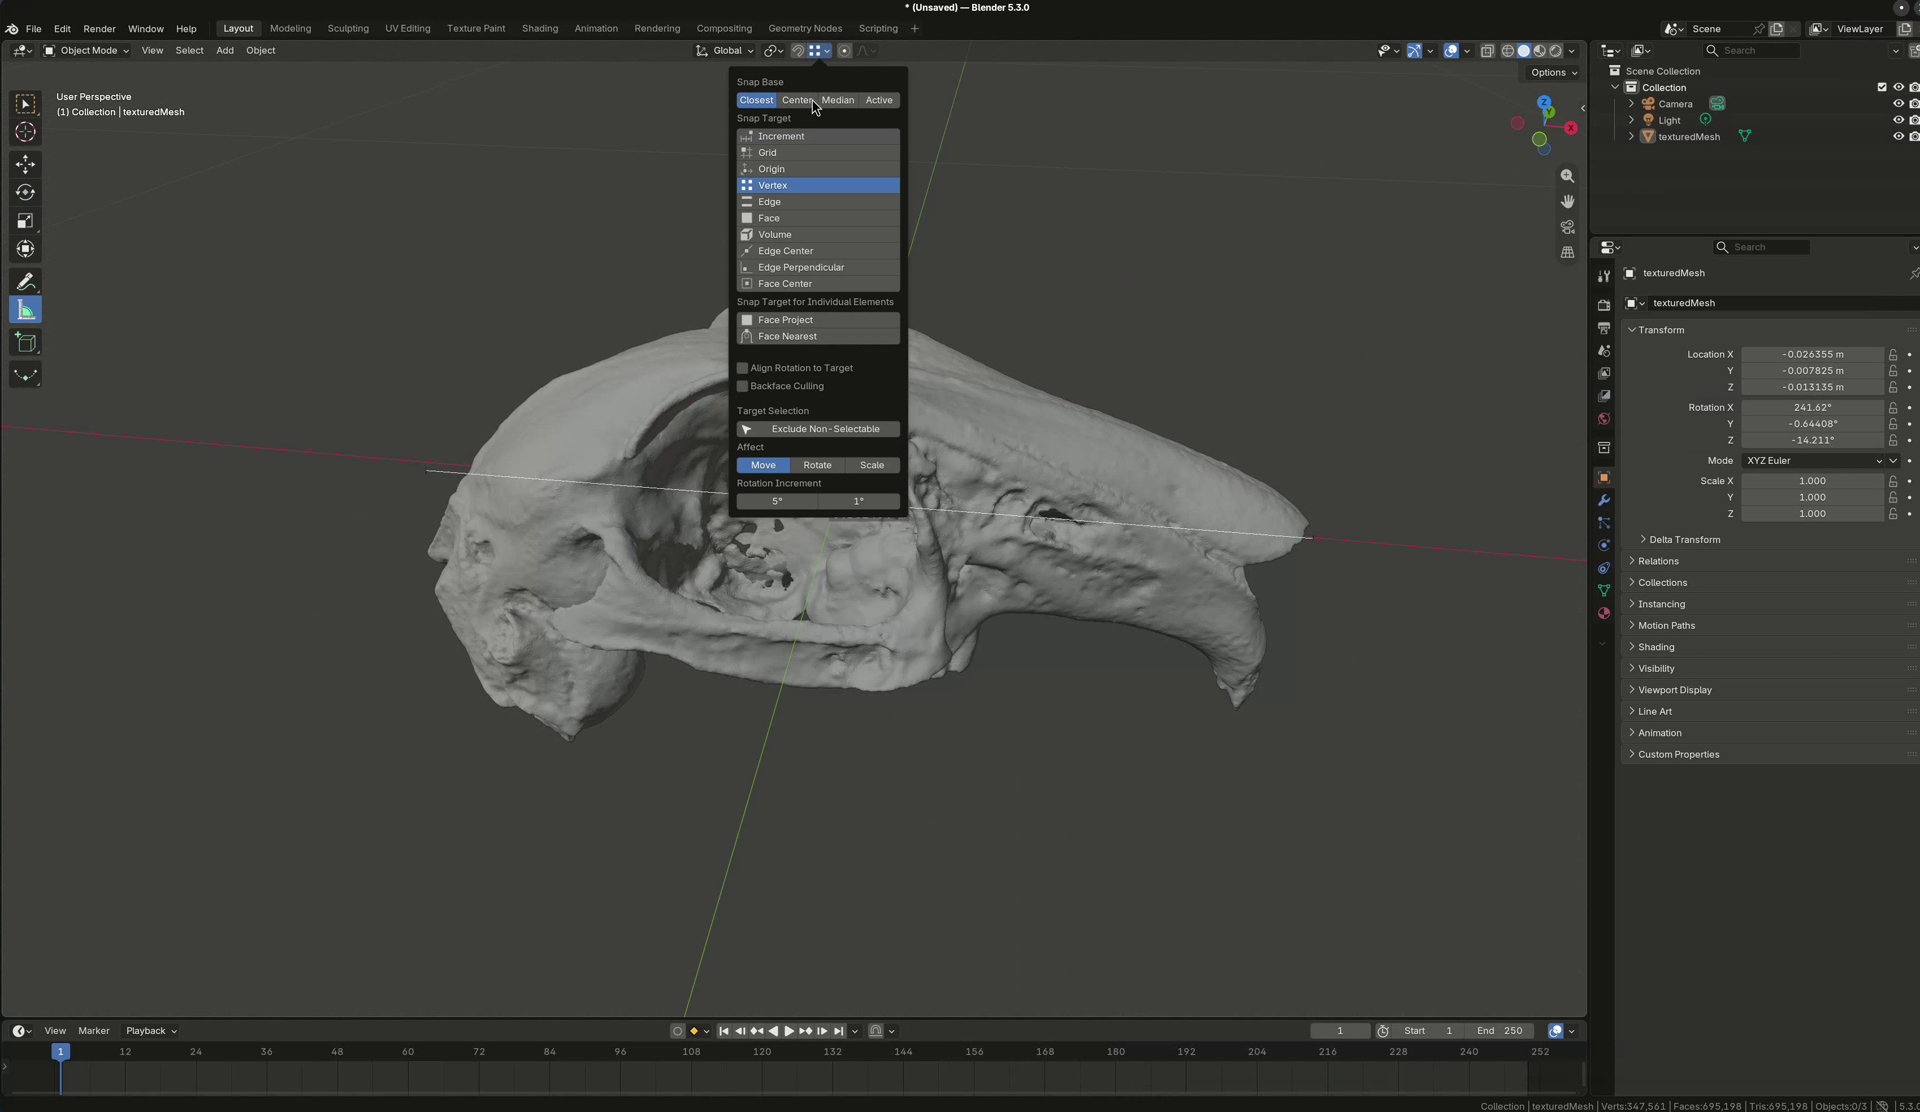
That measures free-space distance, though – a projection. To measure things on the skull, open the snap settings up in the viewport header, set the Snap Target to Vertex, and switch snapping on (the magnet icon next to snap settings). Now the measure tool sticks to the mesh, and you can walk round the orbit and measure it properly:
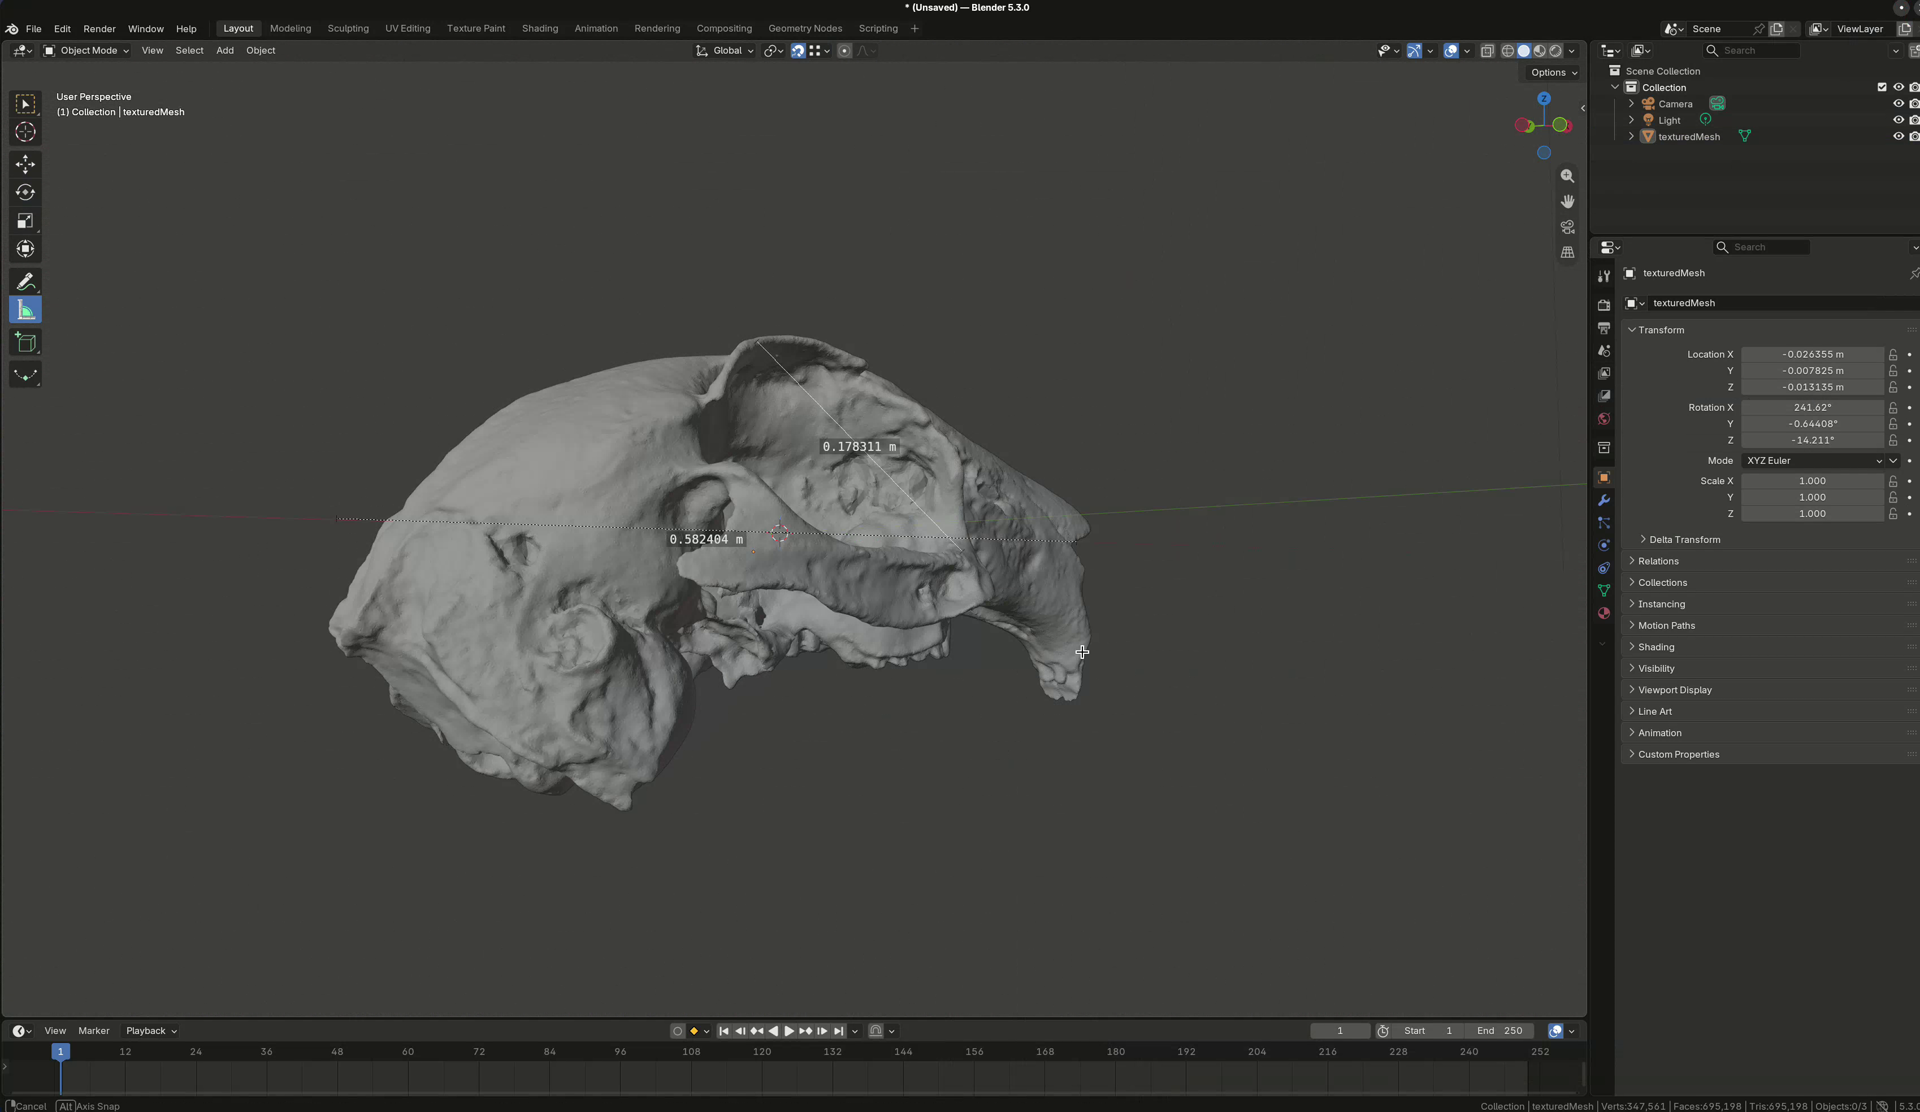
With vertex snapping on and the model squared to the axes, the rest is easy: flip to the front view, measure across, flip to the side or top, measure again.
That’s it – real measurements off a scan in a couple of minutes, no add-ons, no plugins. It’s not a substitute for a scaled photogrammetry project when you need traceable scale, but for a quick check on a specimen it’s perfect.


Leave a Reply