
Part 1: Photoscan | Part 2: VisualSFM+MeshRecon | Part 3: VisualSFM+PMVS+Meshlab | Part 4: OpenMVG + MVE | Part 5: MVE | Part 6: ReMake | Part 7: SMVS (+MVE) | Part 8: COLMAP | Part 9: 3DF Zephyr Free | Part 10: MicMac | Part 11: VisualSFM + openMVS, & COLMAP + openMVS | Part 12: Revisiting OpenMVG (with OpenMVS) [updated] | Part 13: Revisiting 3DFZephyr Free (v4.001) | Part 14: AliceVision Meshroom
Current Recommendation: Part 14, AliceVision Meshroom
In this blog post, I’m going to run through the new free software AliceVision Meshroom. I’ve been keeping my eyes on this for the past month or so, but until now it’s required compiling yourself, and a mismatch between CUDA and visual studio meant it was more complicated than I was willing to devote time to (It would require me installing an older version of visual studio).
Anyway, thanks to this thread on reddit, I was made aware that binaries are now available, so here we go testing them on my Styracosaurus dataset.
Let’s download the win64 binaries from here: https://github.com/alicevision/meshroom/releases
I’ve downloaded the zip file, then unzipped to my desktop for now, in a folder called ‘Meshroom’. Inside there is Meshroom.exe, and I double click that to start the program. It’s a nice looking interface:
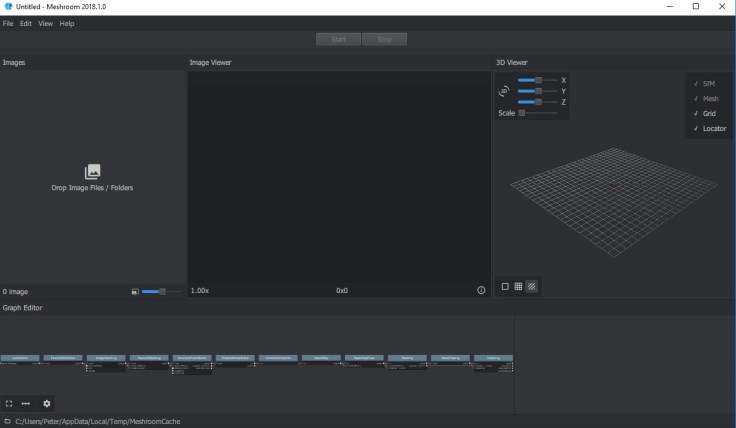
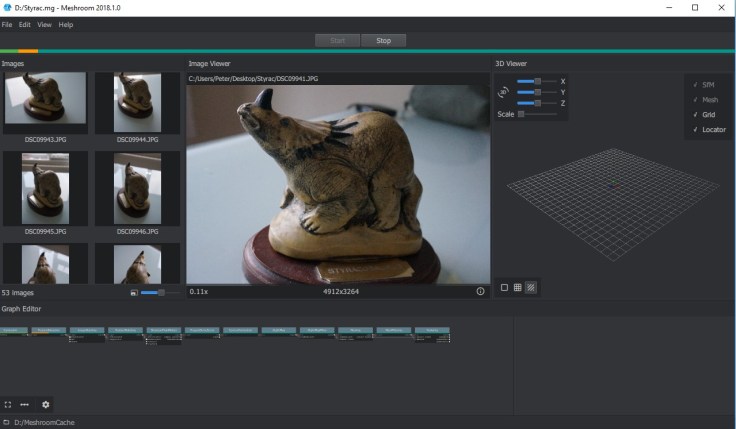
Import images by dragging and dropping a folder or files onto the left pane.
Before beginning, I’ve saved the project to my D:\ drive, so that temporary files go there, instead of my small C:\ drive.
I’m just going to run through without changing any settings, so I click the enticing green ‘start’ button at the top.
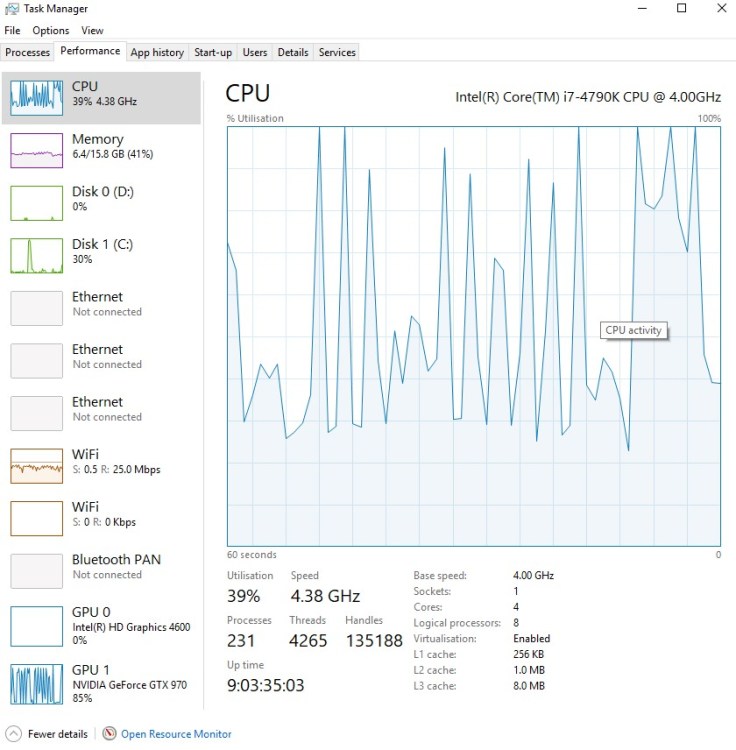
As Meshroom processes the data, the bar at the top moves to the right, and the graph at the bottom changes colour as each stage completes.
When structure from motion is complete, you’ll see the sparse point cloud and camera positions on the right:
During this time, Meshroom was utilizing both my CPU and GPU:

When the progress bar finishes, a small ‘load model’ button will appear in the 3D View:
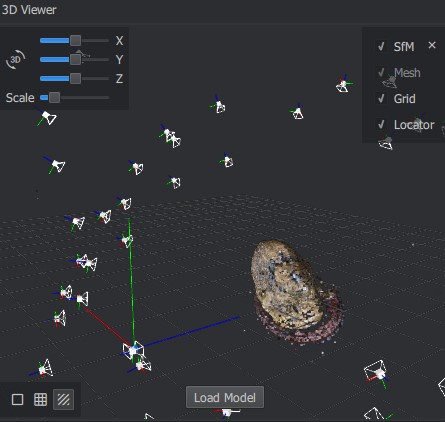
Hit that, and the model will load (surprisingly enough):
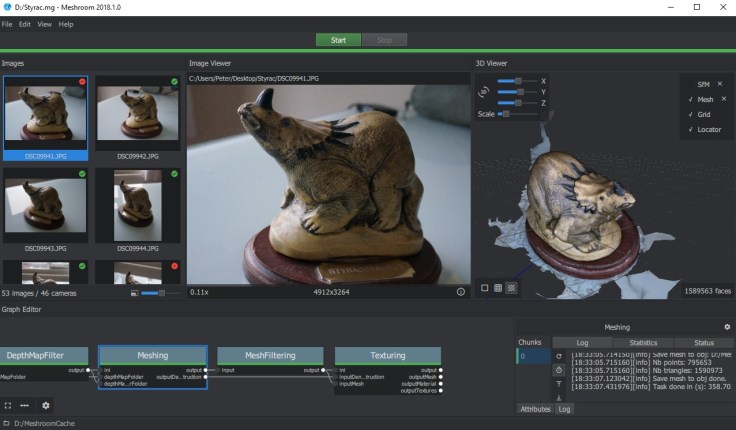
Buttons in the lower left of the 3D view will switch between solid, wireframe, and textured. The final model, plus textures, was located in D:\MeshroomCache\Texturing (a cache folder had been created where I saved the file).
The final model is excellent:
However, here’s the catch in the form of timings (labelled according to each part of the meshroom process):
- CameraInit:
- FeatureDetection: 50 seconds
- ImageMatching: 3 seconds
- FeatureMatching: 42 seconds
- StructureFromMotion: 1 minute 27 seconds
- PrepareDenseScene: 53 seconds
- CameraConnection: 4 seconds
- DepthMap: 44 minutes
- DepthMapFilter: 1 minute 11 seconds
- Meshing: 5 minutes 59 seconds
- MeshFiltering: 14 seconds
- Texturing: 2 minutes, 1 second
Total Time: 65 minutes
Clearly, that’s significantly longer than other software I’ve tested. I’m also under the impression that Meshroom is more reliant on EXIF data in images than some other processes, but I haven’t tested that. It’s worth noting that Meshroom failed to match 7 of the 53 images (only 46 were matched), though the model is pretty nicely complete.
All that being said, there’s a tonne of scope for altering parameters and changing the workflow. Modules can be added to the graph at the bottom of the screen, and clicking on any module will present all of the attributes available to change.
I tried again with DepthMap set to downscale 4 and 16 (default 2), as well as reducing some of the iterations and sampling variables, and that reduced the time taken a little. I also added a mesh decimation feature, and lowered texture resolution from 8192 to 4096, and the resulting model was still excellent, and much smaller file size.
I also added a ‘publish’ module which allows direct export of the model to a folder of your choice, rather than digging into the cache folder. (connect outputMesh, outputMaterial, and outputTextures from the Texturing module into the input of Publish):

Summary
+Really nice interface
+Extremely customizable parameters
+Good results
-Quite slow on default settings
-But changing parameters requires a fair bit of knowledge
-Potentially not as robust to images without EXIF data (but not tested for that yet)
-Lacking masking features from e.g. Photoscan.
Edit, 26/10/18:
You might want to check out my more detailed post exploring some of the parameters.

Thx for the review, Alicevision is an OpenMVG Fork.
Haha!, I thought the log output looked familiar. Thanks.
Hi, thanks for the review. I’ve also played around with Meshroom and got some fine results from the Cherub Statue dataset.
I’m trying to find a source of knowledge about all the parameters for each step in the pipeline. I want to trade some quality and detail for shorter processing time, but I don’t know where to start. Trial and error alone will take me a long time.
Hi,
just a note for people reading this: Meshroom seems to require a CUDA-enabled device, which is not tested at the start of the program . So it allowed me to start with my images dataset and at first, the results in the 3d window looked very promising, but the process then stopped with the CUDA message in the log. Other tools , like Zephyr, just tell you that it will take considerably longer to compute without CUDA but then continue. So if you, like me, are just experimenting a little bit and do not have the latest and greatest hardware, this one is not for you.
@Peter: Thank you for your helpful tool comparisons and reviews!
Regards
Ulrich
Having CUDA is not the latest and greatest hardware. Any almost any nvidia graphic from integrator lime MSI for 30$ will do the job
A HIP version may come soon if people willing to support: https://github.com/alicevision/meshroom/issues/595#issuecomment-724867633
Hallo and thank you for that insight!
I am trying to do a little comparison myself and was curious how you get those processing times?
As for example in the respective logs, my model has 3 chunks in the FeatureExtraction node, which individual times I can easily add. (The DepthMap node though, has 34 Chunks, which is a little bit tedious, but doable to add the times).
But the ImageMatching node for example, gives me no “Task done in…” output in its log. So I must definitely overlook something. Is there any other way to get those times? I tried searching the web, but it seems you were the only one who examined that carefully, so I thought I would give it a try.
Thank you in advance and greetings from Austria.
Frank
I can’t remember off the top of my head. I probably just sat there and timed it, as it’s only a few seconds in this case.
Hi, thanks for this awesome review, I learned quite a lot!
While playing with meshroom, I feel it’s not very convenient to preview the obj file by opening it in 3d viewer, such as meshlab. I am wondering if there is an easy way, to use a command line method to generate the snapshot of the 3d object. To make things simple, I’d like to ask if there is a way that I can get the 3d object snapshot from the angle and distance of the first picture in the input dataset?
I dont think theres an easy way to get a 2d snapshot without loading the model, but you can load the model in meshroom so you dont need to open meshlab; just double click the ‘meshing’ or ‘texturing’ nodes when processing is complete. You could then grab a screen capture if you want something for archival purposes.