Back in 2020 I posted about automating my photogrammetry with a 3D printed turntable, an Arduino, and an Android phone running QPython that took the photos. Then here when I added my Sony Nex-6, triggered by a servo motor blue-tac’d and elastic-banded onto the shutter button, and here when I replaced the servo with an infraRed LED. That setup made some pretty awesome results, and the whole thing descended from this Thingiverse build.
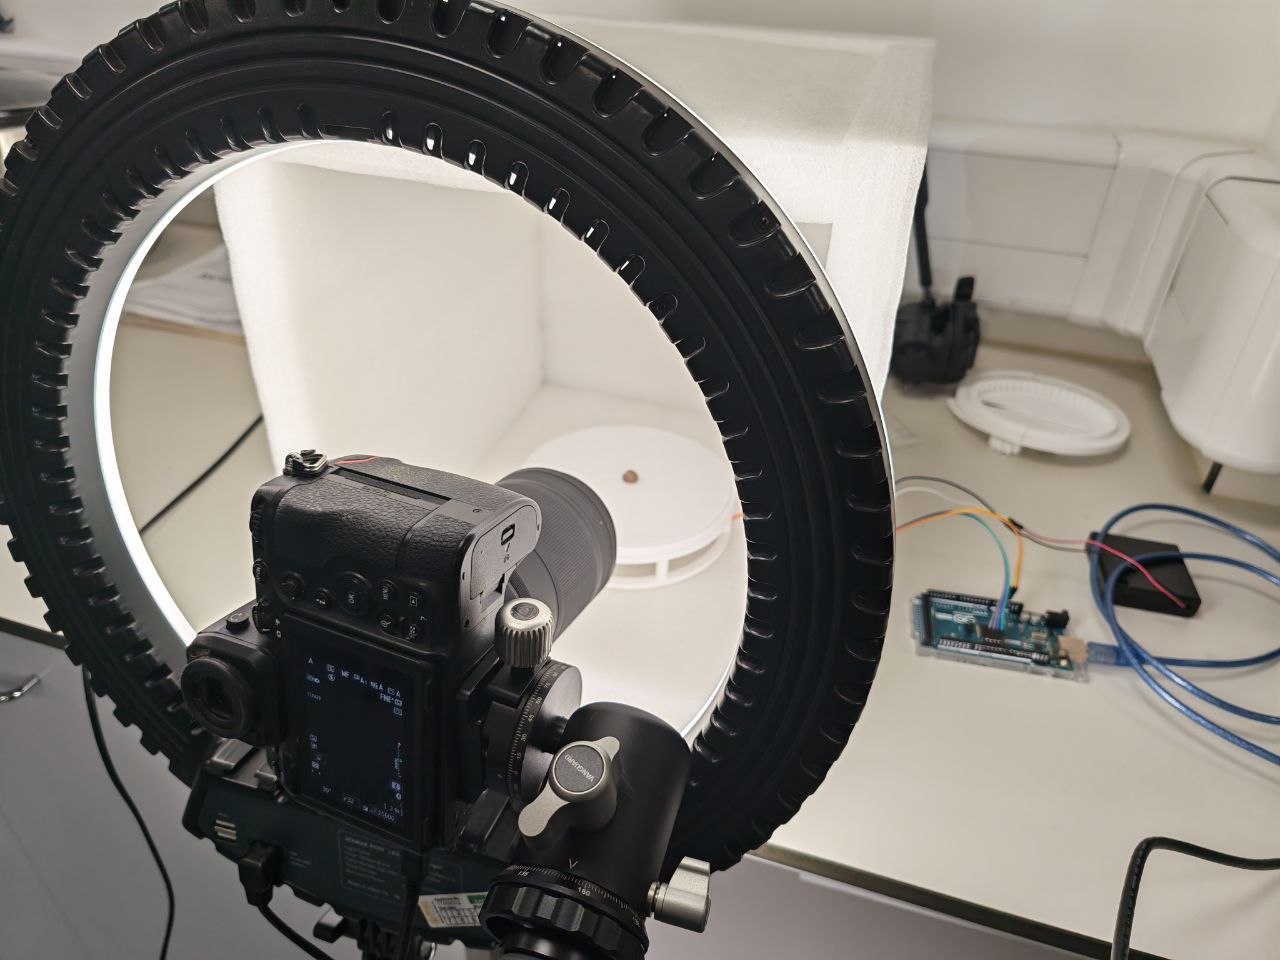
Six years on, the camera is a Nikon Z8, and I’ve just finished rebuilding the automation around it. The servo and the IR LED are retired for good this time. The Arduino no longer touches the camera at all, and the photos come down the USB cable straight onto the computer as they’re taken. That last bit is the real upgrade – no card to empty, no FTP server on a phone, no QPython. One command, and a few minutes later you have the whole revolution of NEFs on disk, ready for RealityScan.
The rig
What has changed is who does what. Previously the Arduino orchestrated everything and talked to a python server running on the phone. Now the firmware does exactly one job – move the turntable and report back when it has stopped moving – and the computer drives everything else. The firmware speaks a handful of line commands over the serial port:
PING -> PONGINFO -> gear ratio, steps per rev, current settingsN 72 -> set photos per revolutionSTEP -> move 1/N of a turn, reply when stoppedRPM 10 -> set motor speedROT 900 -> rotate 90.0 degrees in one go, reply when stoppedRESET -> zero the counters
The camera is fired by gphoto2. The scan.py script steps the turntable, waits for the Arduino to say it’s stopped, waits another second for wobble to die down, and fires the shutter. Capture-plus-download takes under a second a shot – an 18 MB JPEG (and the NEF too, if you shoot both) lands in a user-specified folder on the PC before the turntable has moved on. Shooting to the card is still there as an option, it’s just slow in a way you don’t notice until you’ve seen the alternative.
python3 scan.py --photos 72 --download --name femur_top
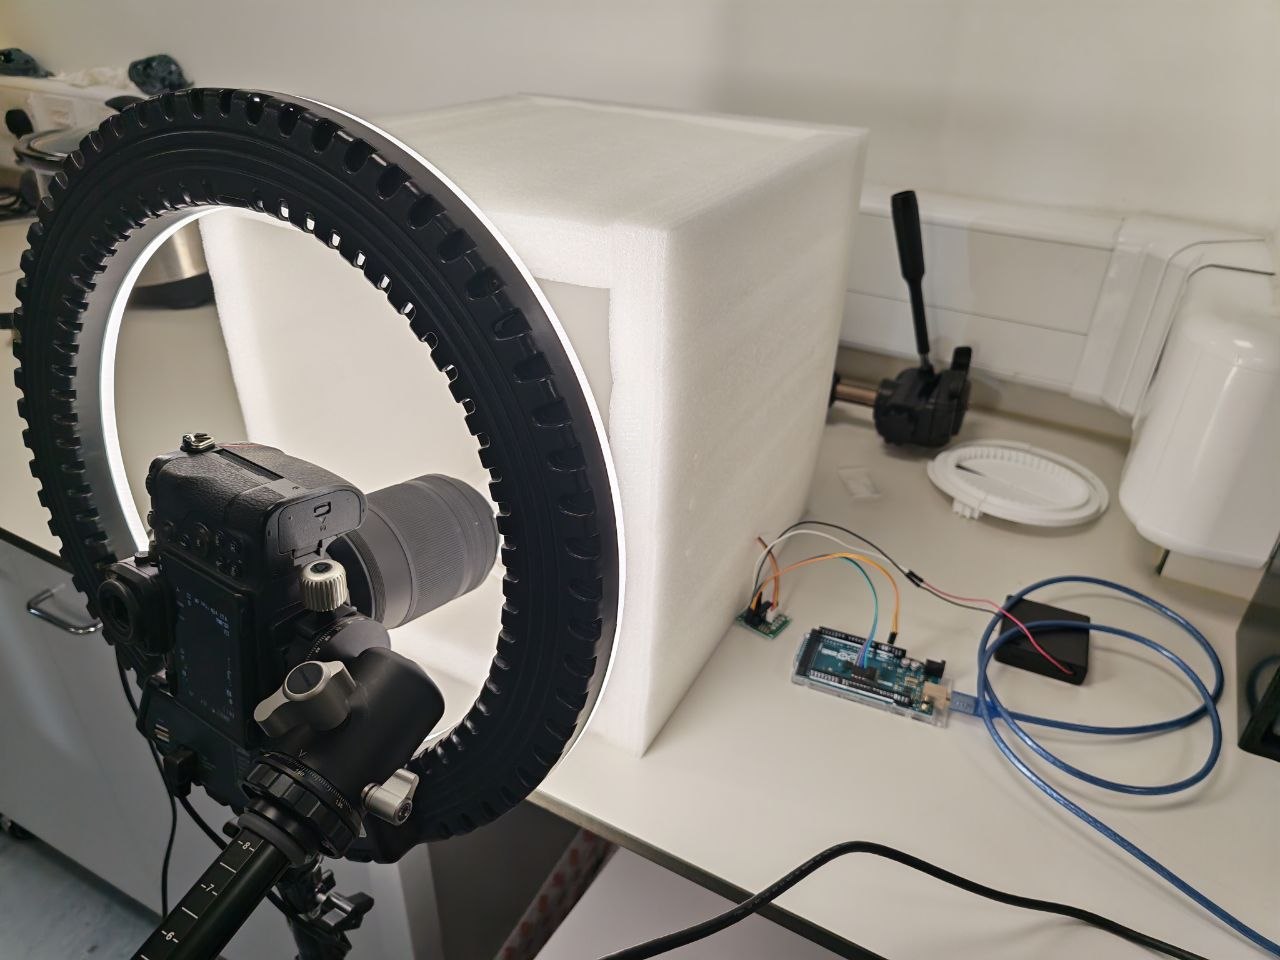
There’s a --rotate option for checking how the specimen sits before committing to a scan, which turned out to be an education in its own right. The first version of --rotate worked by telling the turntable to move one tenth of a degree at a time, 900 separate STEP commands for a quarter turn. That sounds fine, but every command is a round trip over a 9600 baud serial line – send, motor crawls, reply, think, send again. Ninety degrees took 27 seconds, and almost none of it was the motor actually turning. The fix was a ROT command that takes the whole move as one command and runs it on the Arduino, replying only when it’s stopped: same 90° in about four seconds.
The other surprise was discovering that a stepper motor will happily lie to you. The stepper is open-loop, meaning the Arduino sends pulses and simply trusts that the rotor followed them. There is no feedback. So one day --rotate reported 90 deg done and the turntable had not moved at all – it had stalled and buzzed for a couple of seconds, and the code had no way of knowing. Speed was the culprit; the little 28BYJ-48 loses torque as rpm climbs, and past about 20 rpm whether it starts moving depends on where the rotor happens to be when the first pulse lands. Scans stay at 10 rpm, where it’s dependable. Rotations run at 20.
The camera-napping
One more, because it caught me out on the very first test run. You plug the camera in, gphoto2 --auto-detect sees the Z8 perfectly happily, but capture fails with:
An error occurred in the io-library ('Could not claim the USB device'):Could not claim interface 0 (Device or resource busy).
The culprit is the desktop itself. The GNOME volume monitor spots the newly-attached camera and mounts it through gvfs, so that your file manager can offer to import your photos – and PTP lets exactly one program claim the camera’s USB interface. The file manager had simply got there first and was sitting on it. The camera wasn’t broken, it had been napped. Close the file manager and kill the two gvfs helpers and it works again, so scan.py now does exactly that, mid-scan, whenever it sees this error.
The code
All of it – the firmware sketch, the python script, the Windows launcher, and a setup script that installs the packages and udev rules – is on github:
https://github.com/pfalkingham/arduino-photogrammetry
It’s all AGPL’d like the original AA-Scan it descends from. The Windows box drives the same setup through WSL, since gphoto2 doesn’t build for Windows, so nothing has been lost from the old cross-platform days.
The results
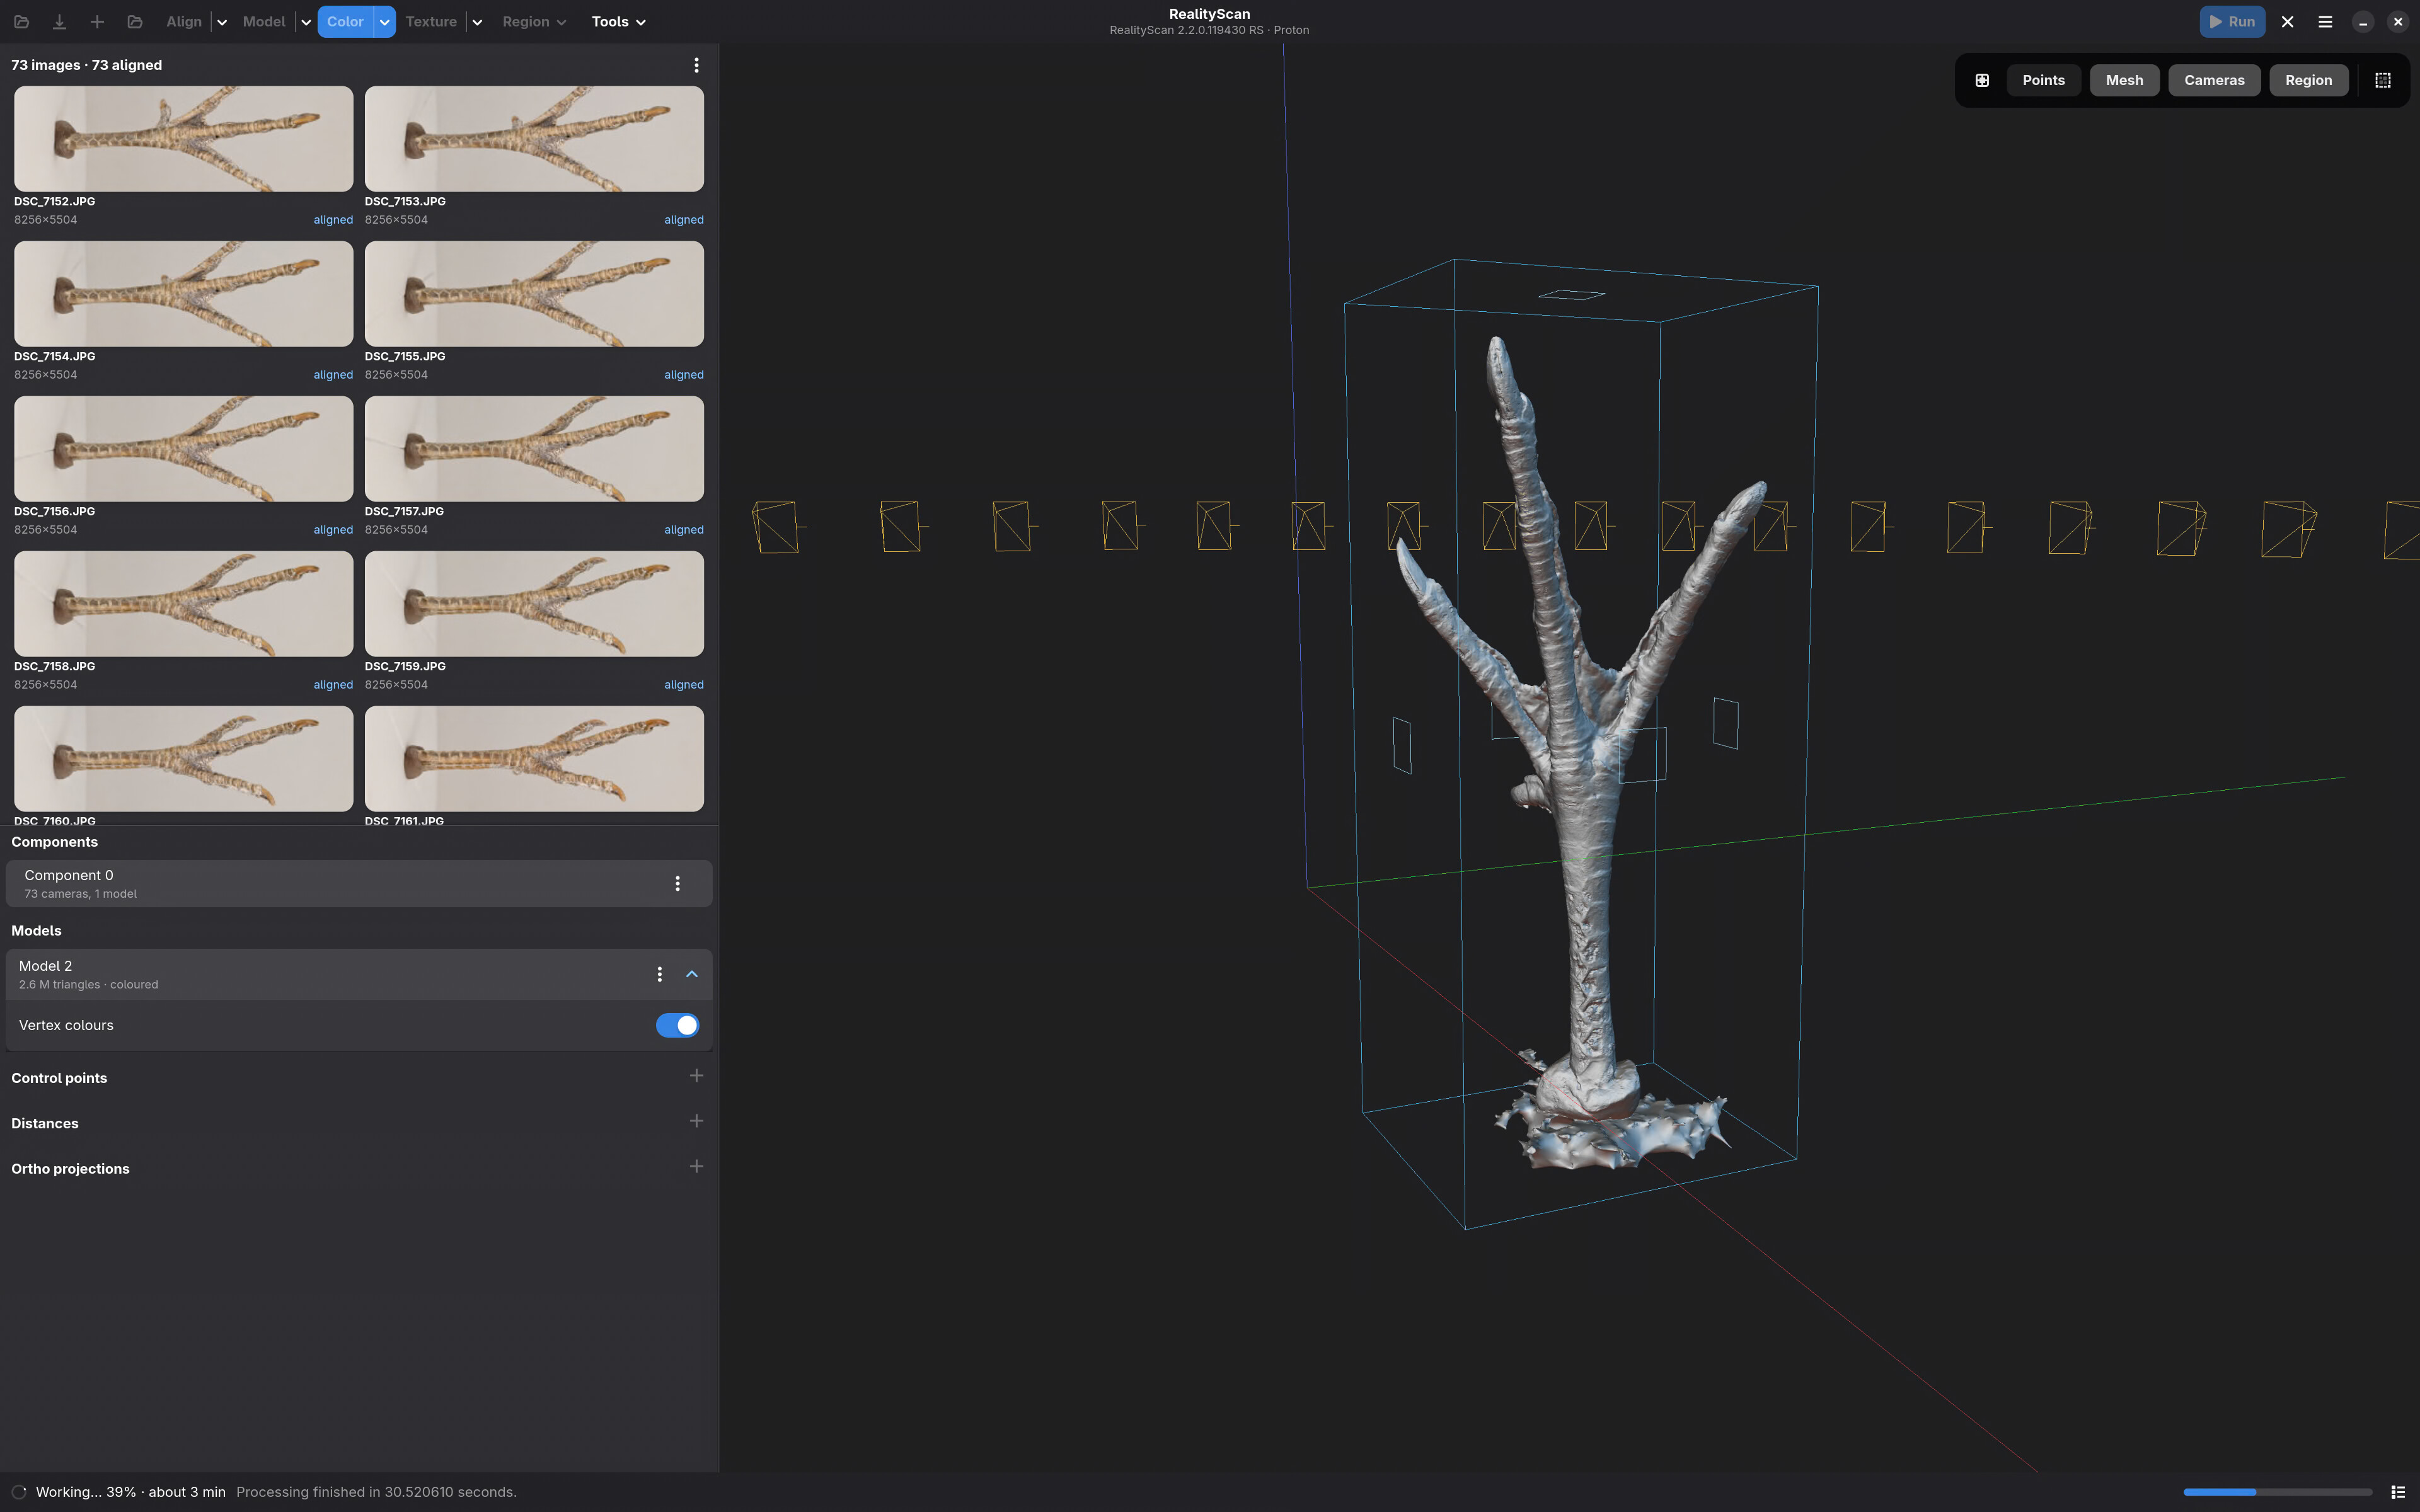
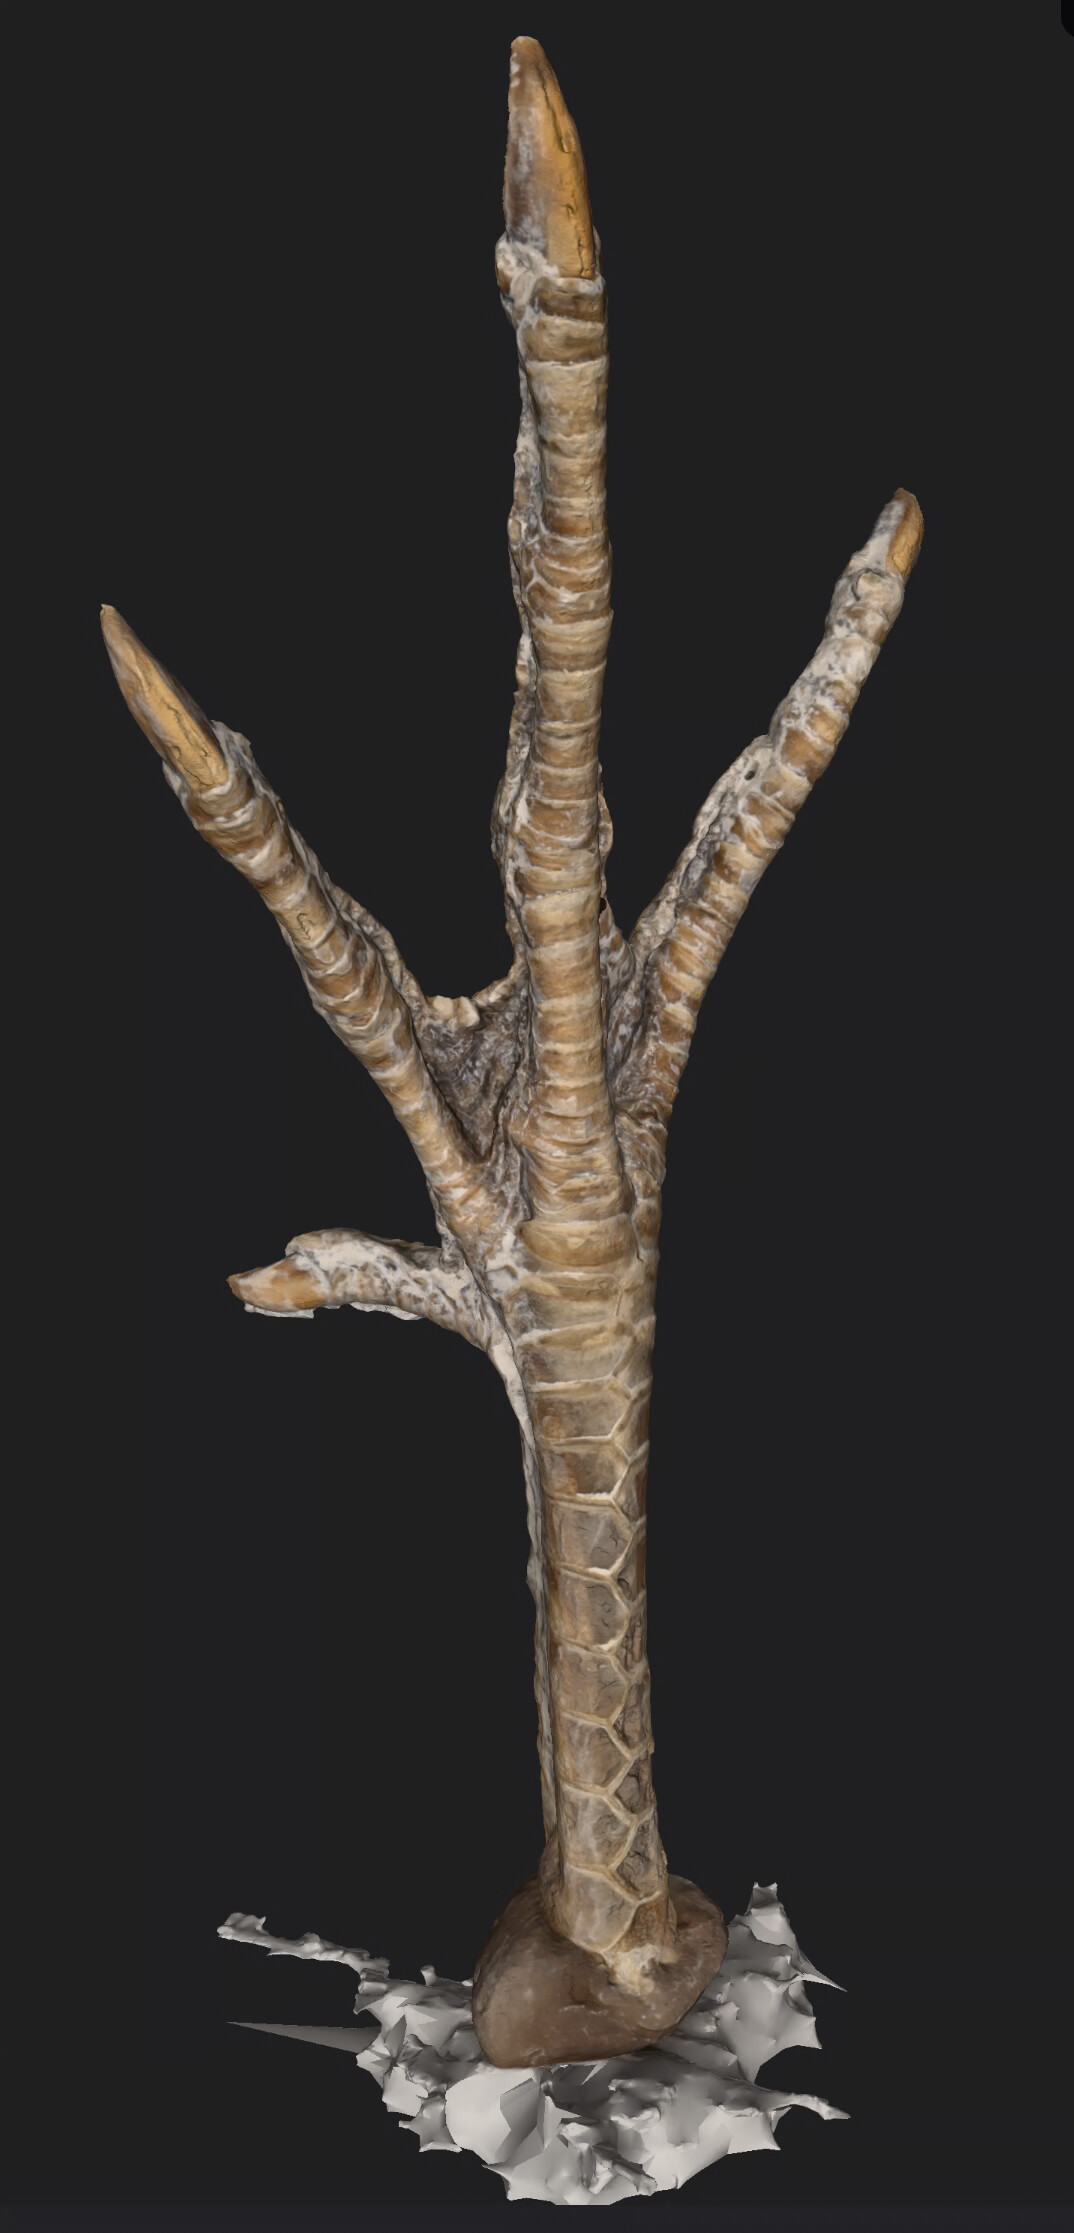
Pheasant foot, 72 photos in a single rotation, visualised in my Linux RealityScan front end (post to follow):
Soon I’ll get the full pipeline setup so it does the reconstruction for me automatically too. I may even add a second motor to tilt the turntable to get multiple rounds of shots at different heights.


Leave a Reply