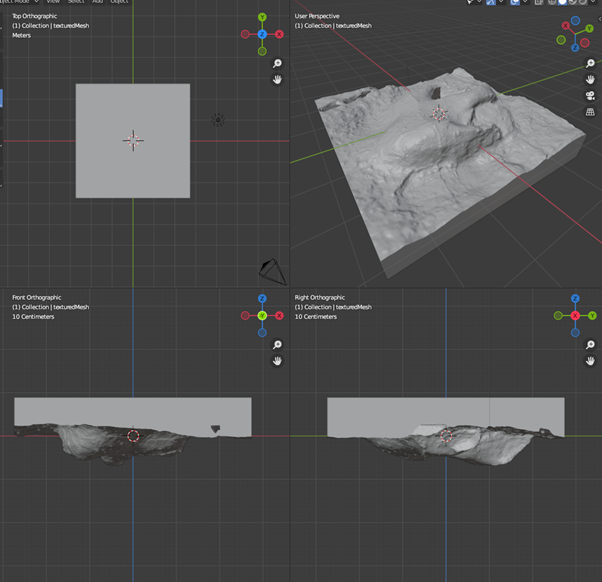
I scan a lot of 2.5D things. That is to say, 3D, but only a surface. Think dinosaur tracks, like this:

One of the problems you can come across is if you want to 3D print something like this, it needs thickness. Visualization can also be helped if there’s context for the edges.
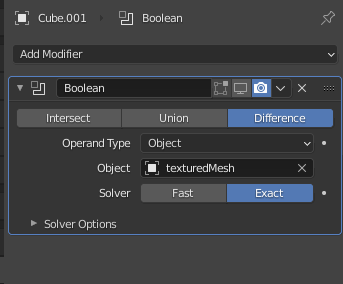
I’ll outline the way I go about doing this below, but it basically amounts to using the object as part of a Boolean operation with a cube, then projecting textures. I’ll show you in Blender, but the same idea will work in Maya or Meshlab, or whatever.
I’ll start off just adding a cube (or using the default cube in Blender):

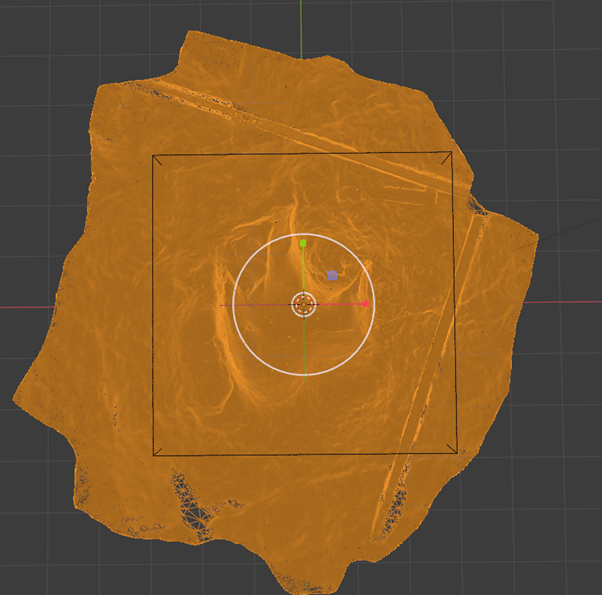
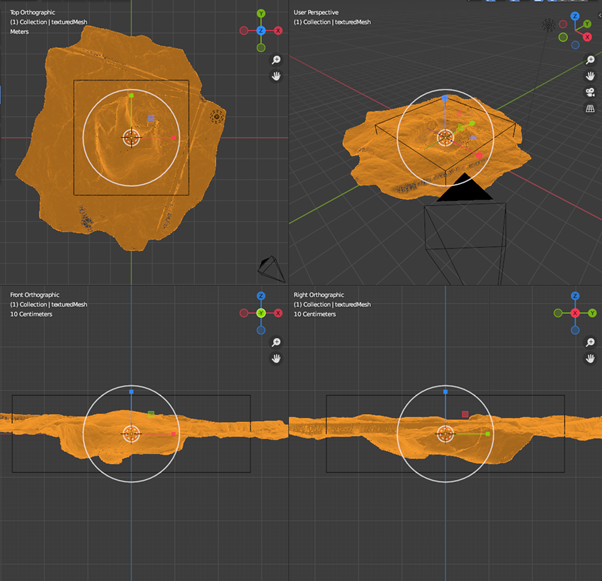
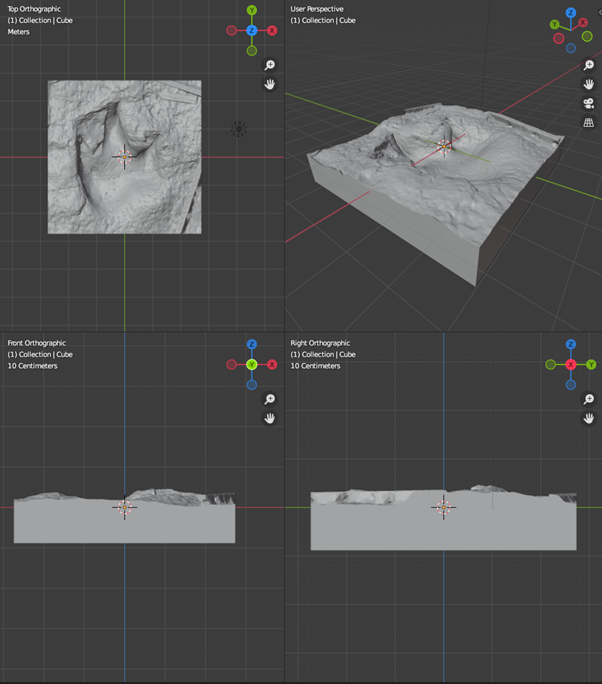
I’ll then scale the cube, such that the scan pokes out of each side, and the cube extends below the scan by an amount I think is appropriate
The key here is that the scan must completely cut the cube, you can’t have any of the edges inside the cube, or the Boolean won’t work:
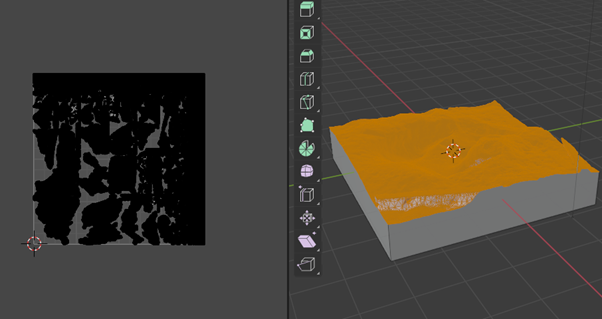
On the first try here, I got a positive relief:
That’s because my track isn’t manifold, and the normals on my track were facing ‘up’, but if I want to keep the lower piece, I need to reverse the normals (head into Edit mode, then Mesh->normals->flip):

Then run that Boolean again:
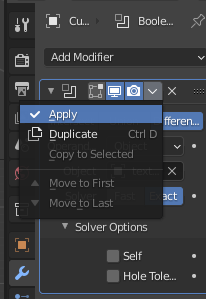
You can apply the modifier to make the Boolean operation permanent.
All that’s left is to transfer the textures across (if you want this for visualization. If you want it just for 3D printing, then don’t bother).
To do that, select the relevant faces (in this case, the easiest thing to do is select all then unselect the sides and bottom, or select the sides and bottom then invert selection), then smart UV Project. This will generate UVs for the texture, using only those top faces. Might take a few moments on a large mesh (or quite a while on the 2 million faces mesh I have in this example):
Then you transfer the textures, as I outlined in this post: Transferring textures from two halves to a whole (using Blender)
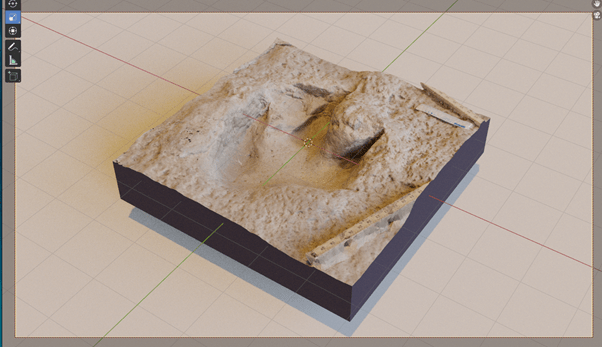
When it’s finished, you’ll have a great model that retains all the detail of the surface, while being more than just a surface:


Leave a comment