ContextCapture is Photogrammetry software from Bentley. In fact, it is a pretty comprehensive set of tools for photogrammetry, laser scans, meshing, GIS, etc. I was contacted by someone from Bentley, who asked me if I’d like to give it a test run. I was set up with a trial, but aside from that I’ve not received anything from Bentley, so this is just my experience giving it a whirl.
The important things to note up front is that the software is pretty full featured, and offers either local processing (Nvidia card required), or cloud processing. I only used the local processing here. ContextCapture does not list a price on their website, so I won’t put it here, but I can say they consider Pix4D (another software I’ve yet to try) their main competitor, and are priced a little less than that, on a subscription model. Just bear in mind this is industry software, and no where near the $59 academic pricing of Metashape standard. Their subscription model includes training and support.
Installing and setting up.
It’s a complicated software package, and installation leaves 4 icons on the desktop (and a few more in the start menu):
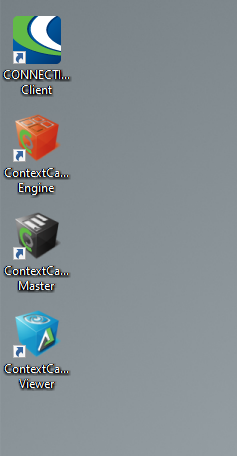
The client, used for licensing the software goes into the auto-startup in Windows. Worse, every time I exited it (when not using the software) it kept restarting and running in the system tray, which isn’t cool (quit or exit should properly exit a program and not let it re-start automatically).\
There’s then an odd situation where you need to start up the Engine, which runs in it’s own command prompt window, then start the ‘Master’ program. This seems unnecessarily complex – Open Drone Map works in a similar way, with GUI and engine disconnected, though in that case, you launch the engine, then connect to the GUI from there, but most software just presents you with a single program to launch.
Anyway, once you’ve got the engine running, you can open up the Master program:

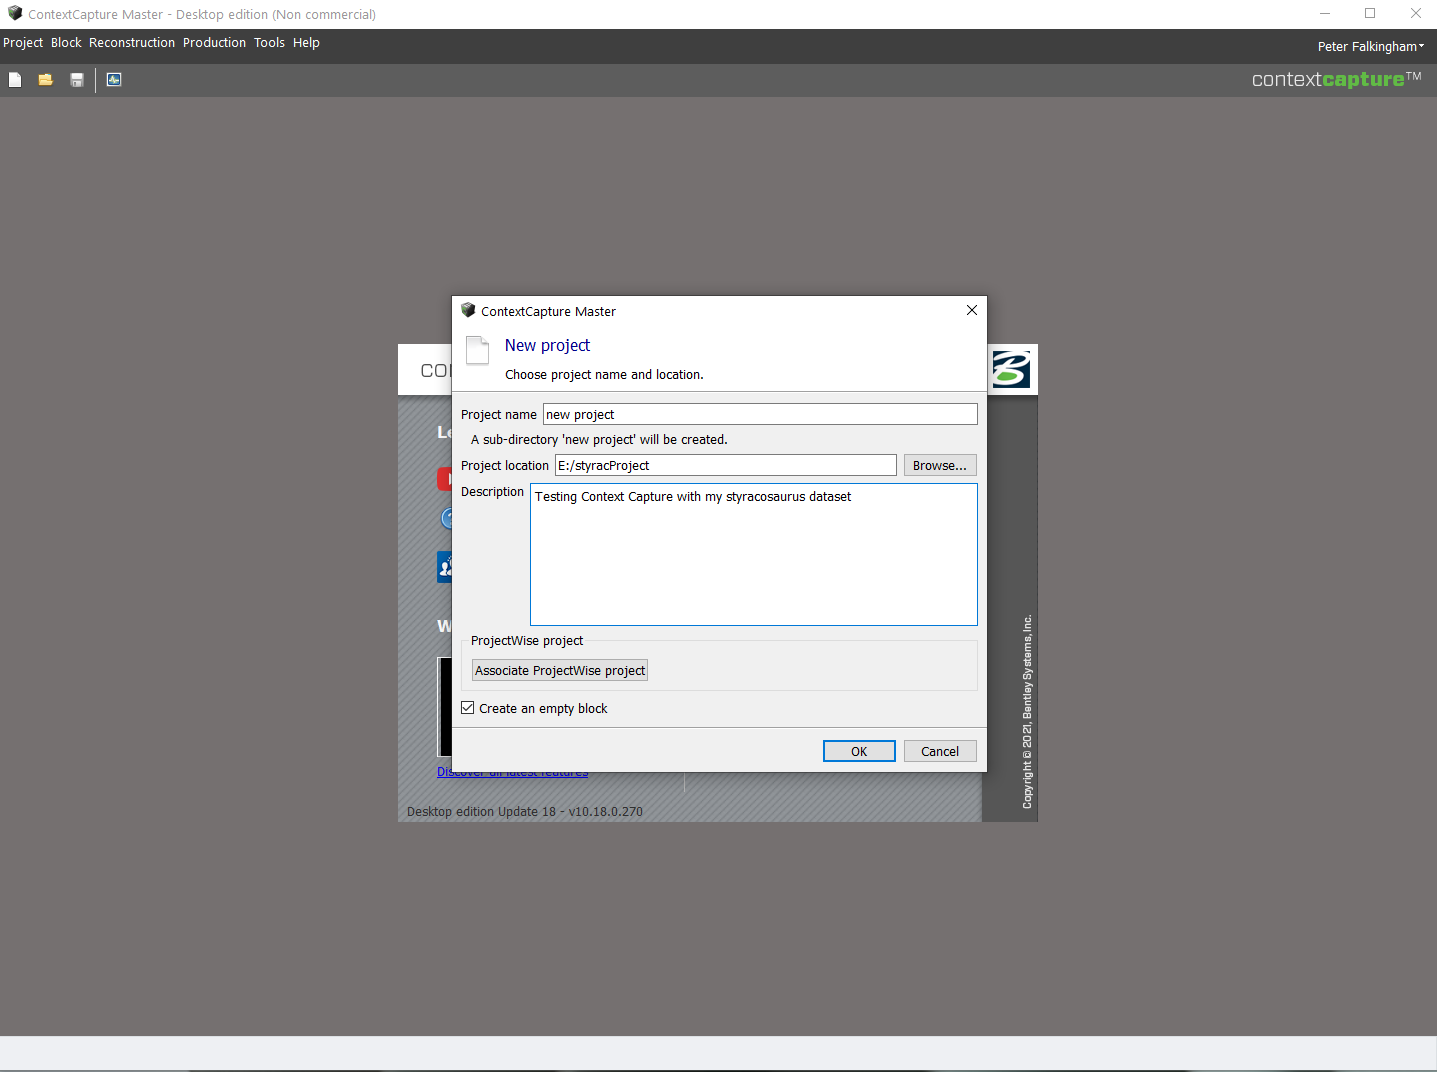
You’re presented with a splash screen that has links to tutorials and support, as well as the options to start a new project or open an existing one. First time use, so lets start a new project.
First thing to do is give the project a name, and place on disc to store everything:
After that, you’re presented with the first step of the workflow:
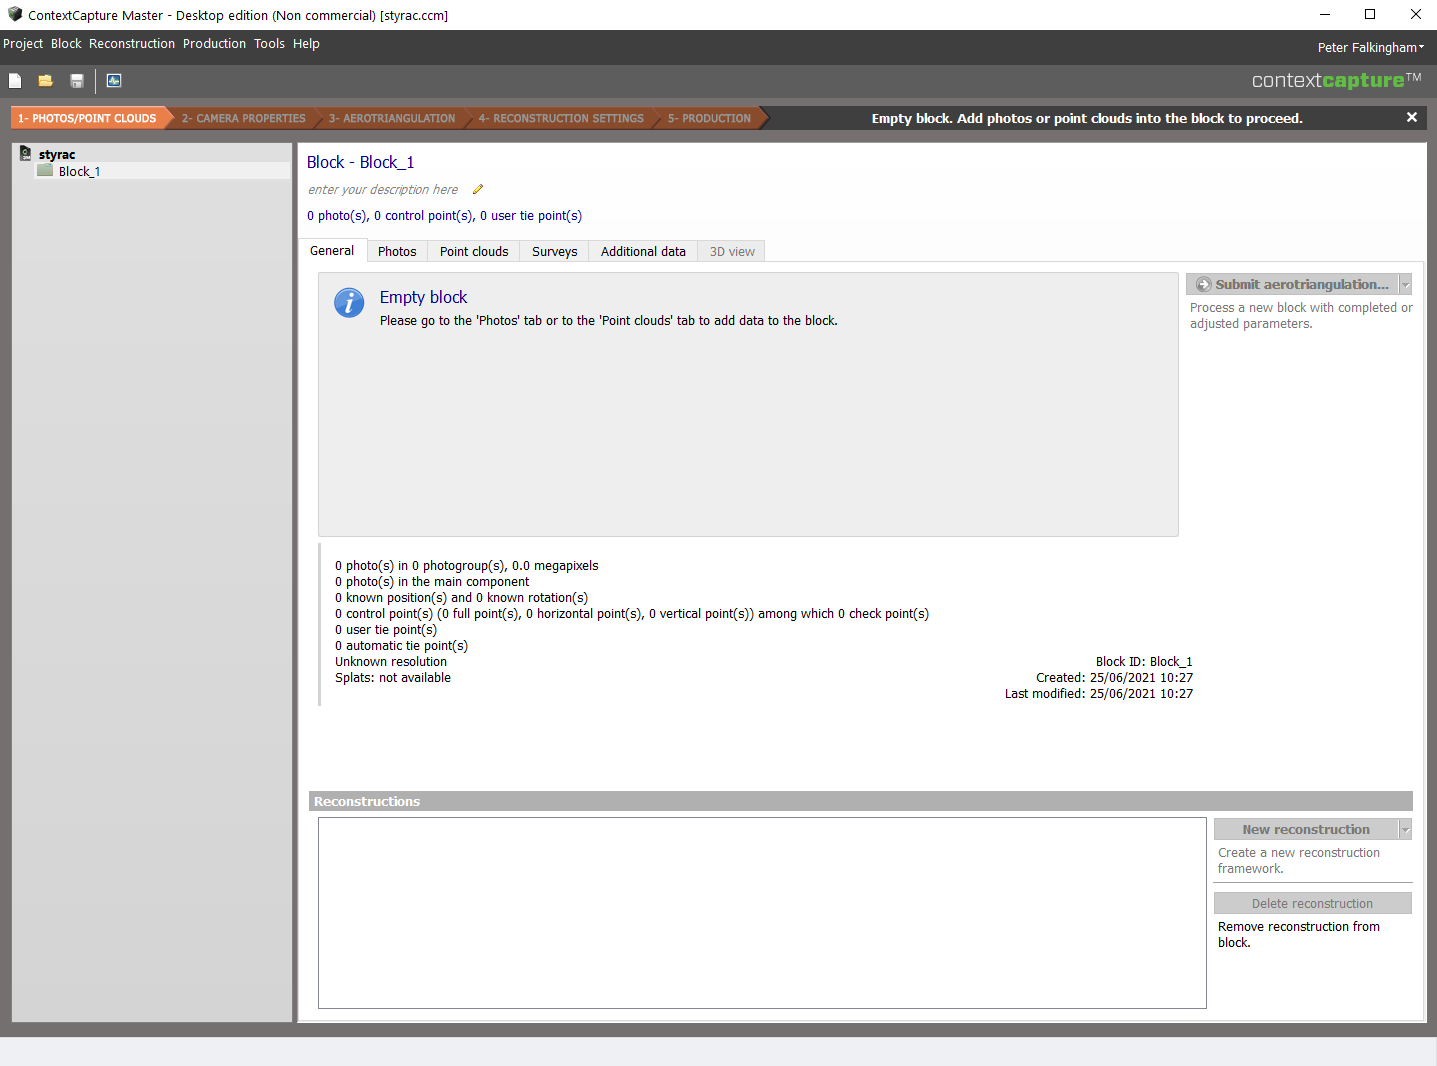
I find this quite a stark view, and it took me a little while to figure out exactly how to set things going. First you go over to the Photos tab, and add in the photos from your dataset. You can add them individually or as a directory. When you do, it breaks them into groups based on, as far as I can tell, Focal length:
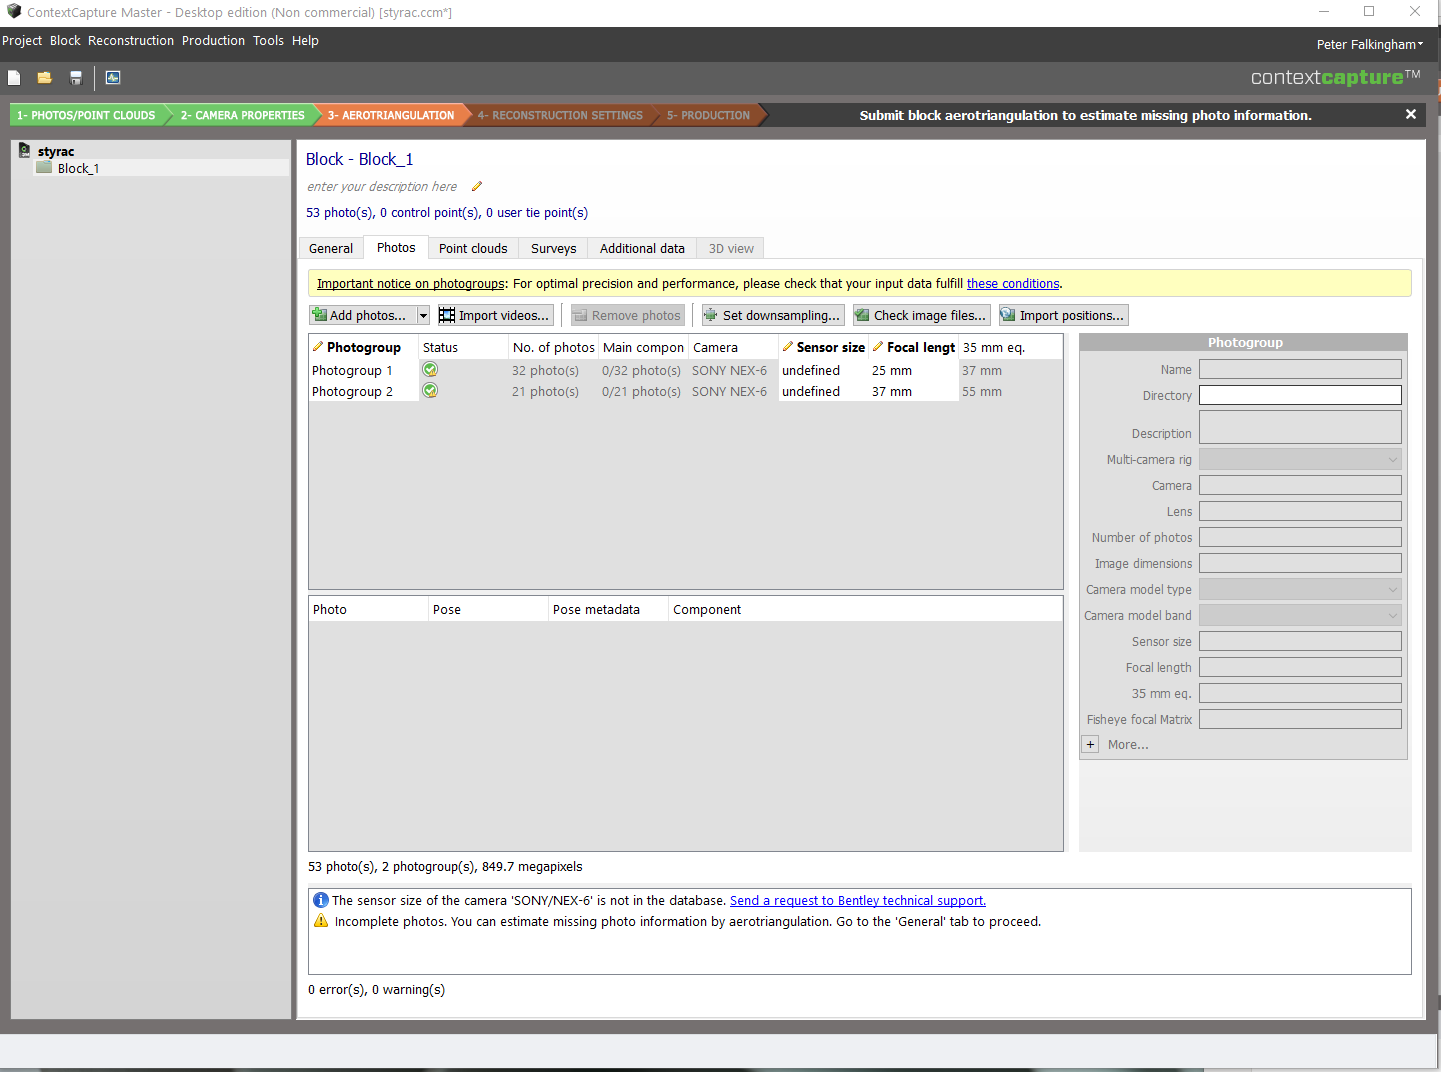
This is my standard (non-optimal) dataset of the Styracosaurus model. I did take photos at a couple of focal lengths. It’s interesting that ContextCapture has not identified the Sony Nex 6 I used to take the photos, so sensor size is ‘undefined’. I ran the rest of what you’ll see here having left that as undefined, but I also re-ran the dataset having entered the correct sensor size and it didn’t make any difference, so take of that what you will.
Camera Alignment/Sparse Reconstruction.
You then need to go back to the ‘general’ tab in order to set the process going. I find this back and forth between tabs to be not particularly intuitive for a process like this – you should move forwards after adding photos.
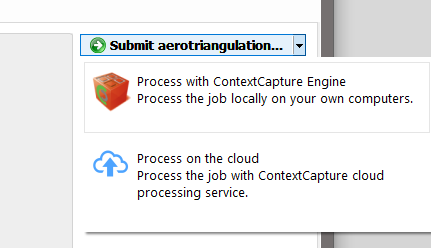
On that general tab, you click submit aerotriangulation (the wording makes this sound like it’s specifically for drone images, but I couldn’t see anything to change to close range terminology), and are given the option of processing with the Engine, running locally, or in the cloud. I chose local.
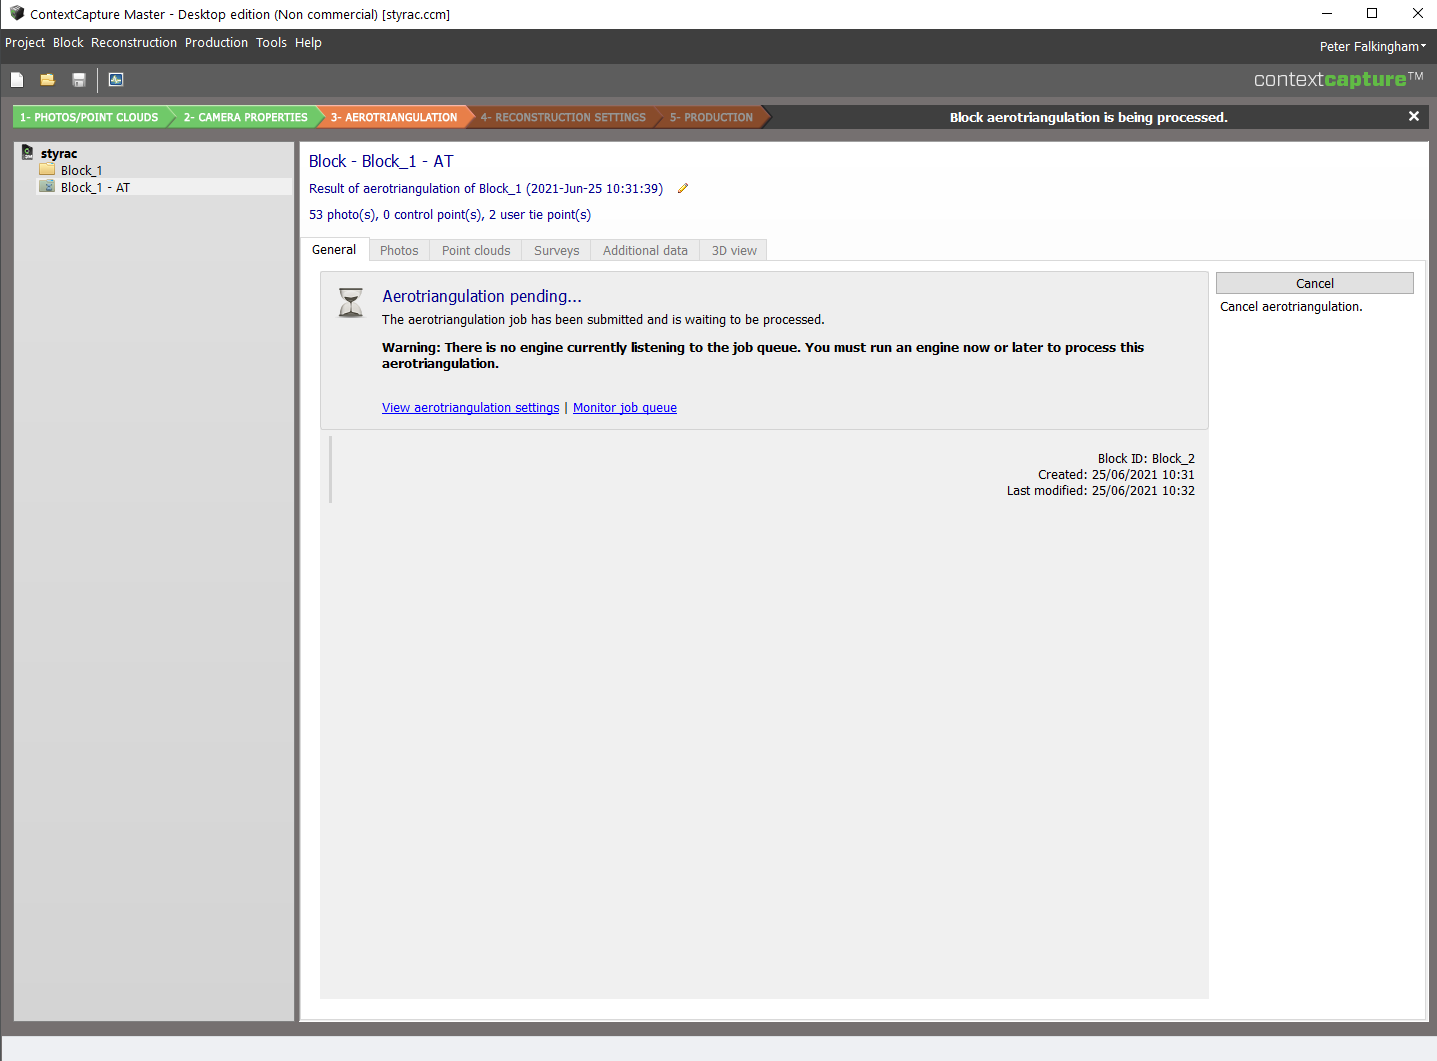
You then see the General tab change to let you know firstly that the job is queued, and then that it’s processing:
Triangulation of camera positions and a sparse point cloud took just 3 minutes 1 second. This is on my home computer, now with an Nvidia RTX2060 Super (upgraded from a GTX970 since I started doing my photogrammetry testing series).
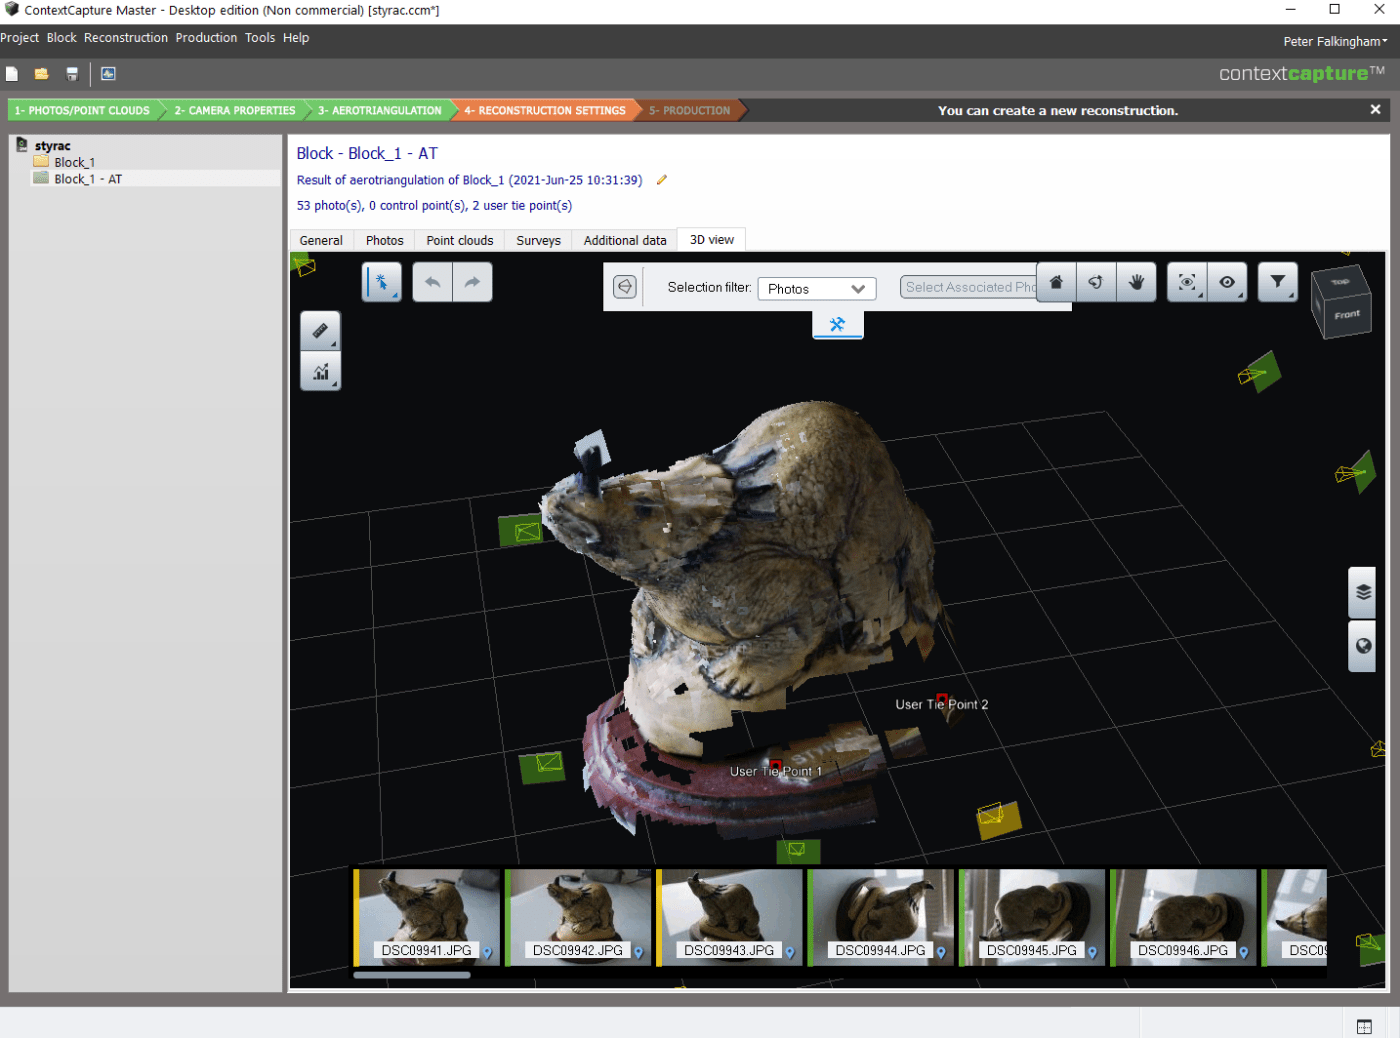
When it’s done, you need to switch over the the last tab on the right ‘3D view’
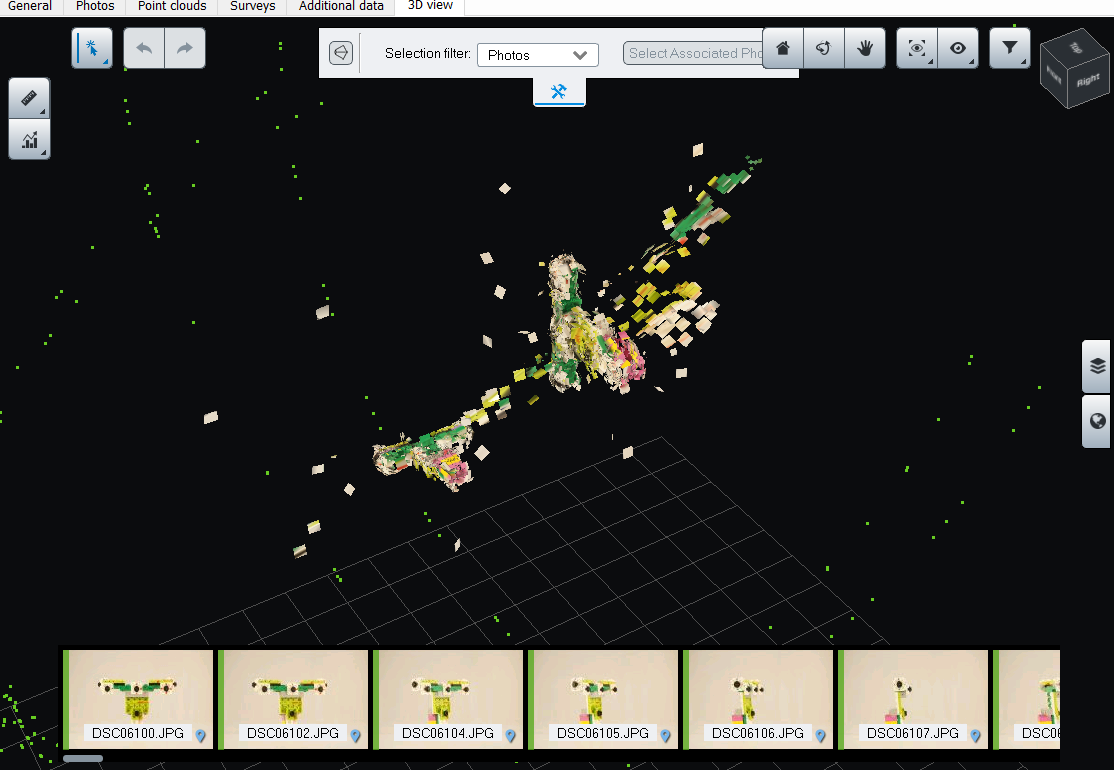
The resulting point cloud uses a ‘splat’ visualization:
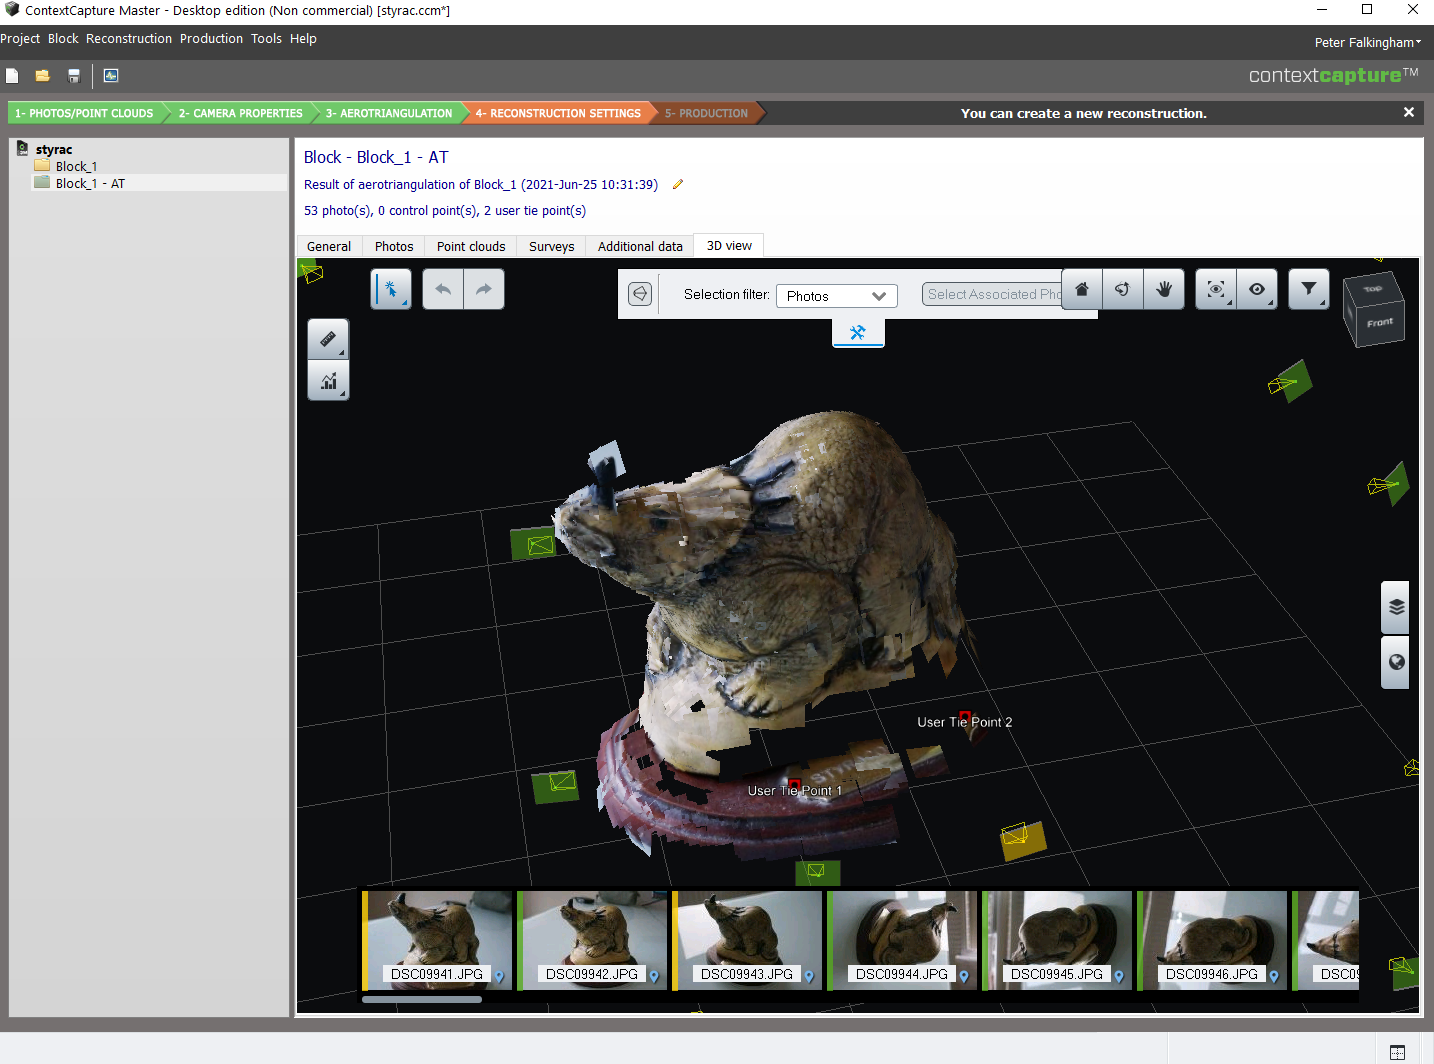
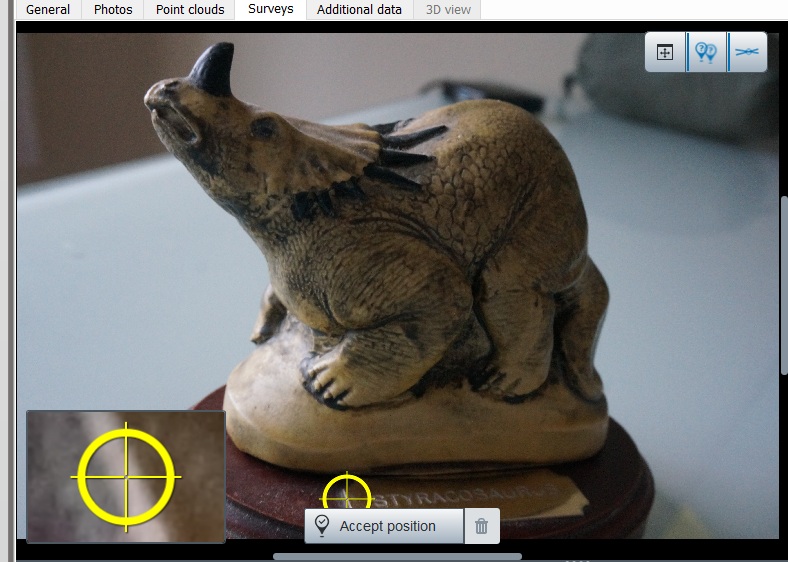
Scaling/User Tie points
You can see above two markers ‘User Tie Point’ – ContextCapture does have the ability to scale and measure models, as well as use user-based tie points. At any stage you can go to the ‘Surveys’ tab, and add points in certain locations:
Meshing (/Dense Reconstruction)
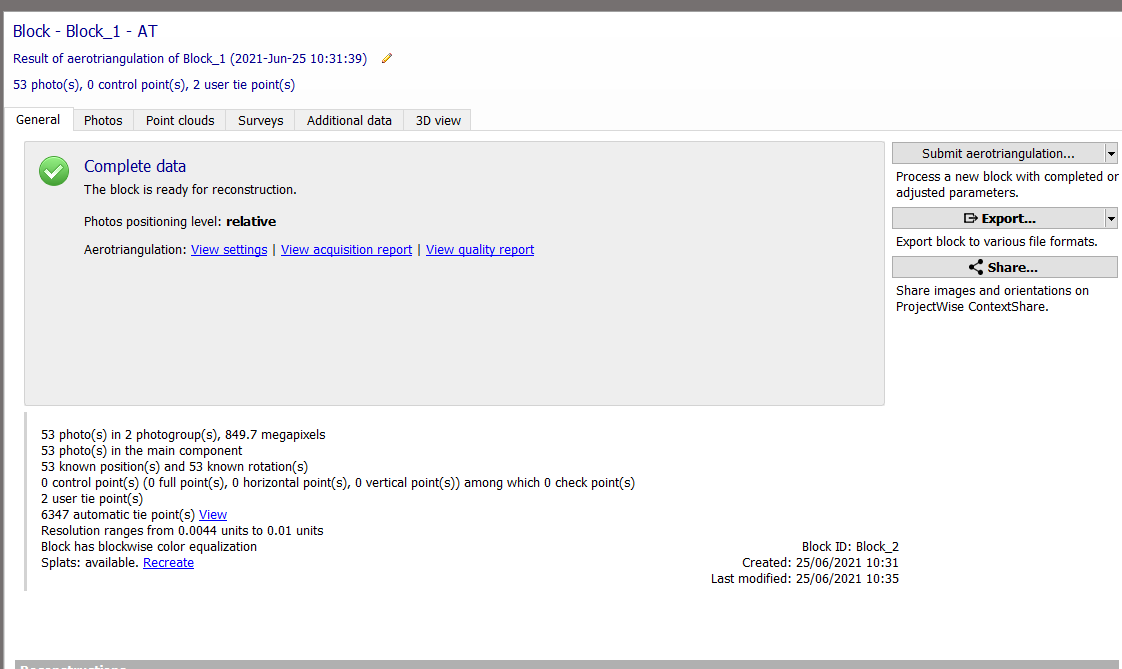
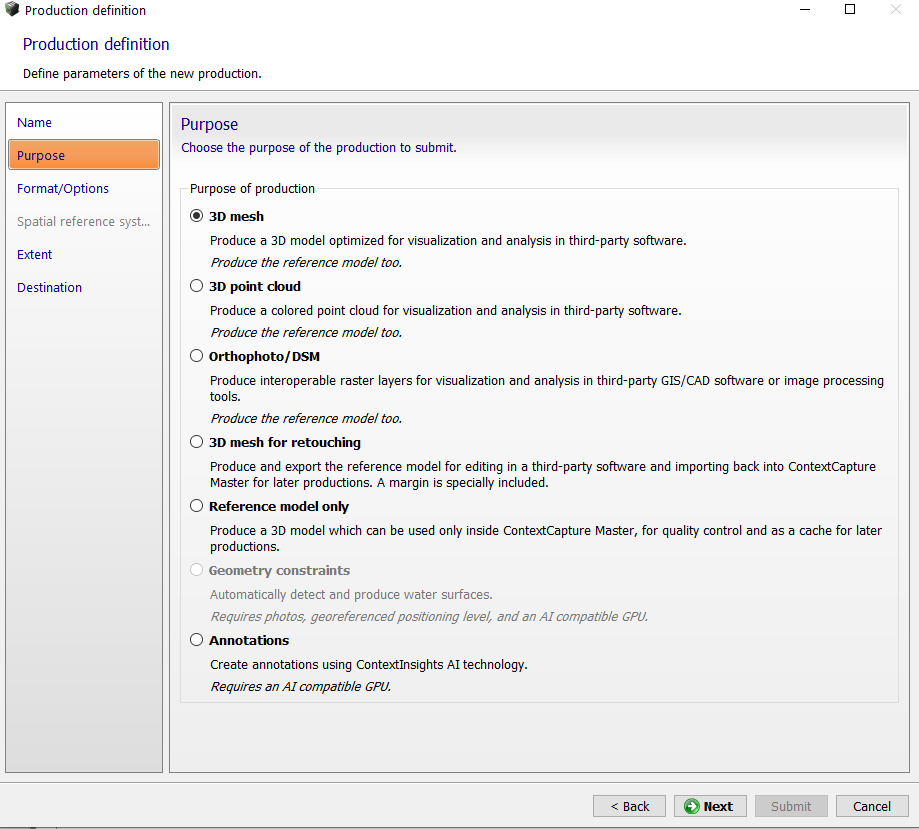
Having produced a sparse point cloud and aligned the cameras, you return once again to the ‘General’ Tab, where a ‘New reconstruction’ button has become available, offering either 3D reconstruction or an Orthophoto.

I find the term ‘new reconstruction’ a bit confusing, because in my head it’s a continuation of the sparse reconstruction, rather than something ‘new’, but it’s not that big a deal.
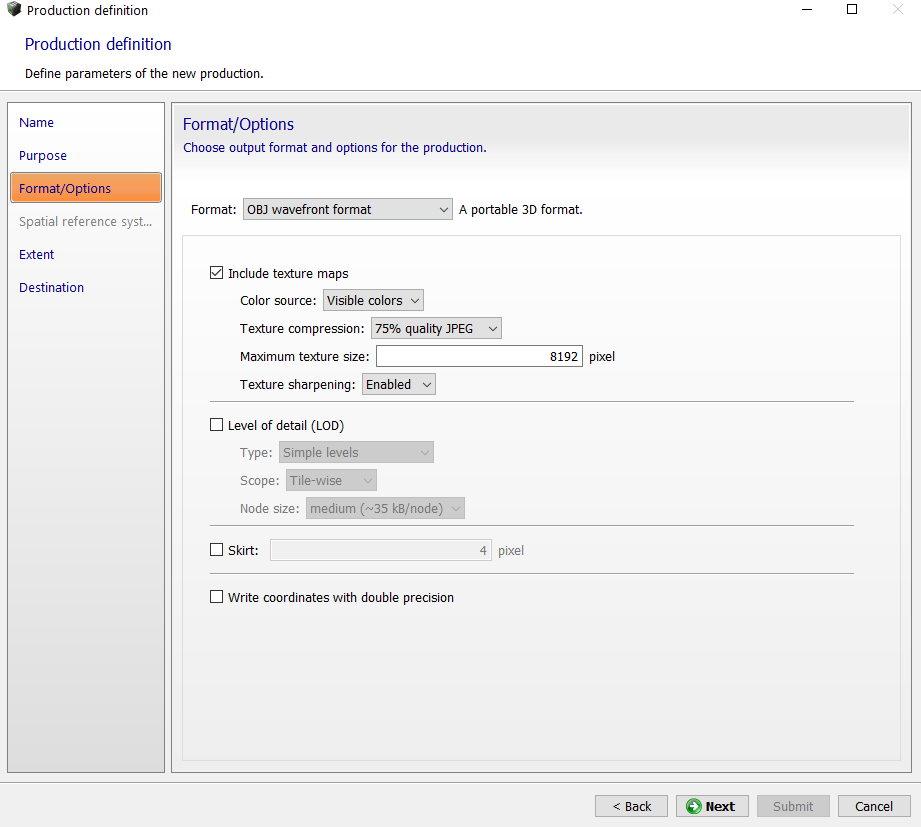
Again, you can choose local or cloud-based processing, and again I chose local. There’s lots of settings to choose from at this stage:
When it’s done, the ‘General’ tab tells you how long things took:

And also promotes the Cloud-processing (a 1.2 speed-up probably isn’t worth the effort of uploading all the images and downloading the result, but this is a small dataset).
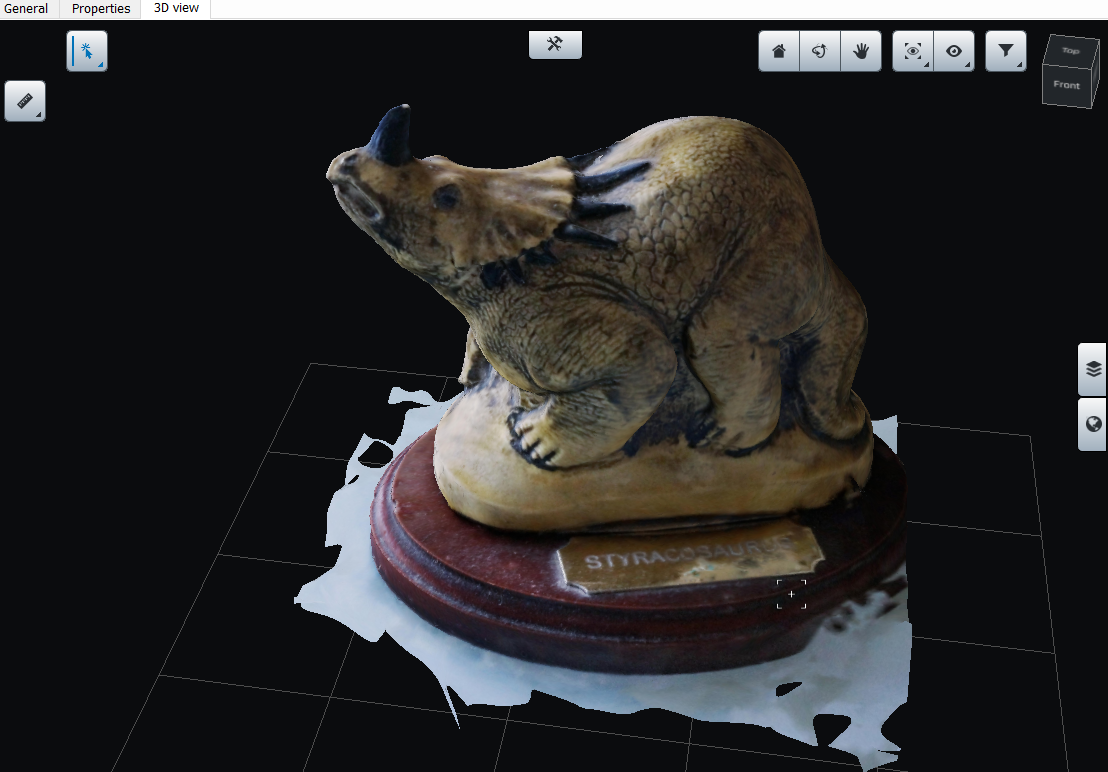
The textured model looked nice:
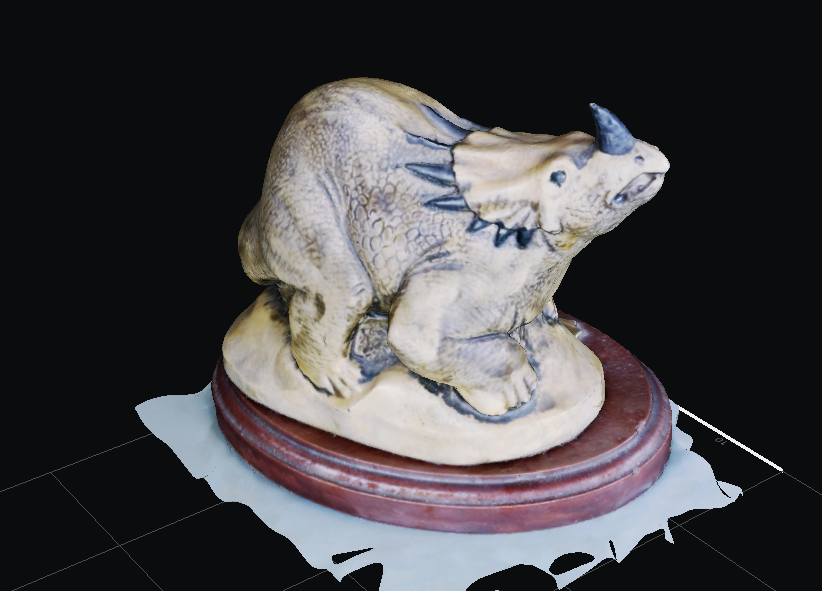
Seriously, the mesh itself is excellent – take a look around the horn, where meshes generally struggle in my other tests:
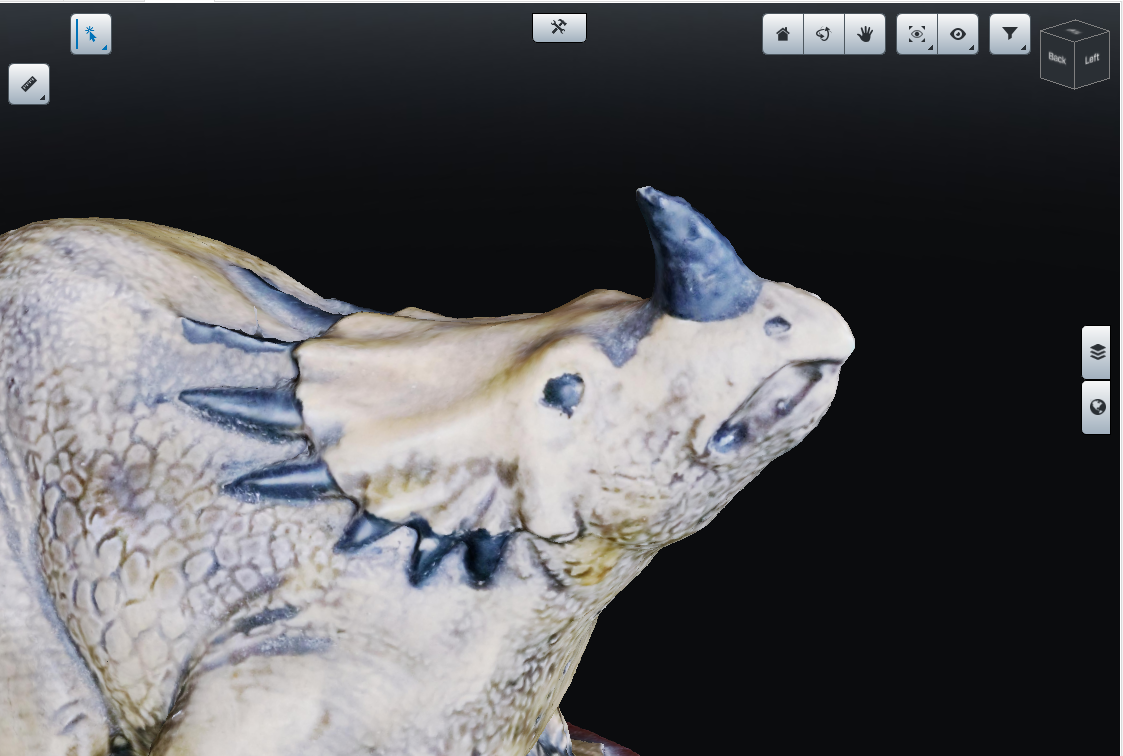
However, the texture is very contrasty – overblown on the light side, and very dark on the other. I thought this might just be the lighting in the ContextCapture 3D viewer, but alas when I exported the model and texture and visualized in Blender, it looked the same.
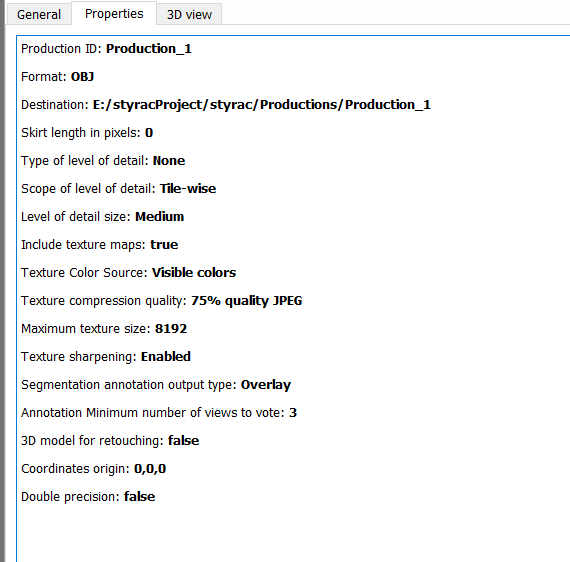
This took 7 minutes 32 seconds, and was on default medium settings. The full parameters are here:
You can check out the final model itself on sketchfab:
Larger Dataset
Some of the optimization and speed may come with larger datasets. I happened to have to hand a 473 photo dataset of a Lego object being used by my MPhil student Nathan Jackson (and used in this PIROMM work). The photos, as with the above, aren’t great, but they’re not bad. Context Capture took 22 minutes to run the reconstruction, and the result was quite a mess, with multiple models in space, however the meshing algorithm handled that fine and just meshed a single portion of the point cloud.
Now, before you assume this is ContextCapture being poor, RealityCapture did exactly the same thing, as did Meshroom – it’s a difficult dataset for some reason (I’m not actually sure why, could be the white on white background). However, Agisoft Metashape matched all the cameras and produced a much better model:
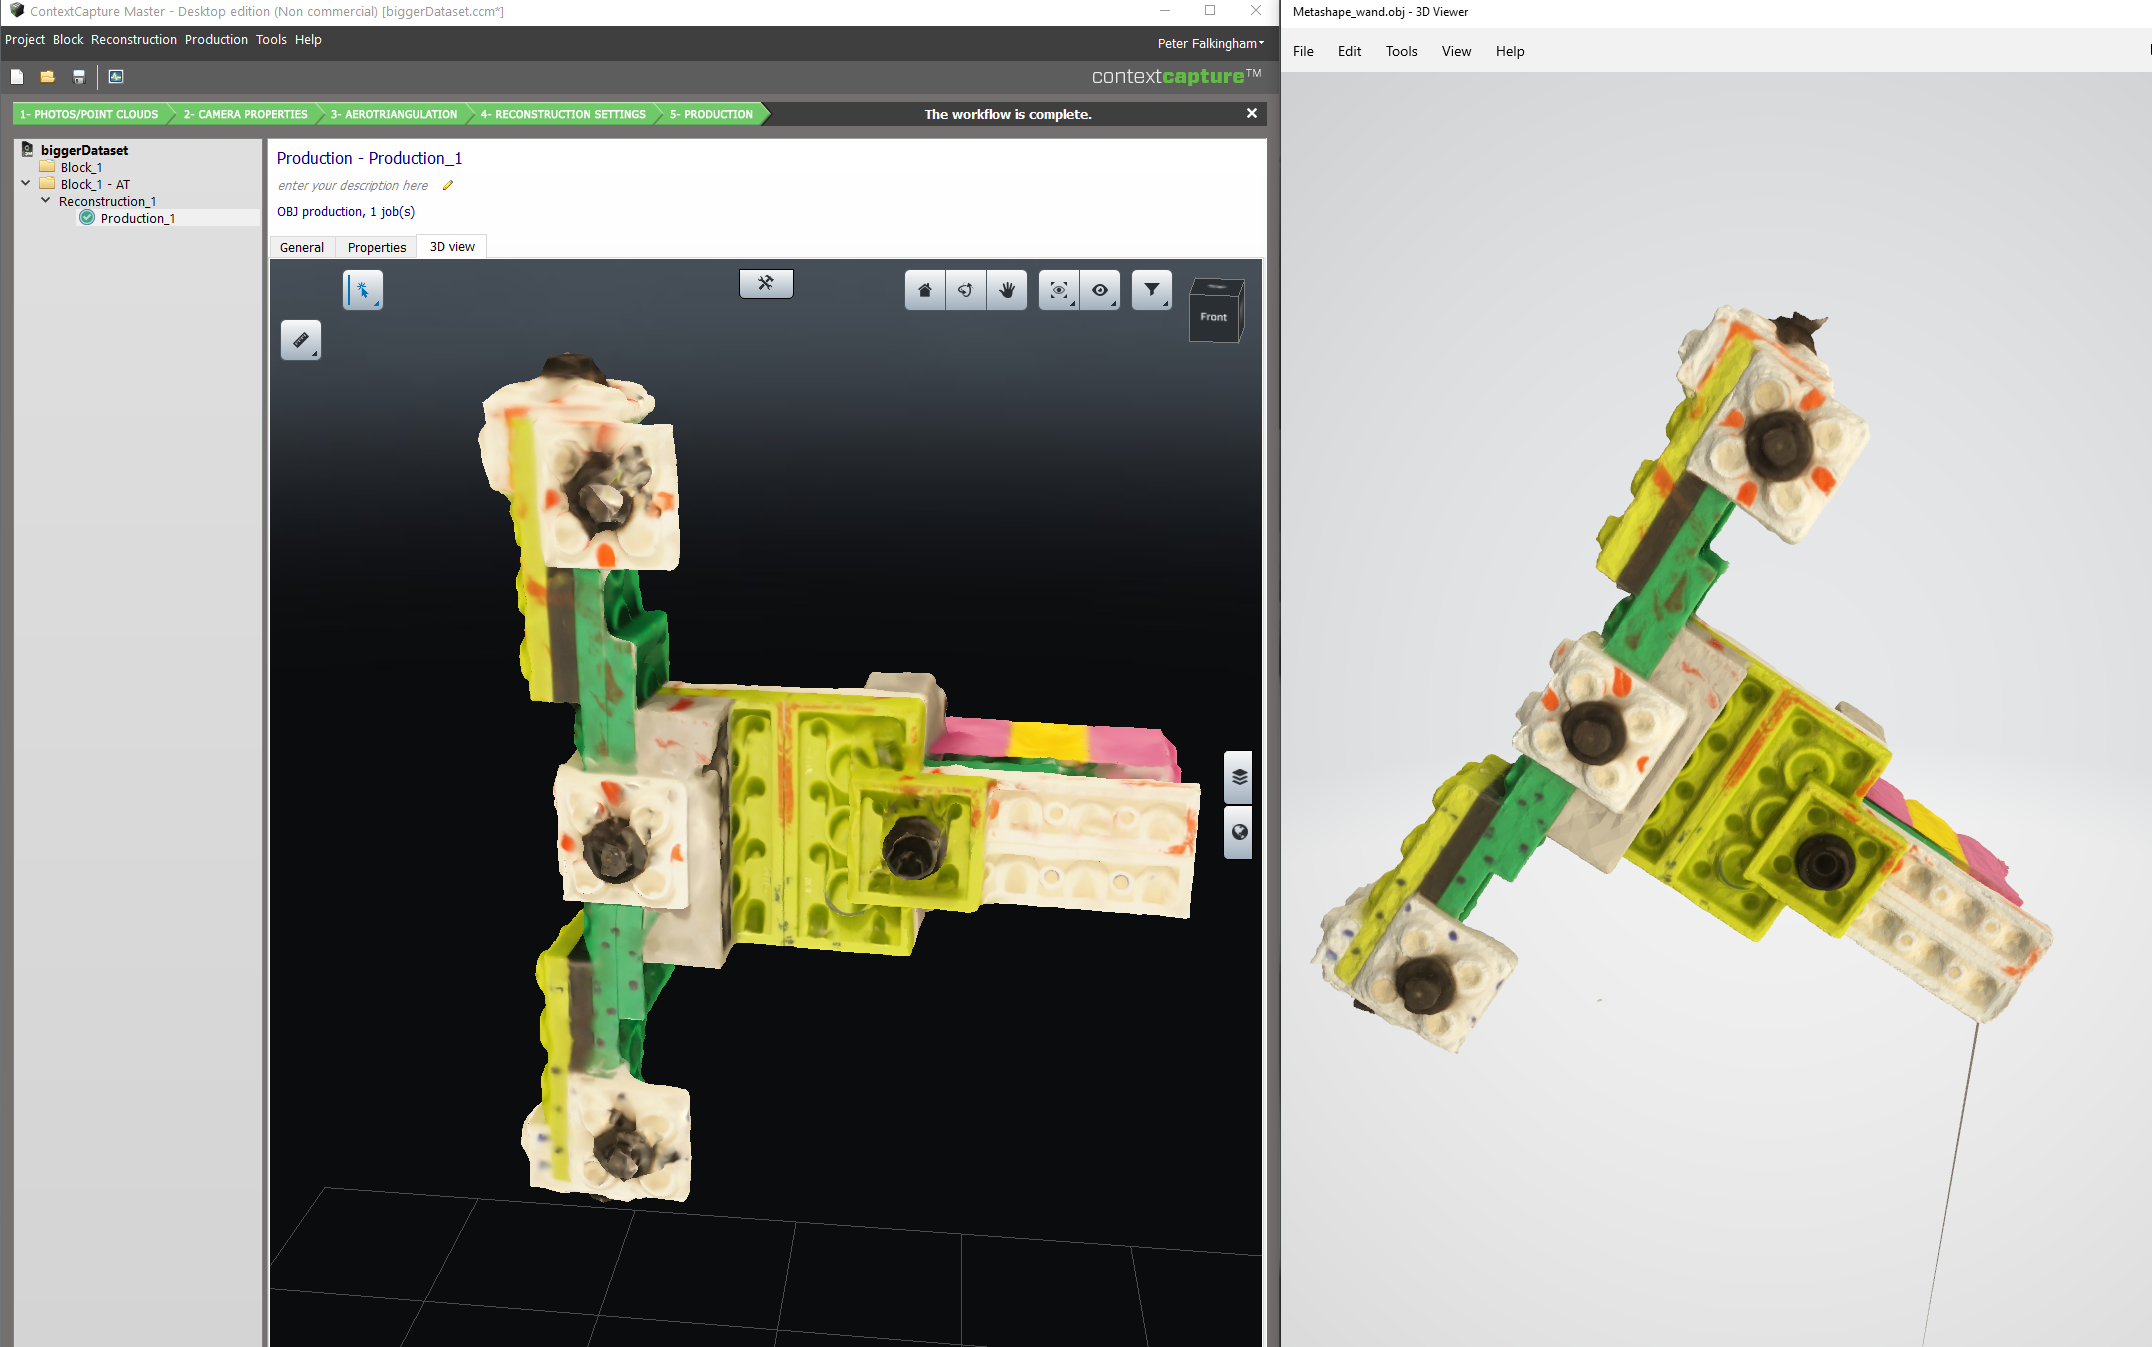
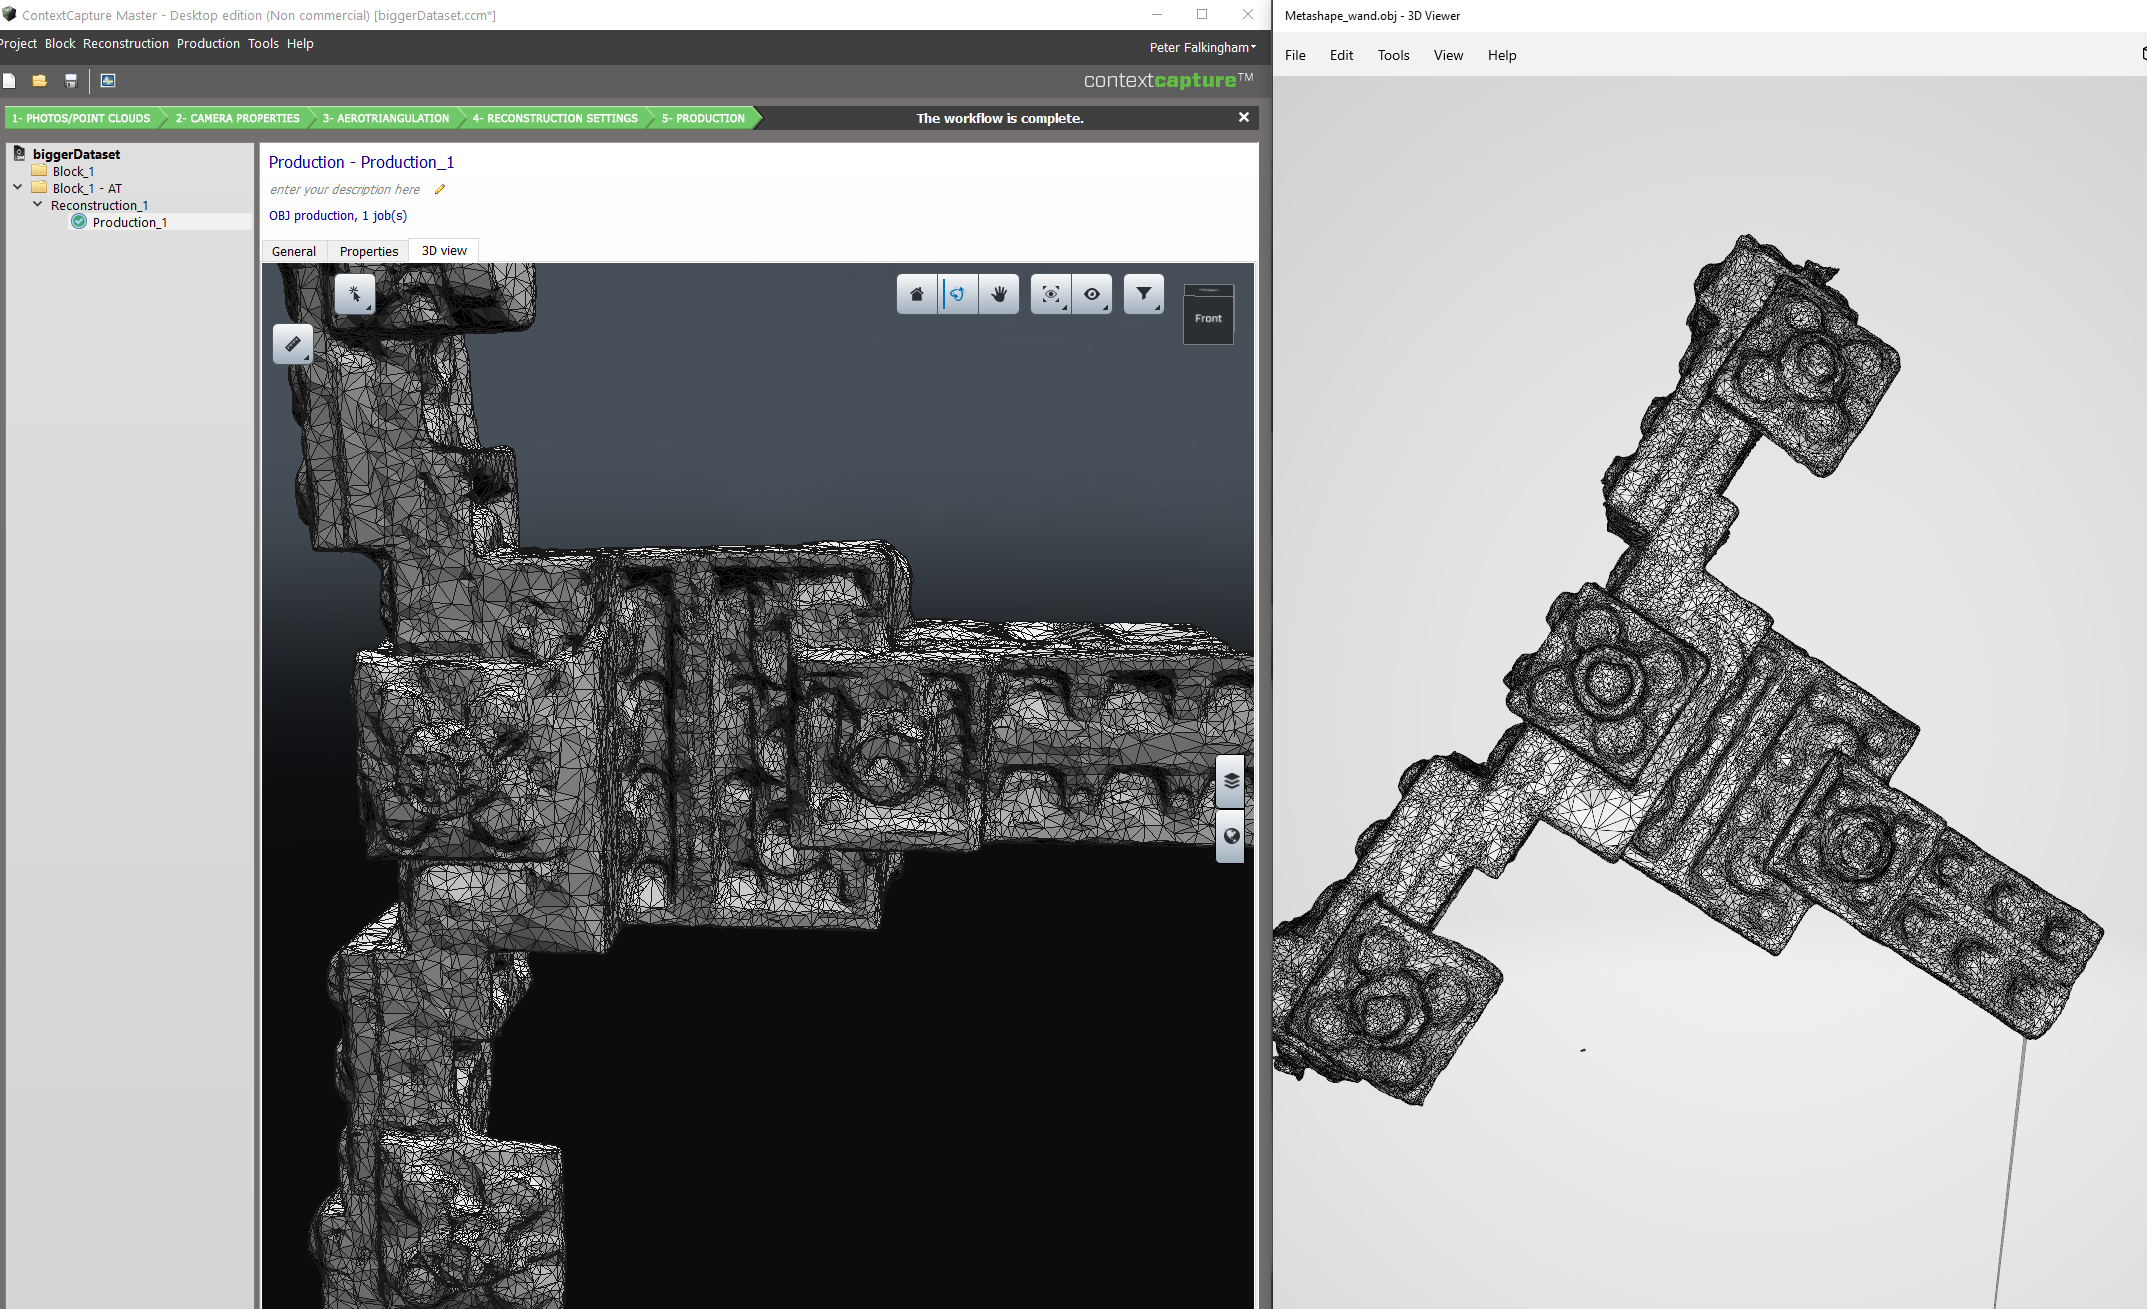
Not slow by any means, but also not particularly robust.
Summary
This is industry-level software, with a lot of perks that I simply am never going to need. I could imagine some of the GCP and user tie point data being really useful for large tracksite datasets maybe, and in fairness I would have tested some more aerial-like photo sets if I had more time. But I certainly can’t justify the cost of something like this.
The biggest issue for me is that it comes as lots of seperate parts, the client, the engine, and the GUI. Again, this is an industry thing – A company with a lot of money and a specific use-case is going to have machines dedicated to this, where running the client and engine isn’t a big deal. But for an individual, it’s a pretty complicated affair, and the licensing client feels very intrusive into the system, refusing to go away when closed.
The reconstructed models are good to excellent, with lots of scope for tweaking and improvement. However, the workflow involves a lot of back and forth, and could be much simpler. Meshroom and Reality Capture, for instance, let you drag a folder of photos on, and then click go, then you leave it be and get a nice textured model by default. Metashape let’s you setup a batch process in a few clicks, and it’ll do the whole workflow for you. ContextCapture feels far more clunky in this regard, with swapping back and forth between tabs.
Powerful, moderately quick, but ultimately only really for people that need all of it’s features that maybe aren’t offered in other packages, or for companies that would benefit from all the access to training that comes with the subscription.

Would be interesting to have this tested again in 2026 as the iTwin Capture Modeler Flex now has different AT algorithm.
Thanks, I might take a look if I get chance. But I’m loath to dither with it given how much crap it installs on the computer (and leaves behind when uninstalled). I also think photogrammetry software has kind of stalled at the moment – they are all much of a muchness these days, in terms of speed and quality of reconstruction.