
…Or ‘Color’ for my US readers.
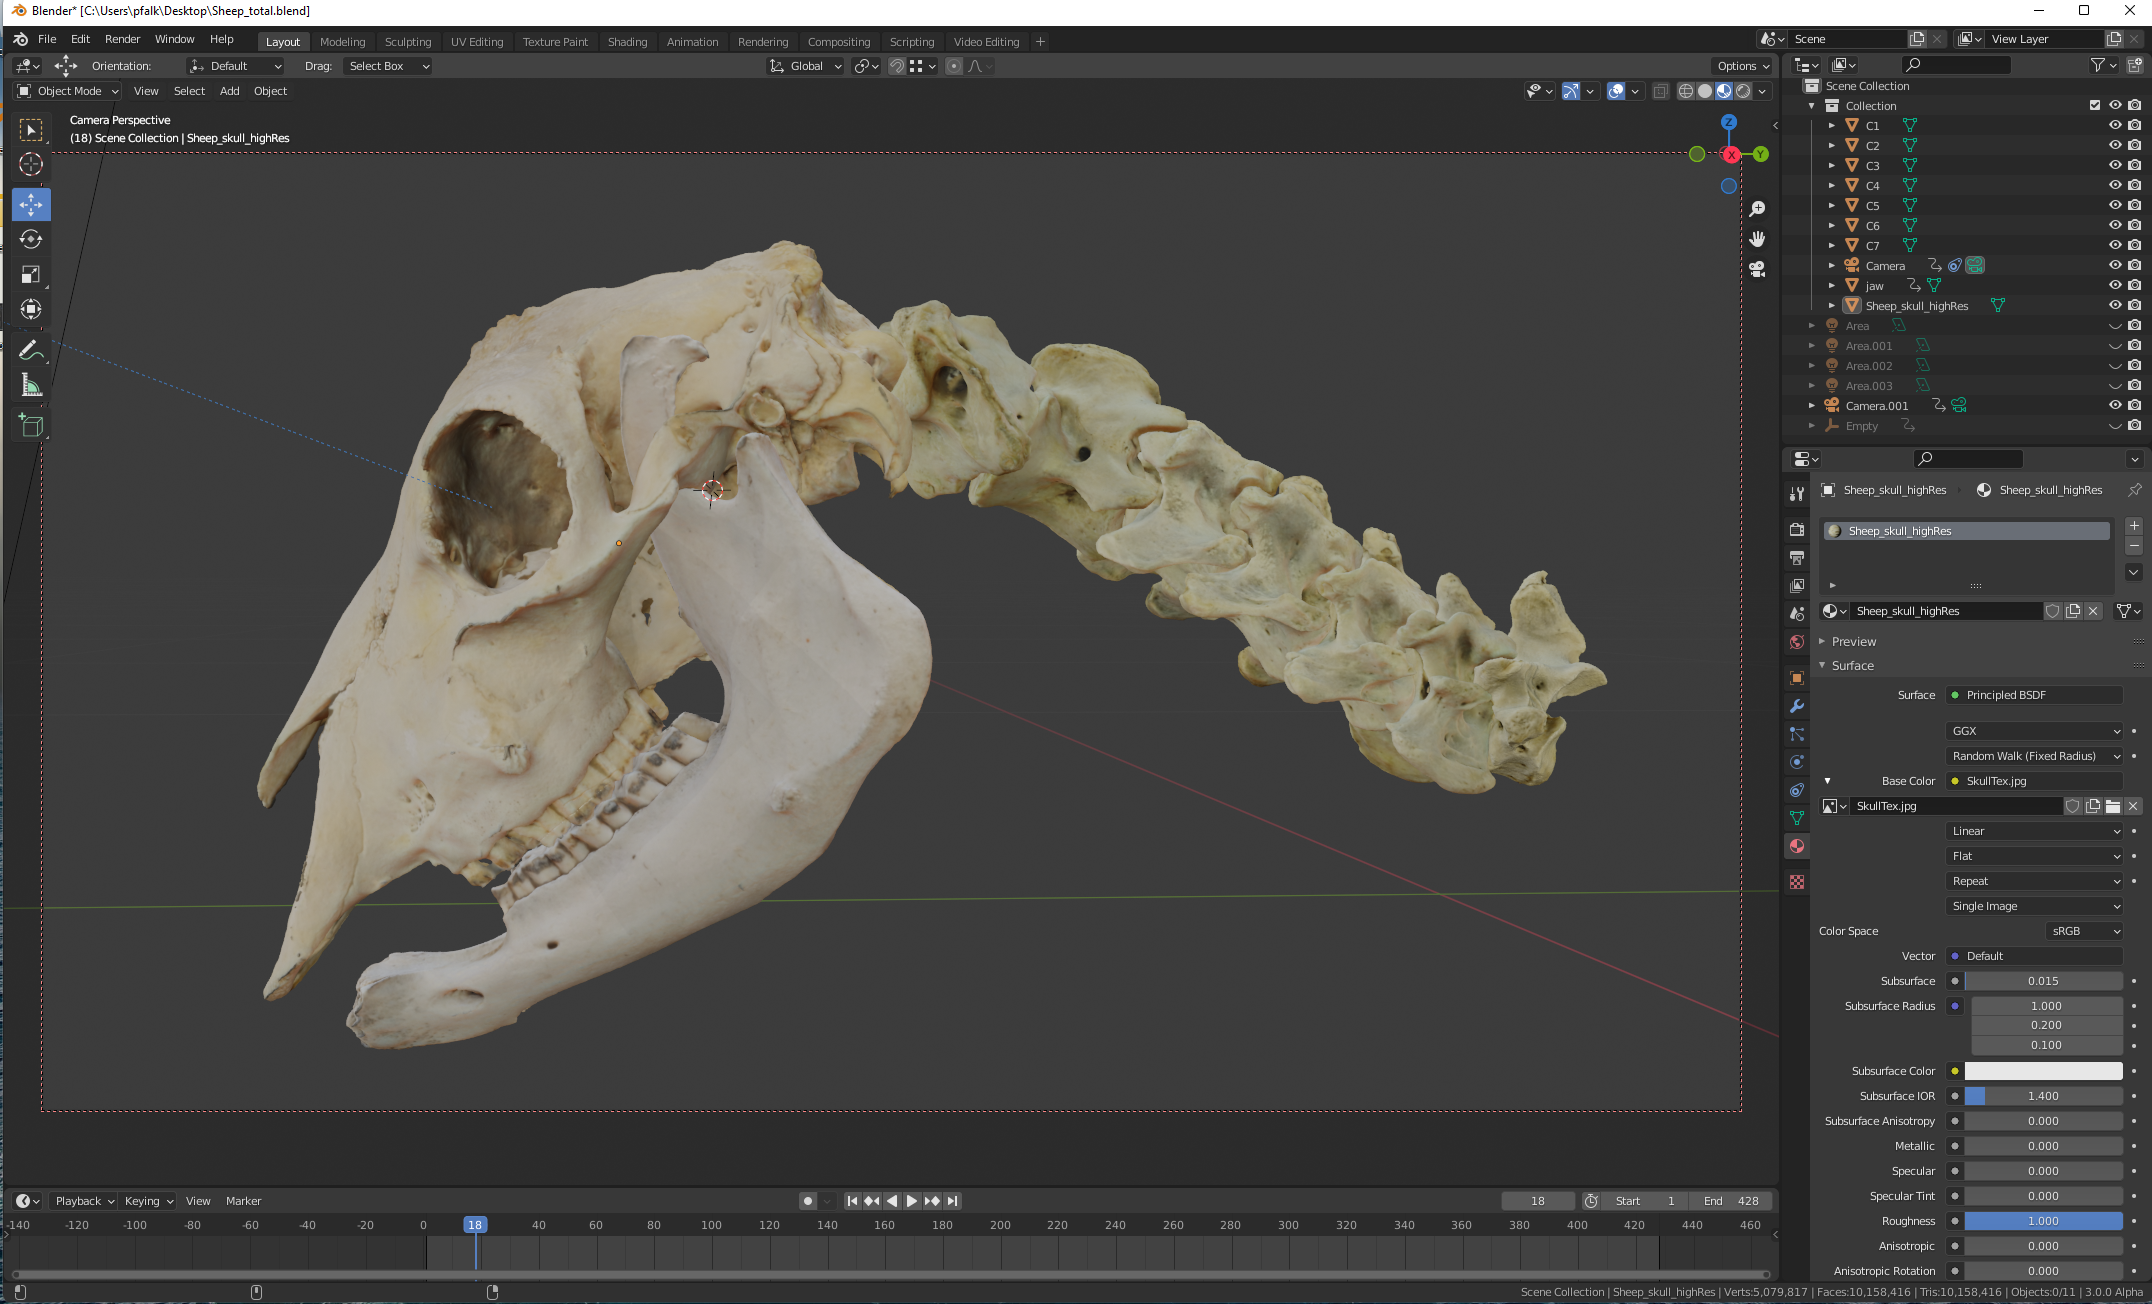
I recently showed off on twitter a project I’d been working on for a while, a photogrammetric model of a sheep skull and neck, where each bone has been digitized seperately:
However, you may notice from the video that the skull and jaw are whiter, or perhaps pinker, than the vertebrae, which have a greenish tint to them. This is the result of my digitizing the bones in different environments. For the vertebrae, I was able to use my automated small photogrammetry setup, but the skull and jaw were too large for this, so I had to do them separately, using a ring light. As a result, the colours are slightly different. It’s fairly subtle, but it annoys me, and as this model will be going on sale on sketchfab, I want it to be perfect.
Here’s the models in Blender:
To fix this, I saved out all the texture files to a folder:

So, I used Photoshop’s colour match tool to make the jaw and skull look more like the vertebrae (the greenish tinge is what I’d consider the more real colour balance). Unfortunately, I’ve not found an easy/obvious similar functionality in Krita, Gimp, or Affinity Photo. It may be possible in other software, but much like for object selection and background removal [REMBG not withstanding], Photoshop seems to still have features that make it worth using, especially if you get it free through work.

You can see from my screenshots that the vertebrae textures have a lot of black space in them, but the skull and jaw do not. That’s because I did the vertebrae with Meshroom, which creates isolated islands in the texture, but the Skull and Jaw were done in Metashape, which blends colours between areas of texture (there’s no reason I picked Meshroom or Metashape other than my photogrammetry software of choice at any given time changes on a whim).
That makes colour matching slightly more difficult, because we don’t want to use the black – it’ll make our modified jaw texture black in places.
So, using the magic wand tool, I select all the black in the C1Tex image (make sure ‘contiguous’ is unticked), then I invert the selection with ctrl-shift-I, so that the image just has the areas of colour selected:

Now make sure you’re working in the image you want to change, in this case I select JawTex.jpg by clicking it’s tab at the top. Then go to Image->Adjustments->Match Color

This brings up a menu, and you need to select the source image you’re going to match to:
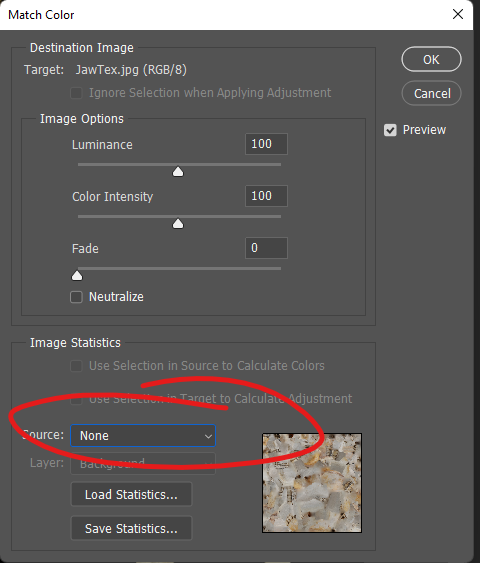
Use the dropdown source menu to select the texture you want to match to. In my case, that’s the C1Tex file that’s open:
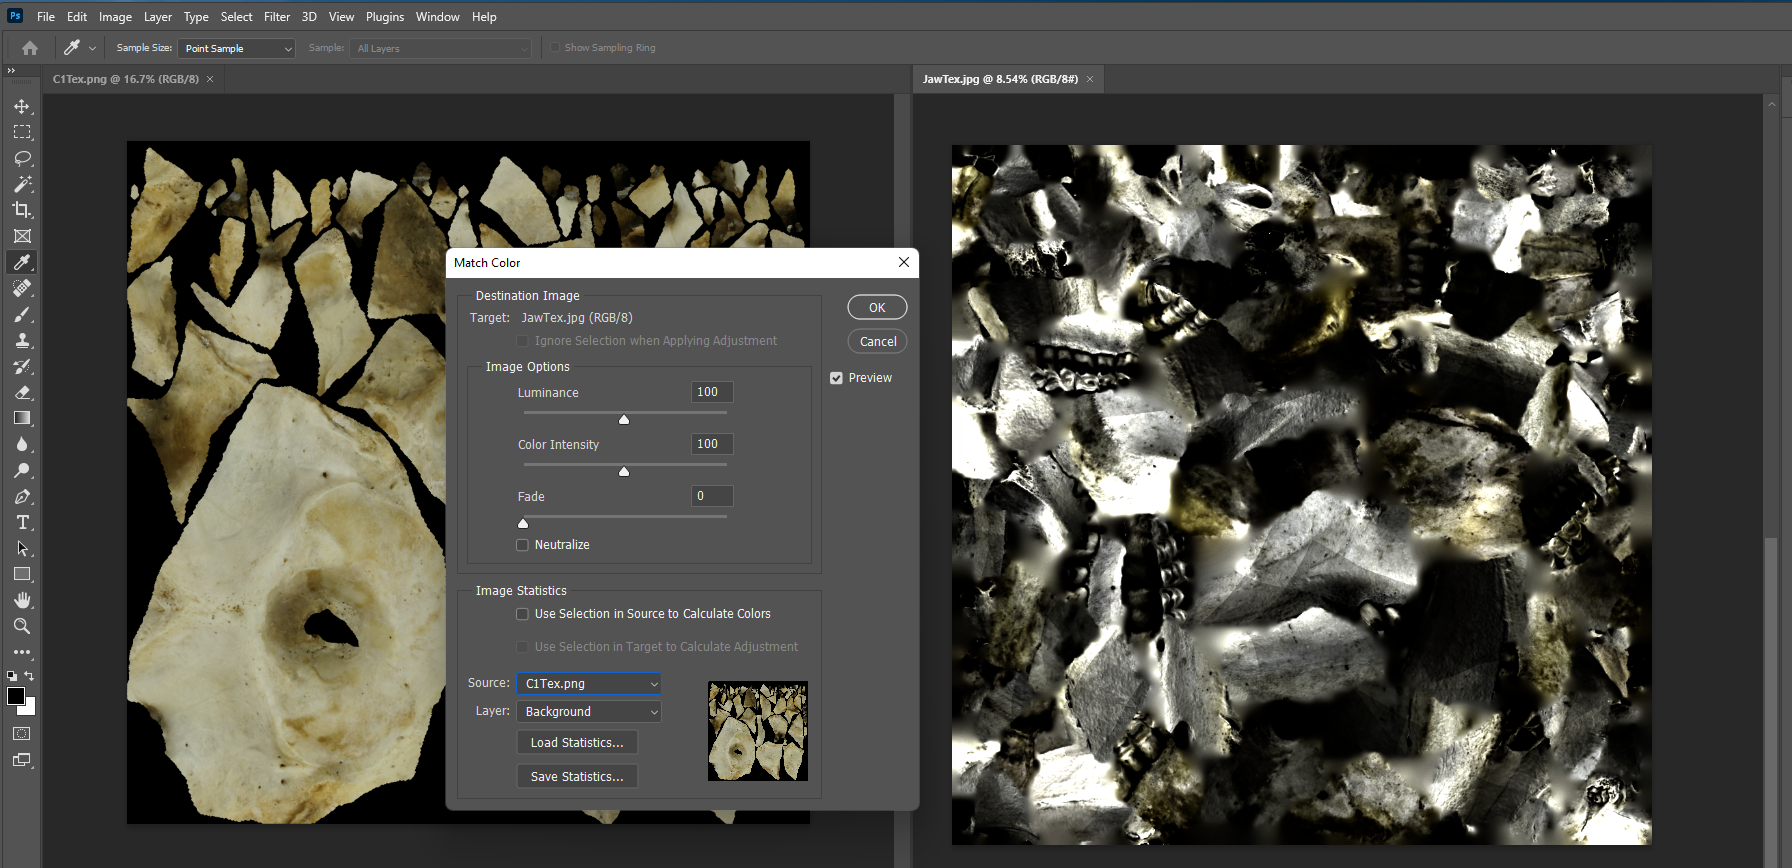
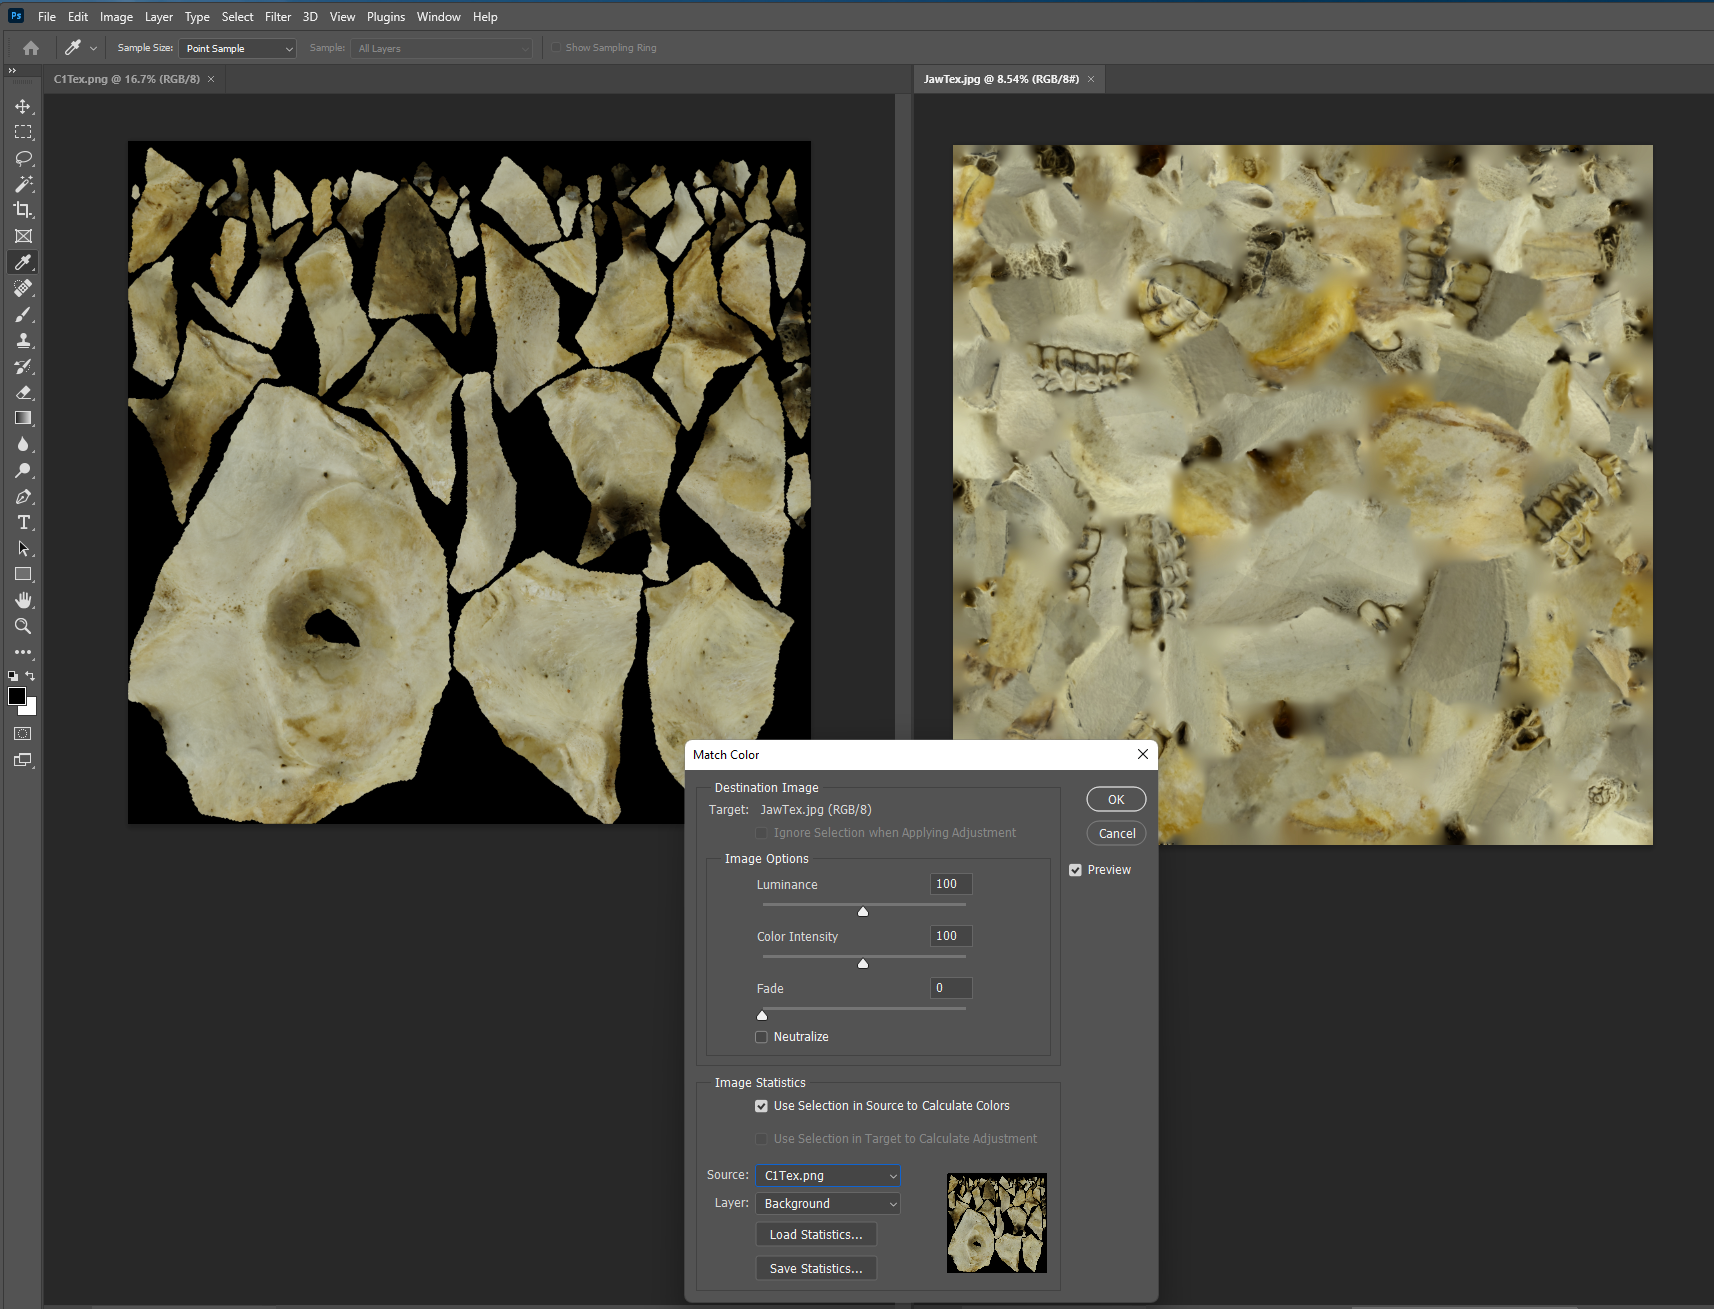
It’ll preview automatically. Hopefully you can see straight away in the above image that the altered jaw texture looks wrong. That’s because by default, Photoshop is using the whole image to match colours, including all that black. We need to tell it to use just the selection:

Once that box is checked, everything looks like it should, and the balance of colour between the two images is similar:
You can hit ok, and it’ll do a bit of processing:

When it’s done, you can save the file out, probably best to do so with a new name (in this case ‘jawTex_matched.jpg’) so you don’t overwrite the old image.
Just to show you how much difference this has made, here’s the original and matched textures side by side:

Now with the Jaw and skull redone, I can go into Blender, and reselect the textures:
Now the skull, Jaw, and each cervical vertebrae are all far more consistent in colour:

If you’re one of those odd people that prefers video tutorials, I recorded the process and put it up on YouTube:

Leave a comment