
I think I’ve found a new favourite photogrammetry software!
Available here: http://people.inf.ethz.ch/jschoenb/colmap/, I actually came across it when I followed back referral to my own site to this thread on Sketchfab, where Mesheritage mentioned COMAP – so full thanks to them!
COLMAP has an excellent documentation available here: https://colmap.github.io/, but I’ll run through the usual Styracosaurus dataset here to show you the results. I was using version 2.1, the latest stable release at the time of writing. It does require a CUDA compatible graphics card (so a recent NVidia card) to run properly.
1. Run the bat file
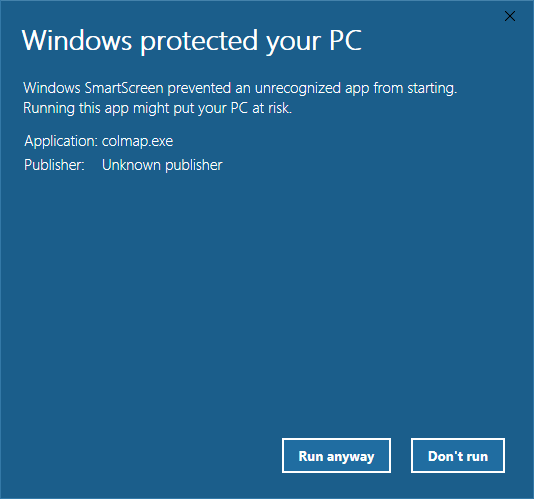
The download is a zip containing two folders and a bat file (at least on windows). Unzip everything and run the *.bat file. Windows will probably warn you, but you can hit ok
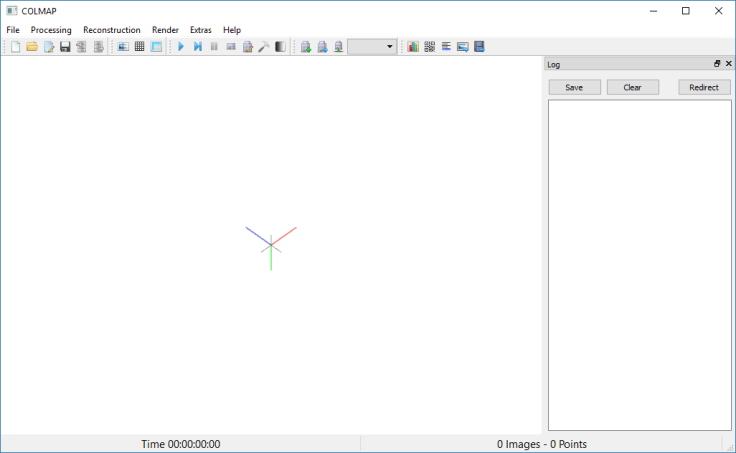
This will bring up the user interface for COLMAP:
2. Create a new project and load images
From here you can either click the new project button (top left) or go to file->new project. Then create a new folder somewhere sensible to store your project in, and select the folder that contains your images:

3. Feature Extraction & Matching
Head to Processing->feature extraction (there’s also a button on the toolbar). I ran with default settings. This took about:
Time Taken: 10 seconds
Then we need to run Processing->Feature Matching, again I ran with default settings:

Time Taken: 64 seconds
4. Sparse Reconstruction
Now we need to reconstruct the camera positions, and produce a sparse point cloud. Head to Reconstruction->start reconstruction (or press the relevant button). The 3D view should show the cameras being added to the scene as they are reconstructed, and a sparse point cloud forming:

Time Taken: 54 seconds
Ok, at this point the sparse cloud can be exported. In fact, the entire scene can be exported for further processing in whatever other package you like.
Total time up to sparse reconstruction: 128 seconds
5. Dense Reconstruction
This part is split into three steps in COLMAP; undistortion, stereo, and fusion.
Click Reconstruction->Multi View Stereo to begin (or hit the button on the toolbar). That will bring up this window:
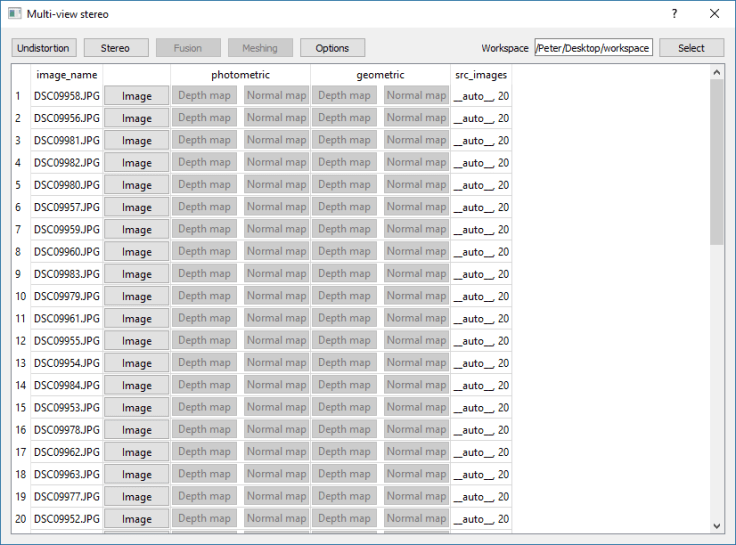
Which looks more complicated than it is! You need to click select in the top right and create a new folder to store the dense reconstruction results in, then:
First, click on undistortion. This will… undistort… your photos.
Then if you are like me, you’ll need to reduce memory usage because clicking ‘stereo’ will crash your video card. I’m running a GTX970 with 4GB, and I had to go into options and change max_image_size from 2000 to 750 to avoid crashes (this is explained in the official documentation).
This step took quite a long time, but… if you click ‘options’ you’ll notice a plethora of variables to tweak, and I’m sure that we can bring this down and still get reasonable results.
Once this is done, you can view depthmaps and normal maps for each image:

Time Taken: 23 minutes!
Finally, you run ‘Fusion’ which creates the dense cloud (this took 30 seconds):

The Dense cloud exists in ply format in your workspace folder (the one in the top right of the multi-view stereo window)
Total time for dense reconstruction: 25 minutes.
Meshing.
Not much to say here really, click that final, tempting button that says ‘Meshing’. The final model will appear in the same folder as above. This took a few minutes for me, and here’s the final result on Sketchfab:
Conclusions:
This software is awesome. It took a little longer than some of the others I’ve tested, but the final model was absolutely complete. It had a little noise around the front horn, but…
One of the greatest strengths of this software pipeline is that every variable and option is exposed to the user, and I’m certain that with a little play, I can bring the total time down, and increase the quality of the reconstruction further. Aside from needing to deal with the memory issue by lowering max_image_size, everything was as straightforward as can be. Yet a click of an options button gives you all the control you could ask for.
The only thing missing is that the meshing process does not produce a texture, rather it applies colours to each vertex. This can look a little muddy, but because you can export cameras as bundle or nvm files, you can import them into meshlab and project a texture!
I’m pretty sure this will become my go-to software for photogrammetry for the time being.

Peter,
I think here:
“Head to Processing->feature matching (there’s also a button on the toolbar). I ran with default settings. ”
you mean Feature extraction.
🙂
When I select “Multi View Stereo”, the list is empty. Yes, the model is selected in the drop-down bar in the toolbar.
I hate these things!
You have to select a [new] folder – click ‘select’ to provide a folder for it to store undistorted images and clouds.
ahhhhh!
Many thanks 🙂
So far, I am very impressed. Pity, though, that there is no option for scaling. But you can’t have everything.
Hi there, I’ve come across your series of articles when I was looking for a way to create Photogrammetry models using free software. Would you say that Colmap is the best package for this compared to Photoscan?
Do you have more software to test?
Hi Olivia. At the moment, yes, I’m getting the best results with COLMAP. But, Photoscan is pretty good, and it’s certainly a little easier to use (at least in so far as it’s much less picky about your hardware(, you can’t really go wrong with either.
There are plenty more software packages to test, but I’m a bit burnt out from this batch, and time is not really an abundant resource for me so I probably won’t be doing any more for a while.
Thanks man! I was also crashing my video card every time I tried to run stereo. Great tip!
Hey Peter, great work! Did you manage to figure out how to bring down the processing time?
Reducing max_image_size in options for stereo processing helps, though of course reduces the resolution of images used for dense reconstruction. The new automatic reconstruction feature has a simple ‘low’, ‘medium’, and ‘high’, and low still gives great results: https://www.youtube.com/watch?v=Zm1mkOi9_1c