I've lost count of the previous Photogrammetry testing posts, but you can find links to them all at the top of the original post.
It’s been a while, but it’s time to try out a new photogrammetry package. I say new, but OpenDroneMap has been around for a while…
ODM is an interesting solution, in that you run it on your own computer then connect to it via your web browser.
They do offer an installer for the low price of $57, but they also make all the source code available for free. I’ve run this through Windows Subsystem for linux 2 and Desktop docker. I’ll give a brief overview of how I installed it, but I don’t want to spend too much time on this – if it’s hard to install, just buy the installer – it’s cheaper than most alternatives.
The instructions are on their github page: https://github.com/OpenDroneMap/WebODM/
Here’s what I did:
Install docker desktop: https://download.docker.com/win/edge/Docker%20Desktop%20Installer.exe
And set it up as described here: https://docs.docker.com/docker-for-windows/wsl-tech-preview/
Open a bash terminal and type:
- git clone https://github.com/OpenDroneMap/WebODM –config core.autocrlf=input –depth 1
- cd WebODM
- ./webodm.sh start
It’ll download WebODM, then start it and install dependencies:
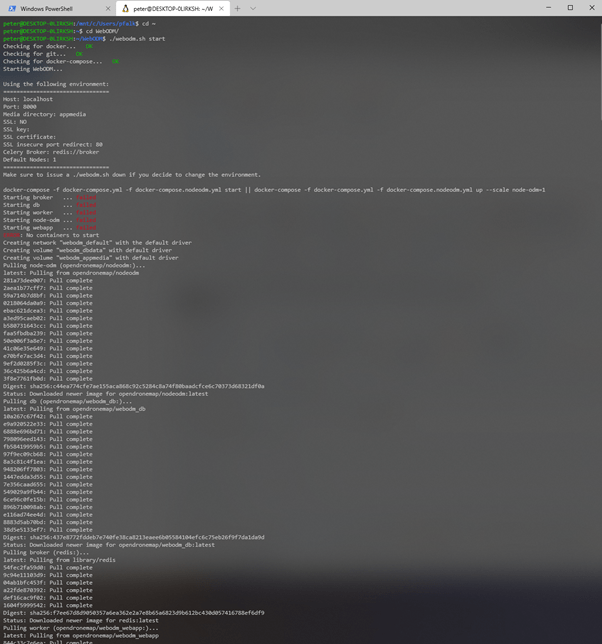
Then on subsequent runs the output when starting it will be much shorter:

Once it’s running, open your web browser, and type “http://localhost:8000” into the address bar.
You’ll be greeted with a sign in page and asked to set up an account. Don’t worry, all this is local to your computer.
When past that, you’ll see a webpage that looks like this:

As you might imagine, you click on ‘select images and gcp’ to add images.
After selecting all my Styracosaurus model images, I’m met with this:
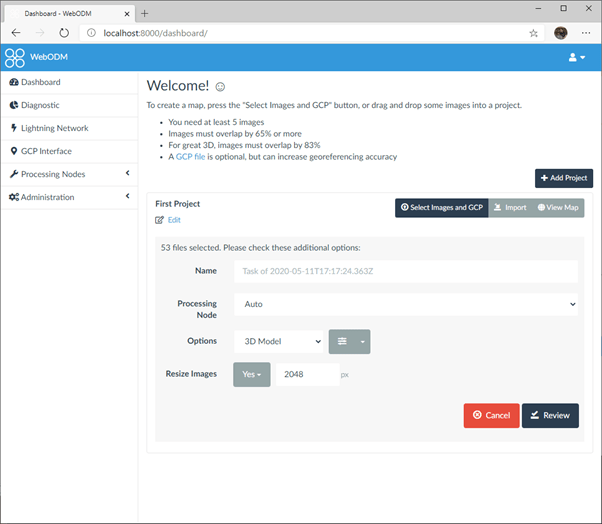
I’ve set options to 3D model, rather than any of the others, though I can see default being useful for tracksites and things, given this software was built with drones in mind.
You can change detailed settings by clicking the button next to the options dropdown menu, and you can specify to what extent images are resized. I’ve left it at default (resized to 2048px) for now.
Click review, and it’ll summarise your options:
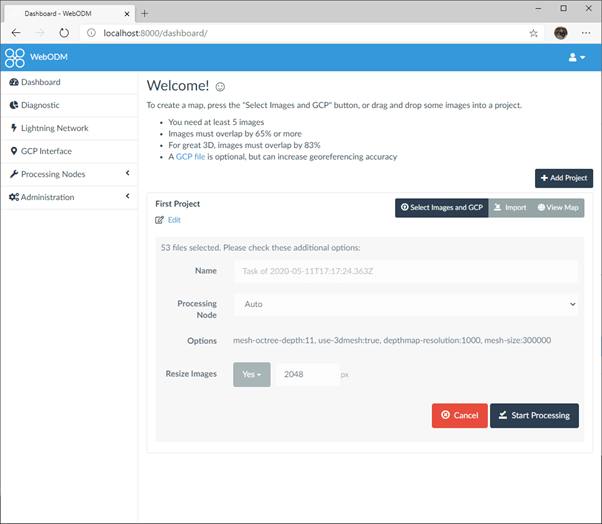
Then click start processing, and off it goes.
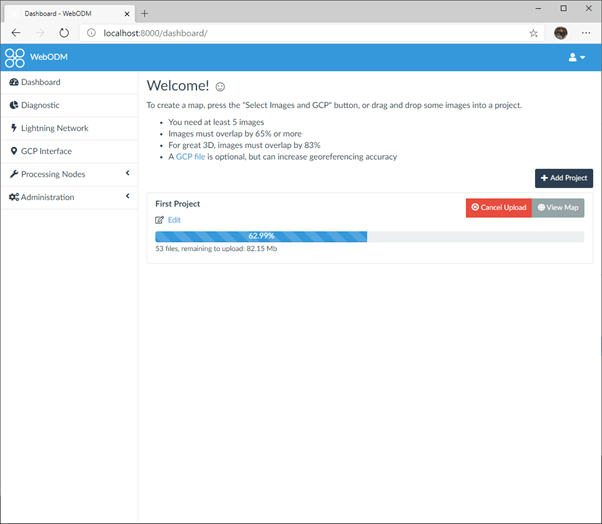
It briefly ‘uploads’ files (don’t worry, they’re still only on your local machine)
Then it runs. If you press ‘on’ next to task output, you can see the command line output:

WebODM is entirely CPU bound – my GPU didn’t get used at all. This is good news for people without Nvidia graphics cards, because all GPU accelerated photogrammetry software except Agisoft Metashape require an Nvidia card.
When it’s done, it says so. This reconstruction (53 images, default ‘3d model’ settings) took 13 minutes 23 seconds.

You can click download assets to get your model, but first you might want to click that ‘view 3D model’ button to check the reconstruction.
That’ll take you to a 3D viewer, still in your browser, showing your model as a dense point cloud:
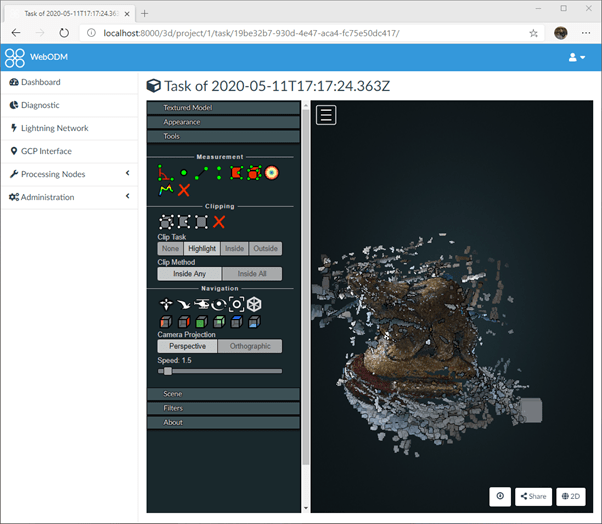
At the top is a heading ‘textured model’ – click it, and then check ‘show model’ and it’ll do just that:

Interestingly, WebODM has reconstructed a lot more of the desk than other software I’ve run this dataset through. The texturing is beautiful, but there are issues around the nose horn, and the base:

Clicking ‘2D’ will give you a top-down view, basically an ortho image:
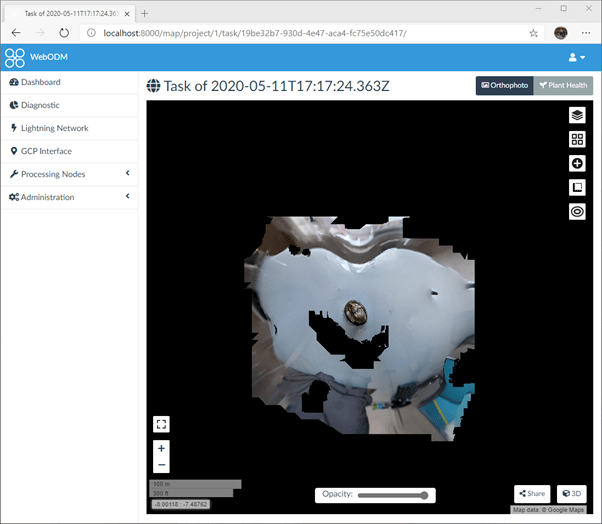
Again, this could be really useful for tracksites or dig sites. Obviously the distortion of my rectangular desk here shows the poor quality of the reconstruction away from the target object.
Heading back to the ‘Dashboard’, I expand the tasks, and then download the assets:
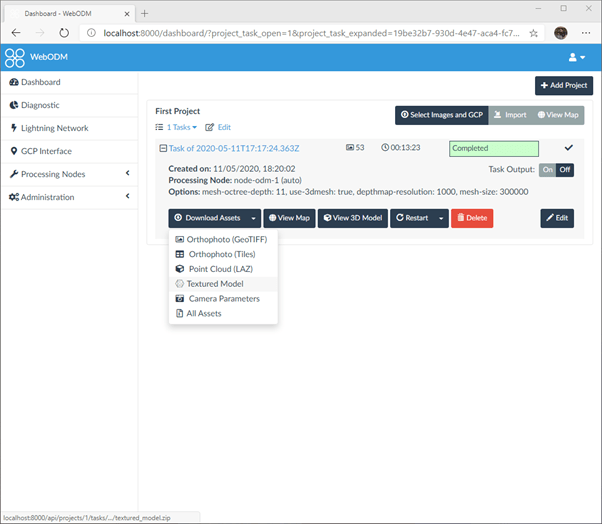
You can choose from a range of options, but we’ll grab the textured model for now.
A big downside for me is that it produces multiple, large, texture files:
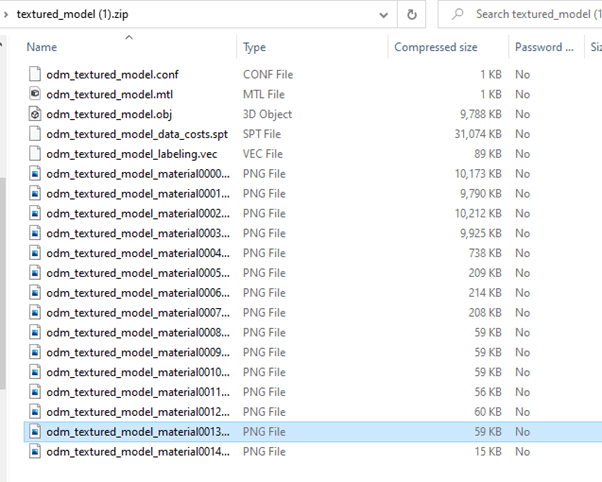
I couldn’t see an option for producing only a single texture file, as is the case with Meshroom or Metashape for instance.
Here’s the final, unedited model on Sketchfab (sorry, the textures take forever to load):
It’s taken me a while to get OpenDroneMap working – installation is a bit fiddly if you’re not using their paid-for installer. I find the web-based interface to be finickity – it’s not fun to use like Meshroom. The texture producing process is probably the least impressive part of the workflow for me.
However, there’s a lot of options to play around with in that clunky interface, and it seems quite powerful.
Importantly, it is quick. In my 2017 roundup, even the best software was taking 20 – 60 minutes on this dataset. Now, admittedly the timings there are out of date, and things like Meshroom don’t take anywhere near as long as they did. But WebODM gave a strong showing, doubly impressive seeing as it doesn’t use the GPU.
[edit] I just want to add that this was a super quick run through of the software, and as with my other testing, only on a single dataset. I’m quite certain I’ve undersold it here. Rest assured I’ll keep playing around with it and seeing what I can do, and hopefully in the future have a more comprehensive feel for it.

Hello thank you for this great work and sharing. I’ve just found your website yesterday 🙂 and have read all your testings.