
Here’s the original post, and links to all posts
I have previously outlined my goal of testing multiple photogrammetry solutions on a single dataset, and reporting times and results.
I’m using a dataset based on photographs of this Styracosaurus model (I’ve had it since I was quite young):
The dataset has 53 photos in total, and is available from this link. [This will be moved to figshare in due course].
The model is about 12 cm in total length, has texture for the scales, and a reflective brass nameplate on the base. The model was situated on a glass desk, and there may be reflection issues from that.

Today I’m running through OpenMVG and MVE. I’ve previously posted on installing OpenMVG in bash on Windows, and will likely do the same with MVE in a small future update. Both these, and TexRecon (more on that later), were run in bash. I ‘git pulled’ repositories to my home directory and compiled there, such that my folder structure looked like this:
  home
     |____openmvg
     |____mve
     |____styrac_images
The last of those was of course the folder containing all the images used previously (link above).
All of this process is command line based, which means very little to show you. It also means the whole thing can be automated really easily with a small script, should you so wish.
OpenMVG is used to find features, match those features, and reconstruct camera positions.
All of the following commands were executed from within the images directory, so ‘../openmvg’ means ‘up one directory, and into openmvg’. When running I preceeded all commands with ‘time’ which provided an accurate counter of how long the process took.
Image Listing:
../openmvg/openMVG/Linux-x86_64-RELEASE/openMVG_main_SfMInit_ImageListing -i . -d ../openmvg/openMVG/src/openMVG/exif/sensor_width_database/sensor_width_camera_database.txt -o ./output
Time taken: way less than a second.
Compute Features
../openmvg/openMVG/Linux-x86_64-RELEASE/openMVG_main_ComputeFeatures -i ./output/sfm_data.json -o ./output/ -n 8
I use -n 8 because I have 8 cores on my processor.
Time taken: 102.48 seconds
Compute Matches
../openmvg/openMVG/Linux-x86_64-RELEASE/openMVG_main_ComputeMatches -i ./output/sfm_data.json -o output/
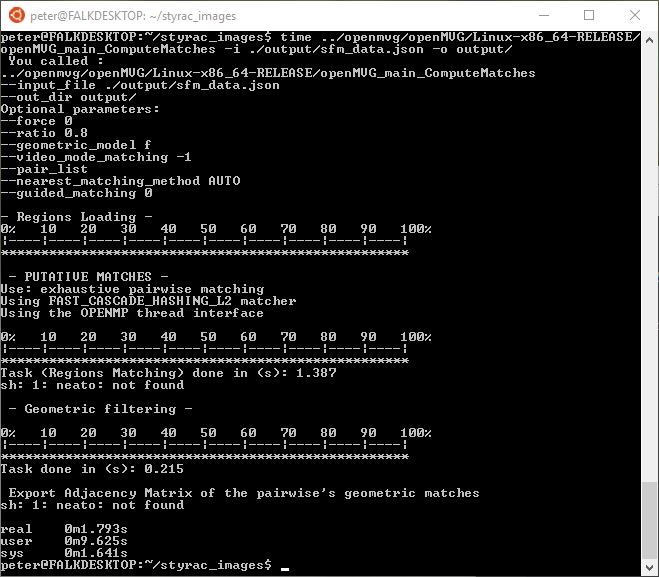
Time taken: 1.79 seconds
IncrementalSfM
I’ve used the incrementalSfM, as opposed to GlobalSfM, because Global kept failing (matches file invalid). I’m sure this is user error, so if I can get that working, I’ll re-do the following steps in the future.
../openmvg/openMVG/Linux-x86_64-RELEASE/openMVG_main_IncrementalSfM -i ./output/sfm_data.json -m ./output/ -o IncrementalRecon/
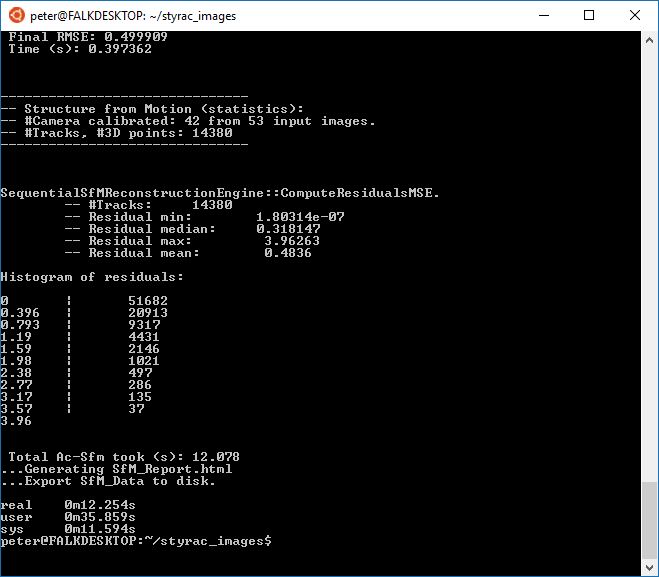 Upon completing this step, a ply file is produced containing points and camera positions:

We actually have some cameras missing from the rear right of the model, so not everything got matched. Presumably this is due to the incremental reconstruction?
Time taken: 12.254 seconds
(total time for sparse reconstruction to this point = 116.5 seconds)
Now to construct a dense reconstruction I used MVE:
Convert scene to MVE format
../openmvg/openMVG/Linux-x86_64-RELEASE/openMVG_main_openMVG2MVE2 -i ./IncrementalRecon/sfm_data.bin -o ./OutRecon
I was really surprised to see that this took quite a long time!
Time taken: 222.2 seconds
Depth Map reconstruction
../mve/apps/dmrecon/dmrecon -s2 ./OutRecon/MVE/
This took a while to produce depth maps for each image.
Time taken: 1293.73 seconds
Scene to Point Set
../mve/apps/scene2pset/scene2pset -F2 ./OutRecon/MVE/ ./OutRecon/MVE/pset-L2.ply

This actually looks quite good, and you can see there’s over 13 million points. But there is some noise. As the depth maps had been produced in the previous step, this didn’t take too long:
Time taken: 15.150 seconds
Meshing
Now we have a dense point cloud, we can produce a mesh with the following command:
../mve/apps/fssrecon/fssrecon ./OutRecon/MVE/pset-L2.ply ./OutRecon/surface-L2.ply
And this produces a ‘noisey’ mesh that gets cleaned at the next step. For now, it looks like this:
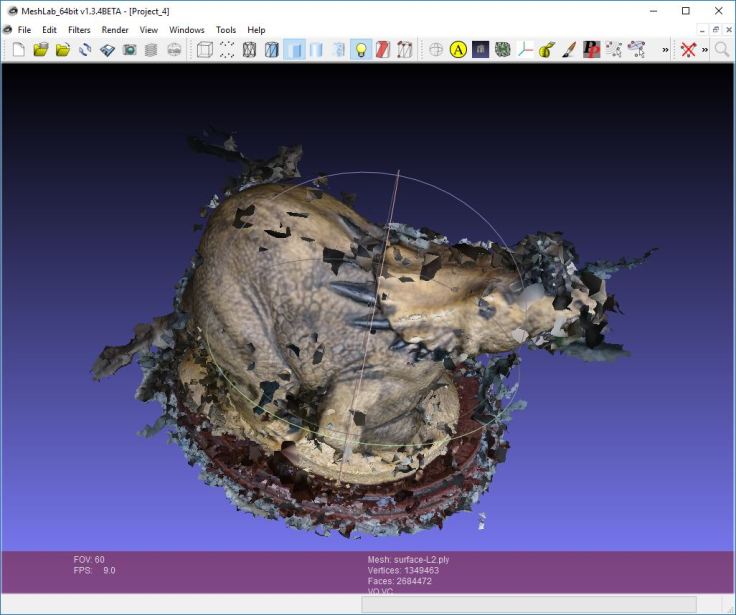
Which as you can see, is full of crap for the moment.
Time taken: 602.039 seconds
Clean the Mesh
We now clean the mesh to get rid of a lot of that noise with the following command:
../mve/apps/meshclean/meshclean -t10 ./OutRecon/surface-L2.ply ./OutRecon/surface-L2-clean.ply
Which produces a much nicer mesh:
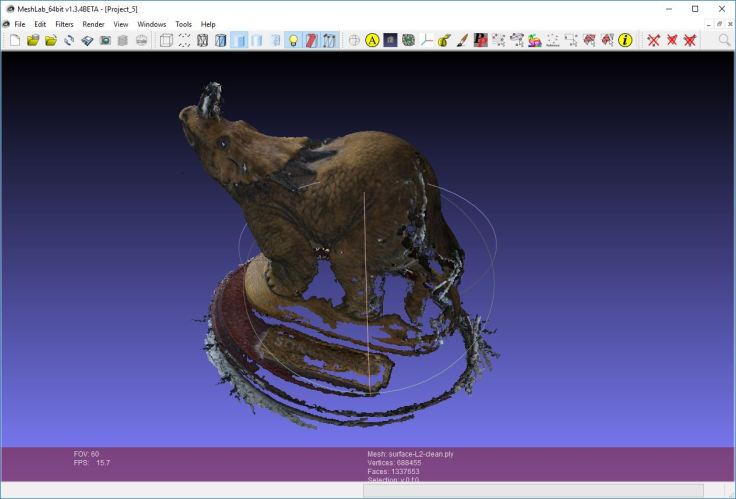
Clearly though, there are still a lot of holes. This could be down to the parameters I used with the command (more on that later). But as you can see, the mesh is nicely coloured (without texture; these are vertex colours), and were it does exist it looks great.
Time taken: 6.517 seconds
Total time to this point (coloured surface): 2256.136 seconds (~38 minutes)
Texturing
Now… There is another step (texturing), but I want you to take the above time as the total time for this pipeline. The reason being that the texture produced using TexRecon was split over 77 files. Which isn’t great. It also pushes the model over the limit imposed by sketchfab. So, because the vertex-coloured mesh above was as good as the texture, I’m discounting it for now. In cases where you really want a texture, I’d recommend using meshlab to ‘transfer vertex attribute’ from vertex colour to a texture.
Still, for completeness sake, here’s the time:
Time taken: 230.359 seconds
Here’s an image of the final model, normal mapped:
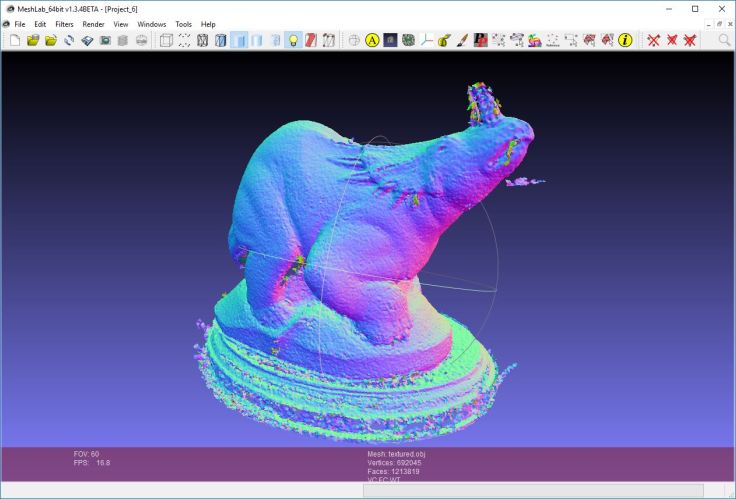
and here’s the model, downloadable from sketchfab:
As you can see, it’s full of holes, and has quite the bumpy surface.
Summary – OpenMVG[incremental] and MVE
Well, this was not a particularly successful run. Not only did the process take considerably longer than most of the other programs I’ve tested so far, the result was nothing to write home about.
However…. CAVEAT – I changed no settings at the command line. Mainly because I haven’t bothered to learn all the parameters possible at each stage. I’m fairly positive that a considerably better result is possible with this pipeline.
I think that in this case it is MVE that is the weak link in the pipeline. OpenMVG matched most cameras (but not all), and did so in a reasonable time. I have a sneaking suspicion that if I can run the processes correctly and use the global reconstruction, it may work considerably better at matching cameras. If I do manage to do so, I’ll update this post, or provide another.
