I’ve covered 3DF Zephyr before, both the free version, and the professional version. Today 3D Flow released version 5.0, which claims significant speed ups and quality improvements, so I thought I’d run my standard dataset through it.
I’m using the 14 day trial version of Lite. The free version is still available but limited to 50 photos per reconstruction.
There are very few changes to the UI:
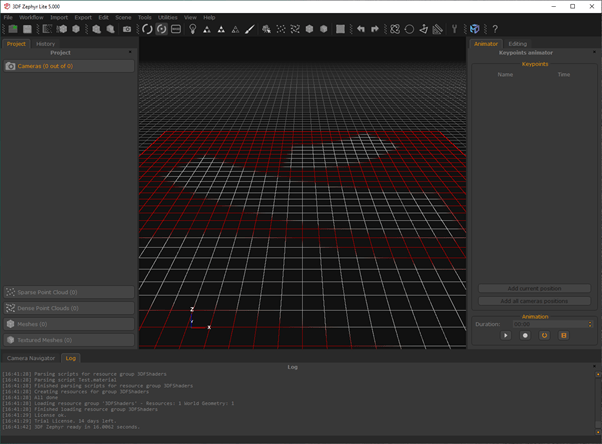
Which is fine, the UI is pretty good, so no need to fix what isn’t broken.
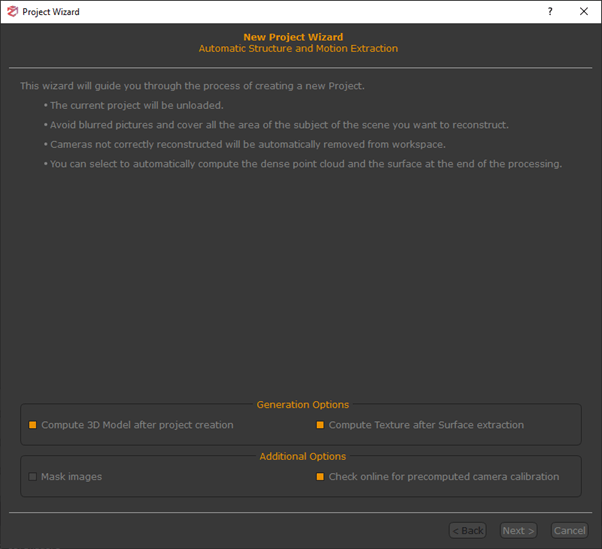
I used the project wizard to run my dataset in several different ways. Given it’s a close-range photogrammetry dataset, I chose ‘close range’ as the reconstruction type, then ran it on fast, default, and ‘deep’ settings. In all cases, I set it to produce a single texture file.
| Settings | No. Triangles in mesh | Time Taken |
|---|---|---|
| Close-range, Fast | 78,731 | 2 minutes 55 s |
| Close-range, Default | 3,996,932 | 18 minutes 54 s |
| Close-range, Deep | 809,343 | 21 minutes 16 seconds |
| General, Default | 205,369 | 7 minutes 36 seconds |
For Comparison, 3DFZephyr pro took 9 minutes on default, and 24 minutes on deep, though note I have upgraded my GPU since then (from a GTX 970 to a RTX 2060 Super).
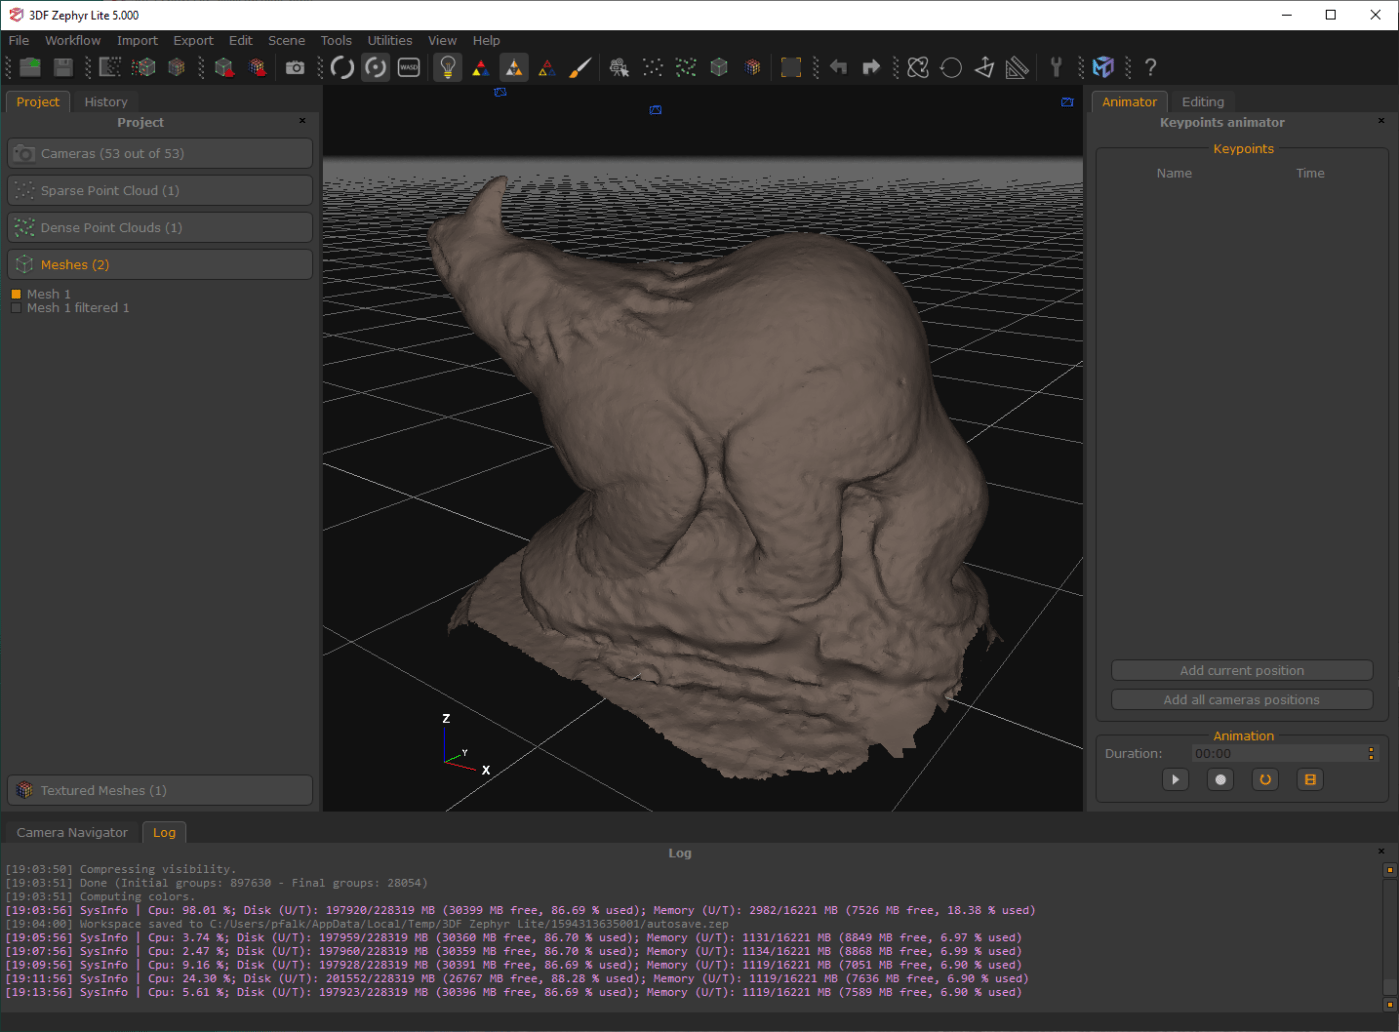
Reconstruction quality was overall quite poor for the close-range settings, which is odd given it’s a close-range dataset…
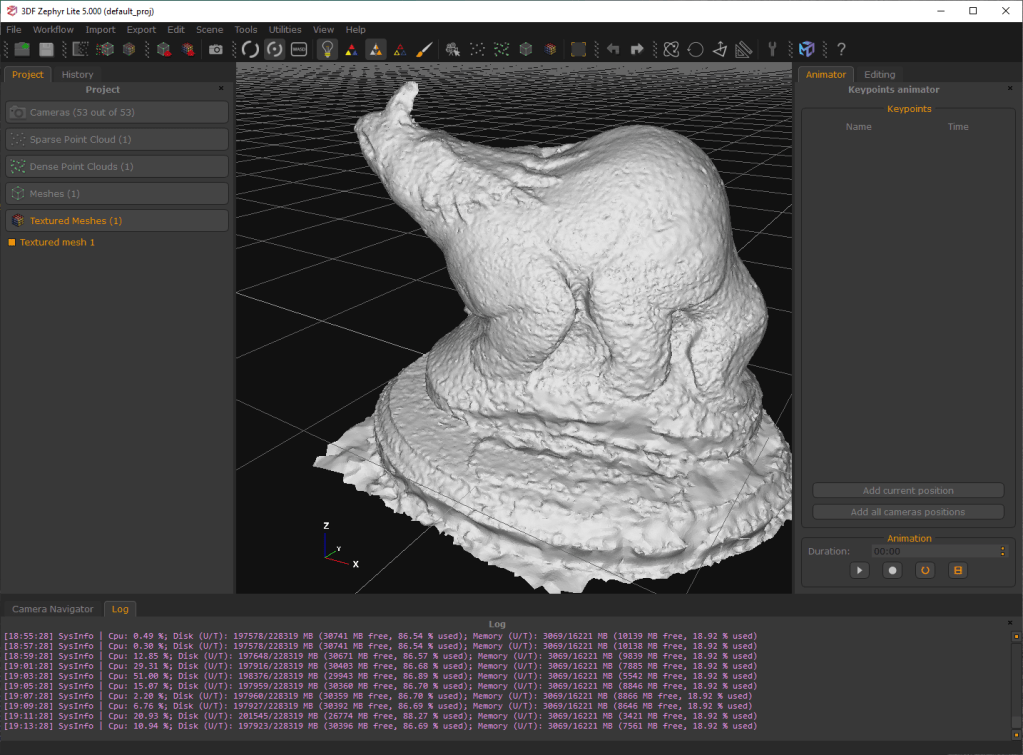
…but the General reconstruction settings were excellent:

Here’s all the models rendered in Blender:
Conclusion:
There’s certainly some speed ups here, though looking at the dev blog and other resources from 3D Flow, it looks like most of the efficiency improvements will be more visible on very large photo sets, rather than this relatively small one. It’s interesting to me that the “close-range” settings resulted in such noisey meshes, but the “general” settings made a gloriously good looking mesh.
Pricing for 3DF Zephyr is similar to before:
- a free version (limited to 50 photos),
- a lite version (limited to 500 photos) for €149.00 + vat
- Or ‘full’ professional version (including support for advanced editing and laserscans) for €250.00 + vat per month, or €3900.00 + vat for a perpetual license.
If that ‘Lite’ version weren’t limited to 500 photos, I’d say it was an excellent choice if you’re looking to buy photogrammetry software. It produces a nicer mesh than Metashape, but it does take longer – at least on this dataset – than either Metashape or Reality Capture.
I was super excited reading the development blog for version 5.0, but I have to admit I’m a bit disappointed that the speed and quality increases don’t put 3DF Zephyr closer to Reality Capture. Of course, this was just a super quick test, and I’ll keep tinkering. If I find any features/settings I’ve missed, I’ll update this post.
[update – 16/7/20]
After posting the above, I received an email from Andrea at 3D Flow, who explained why the ‘close range setting’ resulted in a poorer mesh, and showed the results of much more refined settings. Andrea is fine with me putting those emails here:
I wanted to shed some light on some of the points you raised in your article since some people have reported the same doubts:

We should definitely reword the close range description. The problem is that the close range description is a bit generic because the general preset has been introduced with version 4.3, and close range preset was indeed a more generic before that version. We haven't updated the descriptions - that's on us and we are sorry if this caused confusion or a bad experience! We are working to make presets description clearer! We welcome all feedback and your article was very helpful in pinpointing some of these communication problems.

The difference from "close range" is that for example, "general" uses more neighbors cameras, more noise resilient MRF parameters to build the depth map, and a higher noise filtering procedure at the point level.

Additionally "close range" also uses enhancer filtering during photoconsistency. All these things are though for "good" datasets. Unfortunately your dataset suffers a lot from ISO-speed noise and thus, your results with close range are underwhelming.

Sfm and mvs also rely on matching, and pixel-level matching becomes more difficult when image-noise is present.

I hope this helps shed some light on why general was working better in your case - ideally you should use close range when you have good photos with low iso speed (generally speaking this happens in controlled environments) while general will work better in less controlled acquisitions.
We will soon push 5.001 which among some other minor fixes also includes a reworded close range description preset.

The speed in zephyr 5.0 has been improved a lot and scales up much much better, but unfortunately, you won't see a lot of improvements if your datasets are all small. If you try difficult/huge datasets (thousands of images) you will notice that we scale up much better, even compared to other competitors. We do shine a lot more in bigger datasets (for speed) and definitely shine more for quality and accuracy (regardless of the size of the dataset).

I would recommend playing specifically with our photoconsitency filters, especially the new edge filters allows to reach great details.

Here is a quick test using your dataset
You will notice how the edge filtering and photoconsistency will greatly improve the surface. In this case I also raised a bit the enhance filter (which does not add real photogrammetry detail but enhances the mesh in a more pleasant way - I am not sure if this is smooth paint or if indeed these dents are real, but they are accentuated - you can leave it to 0% of course if you want only real photogrammetric detail)
It's hard to give specific advice without taking a look at the datasets 🙂 but I found a very common mistake is to raise the resolution % in the settings hoping to get more details. That will often amplify noise, so one thing that is overlooked is that it's generally better (with bad datasets) to start with a low resolution % for the dense/mesh (no more than 50%) and then apply additional photoconsistency filters, raising the % resolution there.

I would also like to spend a few words about the texture - in this case, you probably won't notice a lot of difference if you compare texture quality from zephyr to our competitors, due to the fact that the input images are far then perfect - however I suggest exploring good datasets with many photos and difficult camera positions, our texturing algorithm will shine particularly.

Yes, the timings are far from 2m but these were quick tests to maximize quality, you can maximize speed if you want but you will get a very noisy mesh and - personally - i prefer waiting few minutes for a good result, but I understand for some scenarios speed is more important.

I used fast/general for the SfM,  slightly adjusted the bounding box, slightly adjusted the default/general to remove some noise, then used general/default for the mesh and added 1 pass of photoconsistency for the filtering, then used default multitexture for the texture.
