Ok, this isn’t really necessary, but I’m posting it for completeness sake as part of an upcoming blog post. This will just give you a quick rundown on how wiz through Agisoft’s Photoscan and generate a model. If you’d like a more in-depth piece, I suggest Heinrich Mallison and Oliver Wing’s paper in Journal of Palaeontological Techniques, available here (PDF).
Step 1a. Import photos
You can either do this the laborious way;
Workflow->Add Photos
Or you can just drag and drop photos into the workspace .

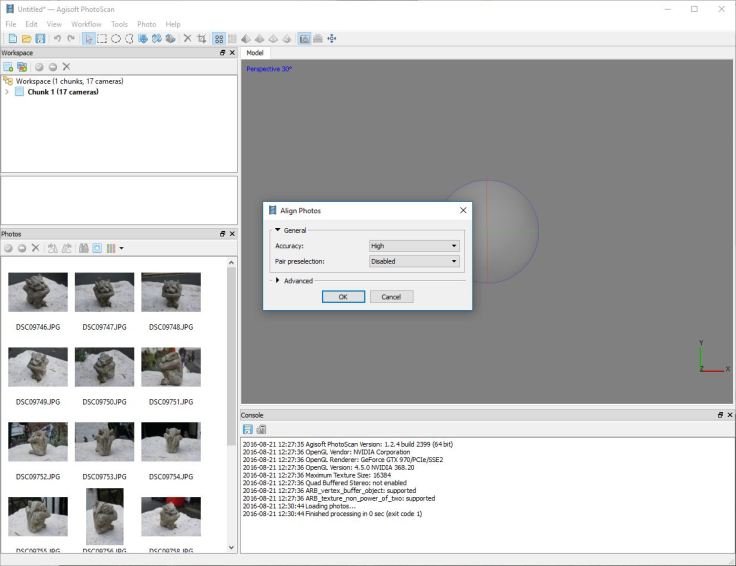
Step 2. Align Photos
Click Workflow->Align Photos
Then select the relevant options. Let’s go for ‘high’
Step 3. Build Dense Cloud
Go to Workflow->Build Dense Cloud.
I’d recommend not going for ‘Ultra’ – it will crash most non-specialist machines, and the result will be an extremely dense point cloud that isn’t necessarily any more accuracy.

Step 4.
Workflow -> Build Mesh, and select the appropriate options.
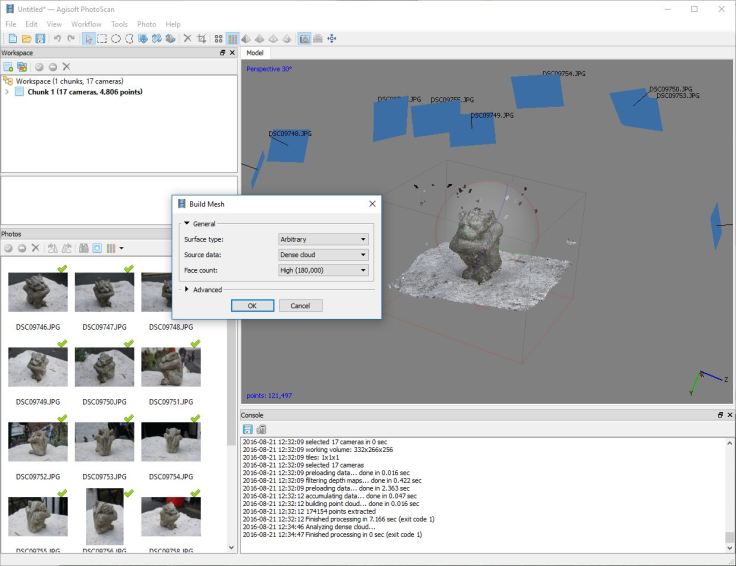
You can view the mesh by selecting any of the pyramidal buttons at the top:

Step 5.
To texture the model, go to ‘Workflow -> Build Texture.’ I generally go for a texture size of 4096 x 1, but you can select whatever is appropriate.
View the textured model by selecting the right most pyramid at the top.

Step 1b:
Of course, any nerd worth their salt will try to minimize button presses and computer baby-sitting, and to that end Photoscan allows you to batch process the whole thing. To do this, go to Workflow-> Batch Process, and then hit add, change ‘job type’ to align photos, change the settings accordingly. After hitting ‘OK’, click ‘Add’ once more, and change job type to ‘Build Dense Cloud’. Carry on creating a new job for each of the steps above, then when it’s done, hit ok. If you’re worried about crashes, make sure you tick ‘save project after each step’.

Note that you can add multiple sets of photos to your workspace and set the batch to process them all, allowing you to generate multiple models with one batch – e.g. overnight.

Peter, by now optimizing your sparse point cloud by removing bad points you get much worse models than you can. Check this out:
https://dinosaurpalaeo.wordpress.com/2015/10/11/photogrammetry-tutorial-11-how-to-handle-a-project-in-agisoft-photoscan/
Cleaning the sparse point cloud shouldn’t affect dense point cloud generation as it’s created from scratch using camera positions. Optimizing cameras will, but in most cases I find ‘optimize cameras’ does basically nothing (if it were a golden bullet, surely it would be run automatically after matching and camera reconstruction)
the trick is doing both: cleaning the sparse cloud, using e.g. gradual selection, to weed out bad points. Then, optimizing to get better camera positions, as they are now based only on the remaining, higher-quality points.
I borrowed this trick from Breffra, who I guess know their shit 😉
If you want to give this data set a go and see how much optimization etc can help, it could be interesting. I’m generally running things ‘hands off’, and we all know that’s not ideal. If you do, save out the text-output so we can see how long things take.
I guess it might make more sense to re-do your Styracosaurus and have you judge if and how much this helps. 🙂 Can you provide me with your PSX files, so I do not have to re-run the alignment but use the exact same one?
Sorry, all the intermediate steps got deleted, so I’m just left with photos and final model.
sorry, Peter, not knowing your settings for the alignment (number of key and tie points) I couldn’t re-do your work exactly. However, as you can see form the photo below,
the model is a bit smoother once you clean up the sparse cloud and re-optimize cameras. The upper half is the improved point cloud.
<a href="https://dinosaurpalaeogerman.files.wordpress.com/2016/10/comparison.jpg"
Peter,
couldn’t help but notice that Agisoft “Photoscan” v1.5 is now “Metashape” …. any chance of a q n d guide for the new version ?
cheers,
John
I tested the beta of metashape and as far as I can tell it’s basically identical. I may do a quick comparison of the commercial packages at some point in the near future though.
As Peter said, it is basically the same (so just a re-brand). However, there is a new model creation mode, directly from depth maps.
For me it doesn’t offer any improvement, as it is not much faster at the project sizes I run (500 to 2000 images).